Introduction and Quick Summary
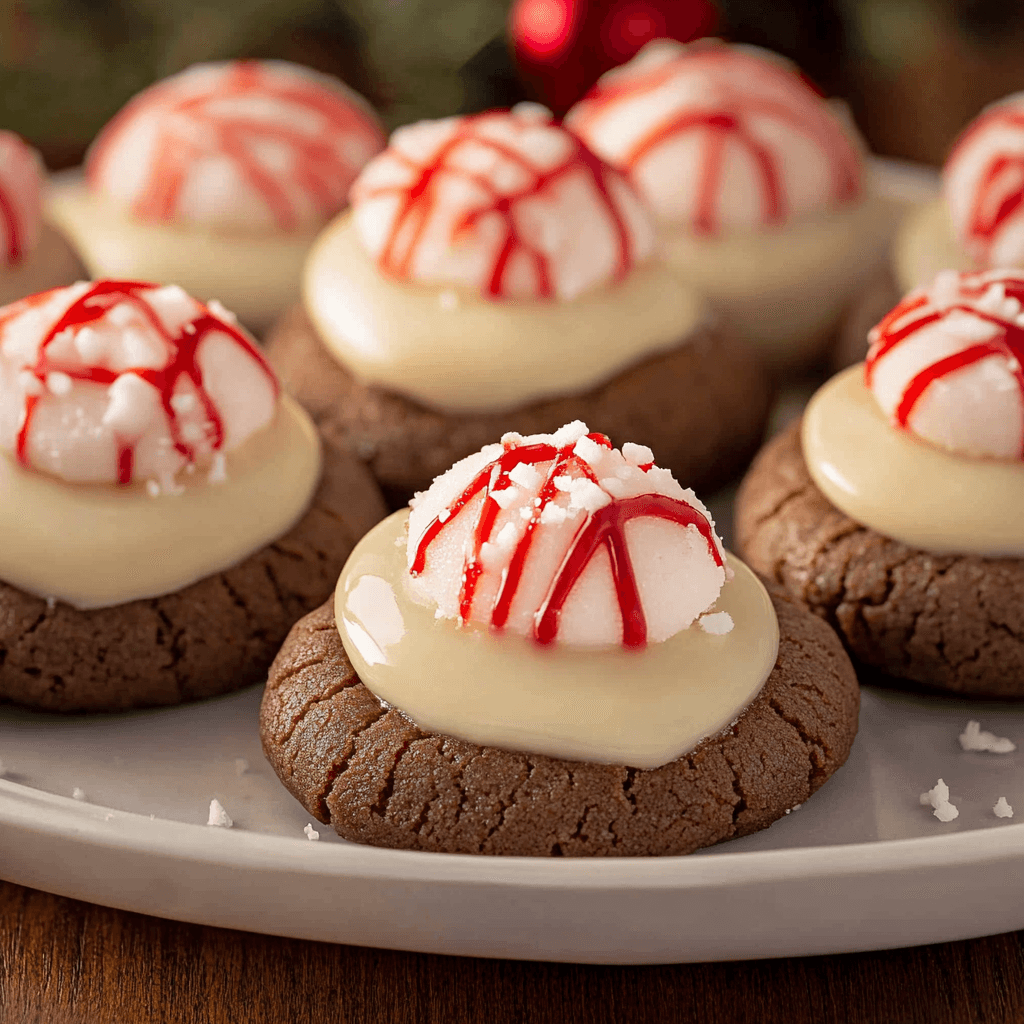
When the holiday season rolls around, nothing brings joy quite like a batch of freshly baked Peppermint Kiss Cookies. These delightful treats are not just visually appealing; they also pack a punch of flavor with their rich chocolate base and refreshing peppermint twist. Imagine biting into a soft cookie topped with a gooey chocolate kiss that melts in your mouth—pure bliss! This recipe is not only easy to follow but also perfect for sharing at festive gatherings or gifting to friends and family.

In this article, we will guide you through the process of creating these irresistible Peppermint Kiss Cookies from scratch. We’ll cover everything from selecting the right ingredients to step-by-step preparation methods that ensure your cookies come out perfectly every time. Whether you’re a seasoned baker or trying your hand at baking for the first time, our detailed instructions will make it simple for you to whip up these crowd-pleasers in no time. Get ready to impress your guests and satisfy your sweet tooth!
Main Ingredients
All-Purpose Flour
To create the perfect cookie texture, you’ll need 2 cups of all-purpose flour. This ingredient serves as the foundation and provides structure to your Peppermint Kiss Cookies. Make sure to spoon and level the flour when measuring to avoid compacting it, which can lead to dense cookies.
Unsweetened Cocoa Powder
The addition of ¾ cup unsweetened cocoa powder gives these cookies their rich chocolate flavor. Choose high-quality cocoa powder for the best taste. It’s crucial for balancing sweetness while enhancing the chocolatey richness of each bite.
Baking Soda
You’ll require 1 teaspoon of baking soda to help your cookies rise during baking. Baking soda works as a leavening agent that reacts with acidic ingredients in the dough (like cocoa powder), resulting in light and fluffy cookies.
Salt
Adding ½ teaspoon of salt enhances all the flavors in your Peppermint Kiss Cookies. Salt is essential even in sweet recipes; it helps cut through sweetness and brings out the richness of chocolate.
Unsalted Butter
Using 1 cup (2 sticks) of softened unsalted butter creates a rich base for your cookie dough. Ensure it’s at room temperature for easier mixing; this helps achieve a creamy texture when combined with sugar.
Granulated Sugar
A total of 1 cup granulated sugar sweetens your cookies perfectly while helping them spread during baking. This ingredient also contributes to achieving that delightful soft texture we all love in cookies.
Brown Sugar
You will also need ½ cup packed brown sugar, which adds moisture and depth of flavor thanks to its molasses content. The combination of both sugars ensures a balanced sweetness while maintaining chewiness.
Eggs
Two large eggs are necessary to bind all ingredients together and add moisture to your dough. Eggs also contribute to the overall structure and richness of each cookie.
Vanilla Extract
1 teaspoon of pure vanilla extract adds warmth and complexity to your cookie flavor profile. Opt for pure vanilla rather than imitation for a more robust taste.
Peppermint Extract
To give these cookies their signature minty flavor, include ½ teaspoon of peppermint extract. A little goes a long way—this ingredient is what makes these treats special!
Chocolate Kisses
Lastly, you’ll need about 24 chocolate kisses (unwrapped), which will be placed on top of each cookie right after baking. These candies melt beautifully into each cookie while adding an extra layer of chocolatey goodness.
How to Prepare Peppermint Kiss Cookies
Step 1: Prepare Your Oven and Baking Sheets
Begin by preheating your oven to 350°F (175°C). While the oven heats up, line two baking sheets with parchment paper or silicone mats. This step prevents sticking and ensures even baking; it’s essential for achieving that perfect cookie texture without any mess.
Step 2: Mix Dry Ingredients Together
In a medium bowl, whisk together the all-purpose flour, cocoa powder, baking soda, and salt until well combined. This helps evenly distribute all dry ingredients throughout the dough, ensuring consistent flavor and texture in every bite. Set this mixture aside as you move on to preparing the wet ingredients.
Step 3: Cream Butter and Sugars
In a large mixing bowl using an electric mixer or stand mixer fitted with a paddle attachment, cream together the softened unsalted butter with granulated sugar and brown sugar on medium speed until light and fluffy—about 2-3 minutes. This process incorporates air into the mixture, providing lift during baking while creating that desirable soft texture.
Step 4: Incorporate Eggs and Flavors
Add in one egg at a time into the butter-sugar mixture while continuing on low speed until fully incorporated before adding another egg. Once combined thoroughly, mix in vanilla extract followed by peppermint extract until blended smoothly into the dough—this step infuses those delicious minty notes throughout!
Step 5: Combine Wet and Dry Ingredients
Gradually add in the dry ingredient mixture into your wet batter using low speed settings on your mixer until just combined; avoid overmixing as this can lead to tough cookies! Once uniform consistency achieves without visible flour streaks remaining visible throughout; scrape down sides if needed using spatula—make sure everything is well incorporated.
Step 6: Shape Dough Balls
Using a tablespoon or cookie scoop, portion out rounded tablespoons of dough onto prepared baking sheets spaced about two inches apart so they have room to spread while baking evenly—the size should be consistent throughout each batch for uniformity! For added decoration sprinkle some crushed candy canes atop before placing them into warm oven!
Step 7: Bake Until Perfectly Done
Bake cookies in preheated oven for approximately ten minutes or until edges appear set but centers look slightly underbaked (they’ll continue cooking after removed from heat). As soon as you take them out from oven place one unwrapped chocolate kiss atop center pressing gently downwards—it’ll melt slightly due residual heat enhancing presentation beautifully!
Step 8: Allow Cooling
Let cookies cool on baking sheets for about five minutes before transferring them onto wire racks allowing full cooling process complete before indulging—this is crucial as it allows flavors meld properly while providing optimal texture too! Enjoy sharing with family during festive occasions!
Serving and Storing Tips
Serving Suggestions
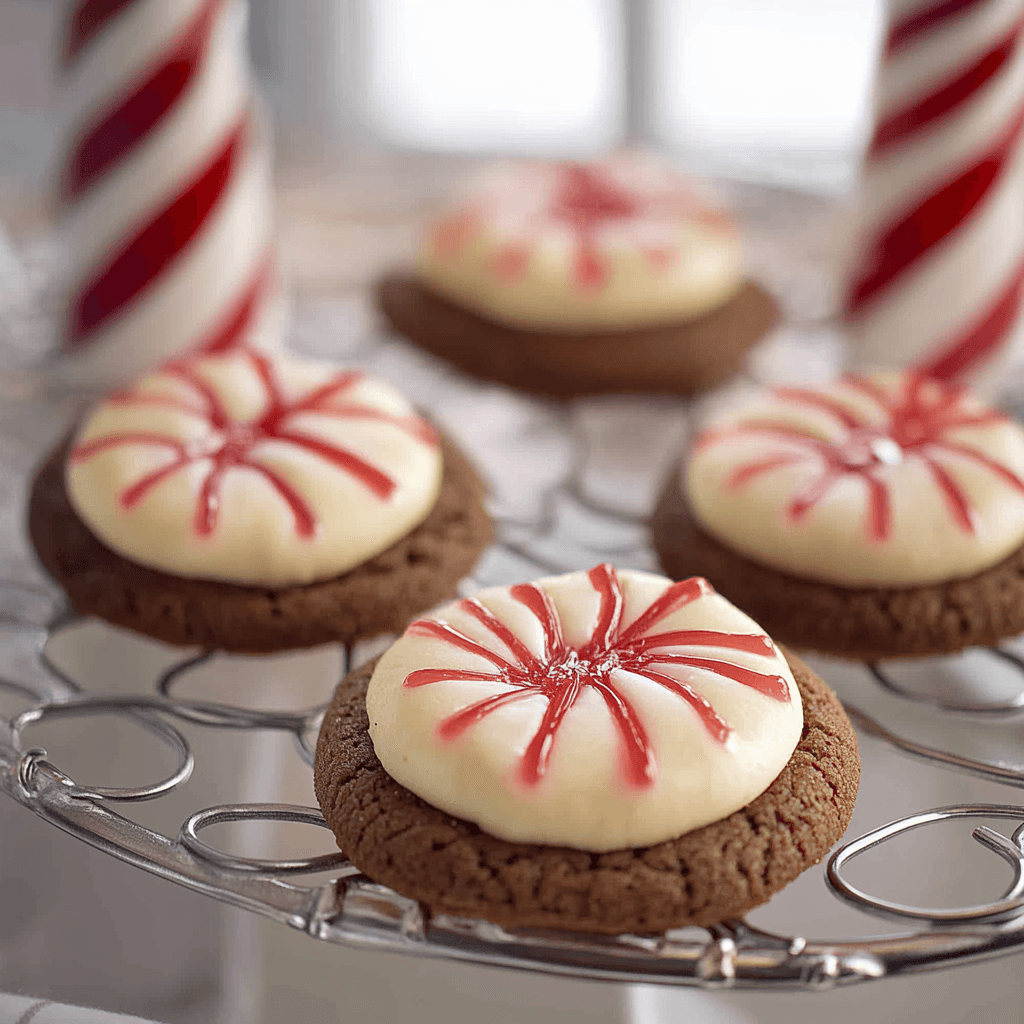
Peppermint Kiss Cookies are best served slightly warm when they’re fresh out of the oven because that’s when their gooey centers are most enjoyable! You can present them on festive platters or stack them neatly inside glass jars tied with ribbons if gifting is part of plans too—their vibrant colors make them perfect additions alongside hot cocoa or coffee at holiday gatherings!
For an extra special touch consider pairing these delightful treats alongside ice cream scoops especially mint-flavored options which complement wonderfully against rich chocolaty goodness topped off by melted kisses—guests will love this creative twist!
Storage Guidelines
Store any leftover Peppermint Kiss Cookies in an airtight container at room temperature where they’ll stay fresh up three days maximum; keep away from direct sunlight since it can cause drying out too quickly causing loss moisture leading stale results instead! If longer storage needed then refrigerate them where they can last up week without compromising taste quality however allow warming back up at room temp before enjoying once again just like freshly baked ones!
For extended periods try freezing individual portions wrapped tightly using plastic wrap placed inside freezer bags; this method preserves freshness giving access whenever cravings strike unexpectedly later down line keeping holiday spirit alive throughout year ahead!
Mistakes to avoid
When making Peppermint Kiss Cookies, one common mistake is not measuring ingredients accurately. Accurate measurements are essential for the perfect texture and flavor. For example, using too much flour can lead to dry cookies, while too little can make them too sticky. Always use a kitchen scale or measuring cups designed for baking and level off dry ingredients for precision.
Another mistake is neglecting to chill the dough. Chilling the dough allows the flavors to meld and prevents the cookies from spreading too much during baking. If you skip this step, you may end up with flat cookies instead of the desired chewy texture. Ideally, chill your dough for at least 30 minutes in the refrigerator before baking.
Overbaking is another pitfall that can ruin your Peppermint Kiss Cookies. It’s crucial to keep an eye on them as they bake. Start checking for doneness a couple of minutes before the recipe suggests, and remember that cookies will continue to cook slightly after being removed from the oven due to residual heat. Taking them out just when they look set but still soft ensures they remain chewy.
Using low-quality chocolate kisses can compromise flavor significantly. Opt for high-quality peppermint chocolate kisses to enhance your cookies’ overall taste experience. Cheap versions might lack the rich flavor that makes these cookies special. Investing in quality will elevate your baking project.
Lastly, don’t forget about proper storage after baking your Peppermint Kiss Cookies. Storing them in an airtight container helps maintain their freshness and texture. If you leave them exposed to air, they will become stale quickly. Layering parchment paper between cookies in a container also helps prevent sticking.
Tips and tricks
For perfect Peppermint Kiss Cookies, start with room temperature butter. Softened butter incorporates more air into the mixture, leading to a lighter cookie consistency. If your butter is too cold or melted, it can affect how well it creams with sugar, resulting in dense cookies instead of fluffy ones.
Incorporate peppermint extract carefully; a little goes a long way! While it’s tempting to add extra for more flavor, too much can overpower the other ingredients. Stick to the recommended amount unless you want an overwhelmingly strong peppermint flavor that masks the sweetness of chocolate.
Using parchment paper or silicone mats on your baking sheets is another great tip for an easy cleanup and even cookie baking. These surfaces help prevent sticking and promote even cooking without burning on the bottom. Just ensure they fit properly on your sheets so that no part of the cookie touches bare metal.
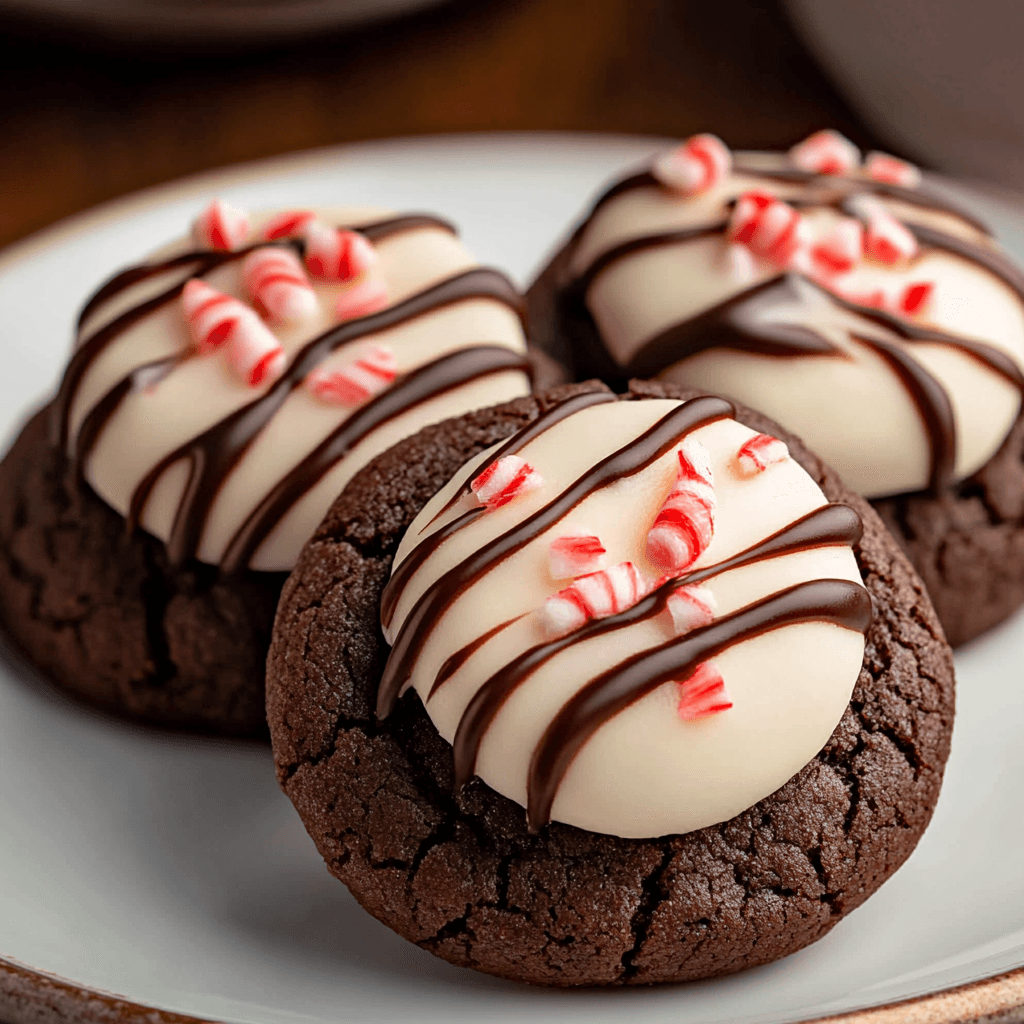
When placing chocolate kisses on top of freshly baked cookies, be gentle! After pulling your cookies from the oven, allow them to cool slightly before pressing kisses into them gently but firmly. This ensures they stick without causing your cookie to break apart from excessive pressure.
For added flair, consider rolling your cookie dough in crushed candy canes before baking! This adds both visual appeal and extra crunch while enhancing that delightful peppermint flavor throughout each bite of your Peppermint Kiss Cookies.
Lastly, do not forget about variations! You can experiment by adding nuts or swapping out different types of chocolate kisses for unique flavor combinations. This versatility allows you to create something new each time while still enjoying the classic cookie base.
Suggestions for Peppermint Kiss Cookies
To enhance your Peppermint Kiss Cookies further, consider starting with high-quality ingredients like organic flour and pure vanilla extract. These small changes can elevate flavors significantly compared to using standard options found in most pantries.
Experimenting with different textures can also be exciting! For instance, adding finely chopped nuts such as walnuts or pecans gives a delightful crunch that contrasts beautifully with soft cookie interiors and smooth chocolate kisses topping each one.
If you’re looking for a healthier twist on classic Peppermint Kiss Cookies, try substituting half of the all-purpose flour with almond flour or oat flour. This change not only adds nutritional value but also provides a unique flavor dimension that pairs exceptionally well with peppermint and chocolate.
For those who enjoy baking ahead of time, consider freezing unbaked dough balls rather than baked cookies! Portion out your dough into balls and place them on a lined tray until frozen solid; then transfer them into freezer bags labeled with date details so you can enjoy freshly baked Peppermint Kiss Cookies whenever cravings strike!
Decorating these festive treats is another way to personalize them! Use colored icing or sprinkles alongside crushed candy cane pieces sprinkled over warm cookies right after removing them from oven—this extra touch brings cheerfulness while showcasing creativity!
Finally, pairing these delightful treats with beverages enhances their enjoyment exponentially! Hot cocoa or peppermint tea complements these cookies perfectly; consider serving both together during holiday gatherings for warm hospitality vibes!

FAQs
What are Peppermint Kiss Cookies?
Peppermint Kiss Cookies are delicious holiday treats made from a basic cookie dough enhanced by adding crushed peppermint candies or extract along with chocolate kisses placed atop each warm cookie right after baking! The combination creates an irresistible blend of flavors—rich chocolate combined with refreshing mintiness—that captures festive spirits perfectly during celebrations!
How do I store Peppermint Kiss Cookies?
To ensure maximum freshness, store your Peppermint Kiss Cookies in an airtight container at room temperature if consumed within three days; otherwise refrigerate them up to one week longer if needed! Adding parchment paper layers between rows helps prevent sticking while maintaining softness over time—perfectly preserving yummy flavors until enjoyed again later!
Can I freeze Peppermint Kiss Cookie dough?
Yes! Freezing unbaked Peppermint Kiss Cookie dough allows convenient access anytime cravings arise without sacrificing quality flavors enjoyed fresh outta oven!! Portion out individual balls onto lined trays until firm then transfer into freezer-safe bags labeling contents/dates accordingly upon freezing—thaw overnight before baking straight from frozen state next day!
How long should I bake my Peppermint Kiss Cookies?
The recommended baking time typically ranges around 8-10 minutes depending on oven settings/size variations amongst batches; however keep an eye toward golden edges while ensuring they remain slightly soft center-wise when removed from heat source as residual warmth continues cooking process thereafter yielding ideal chewy texture desired within recipe guidelines!
Can I use other types of chocolates instead of kisses?
Absolutely! Feel free exploring various types such as dark chocolate squares/milk chocolate drops/or even white chocolate versions—all work wonderfully alongside traditional peppermint flavors creating delightful surprises each bite taken enhancing overall enjoyment through diverse textures/tastes encountered during tasting experiences shared among family/friends alike!!
What if my cookies spread too much while baking?
If noticing excessive spreading occurring during prep stages next baking attempt try chilling formed cookie dough balls longer prior placing onto trays ensuring firmness retained throughout cooking times—this minimizes unwanted flattening helping achieve desired thickness showcasing perfect balance between chewy interiors coupled melted toppings adorning each piece served!!
Conclusion
Peppermint Kiss Cookies are a delightful addition to any holiday gathering or cozy evening at home. By avoiding common mistakes like inaccurate measurements and neglecting chilling time, you’ll achieve perfect results every time you bake these treats. Implementing tips such as using room temperature butter and rolling dough in crushed candy canes will elevate their taste and presentation.
Storing these cookies properly ensures they remain fresh longer while experimenting with variations offers fun ways to personalize recipes according to preferences shared among loved ones gathered around festive occasions celebrating togetherness through food experiences enjoyed collectively!
Lastly remember: deliciousness counts most when paired alongside comforting warm beverages inviting everyone into joyous moments spent savoring delectable bites filled rich flavors encapsulated within every single cookie created lovingly crafted shared heartwarming memories made together around tables filled laughter love warmth cherished forevermore beyond mere servings alone!

