Introduction and Quick Summary
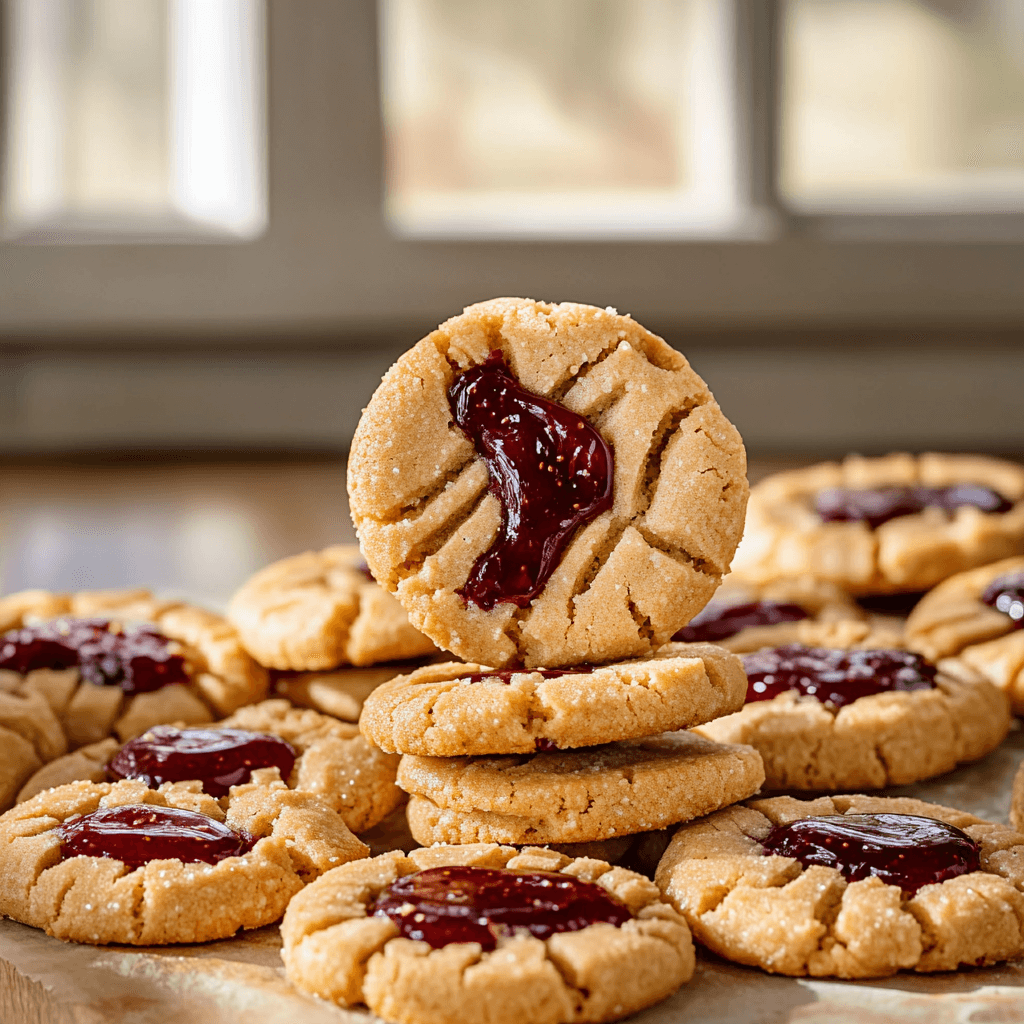
Peanut Butter and Jelly Cookies are a delightful twist on the classic sandwich we all know and love. Combining the creamy richness of peanut butter with sweet, fruity jelly, these cookies offer a nostalgic taste that evokes childhood memories. Whether you’re looking to bake a tasty treat for your family or impress friends at a gathering, this recipe will not disappoint. The best part is that making these cookies is incredibly simple and can be done in just a few steps.
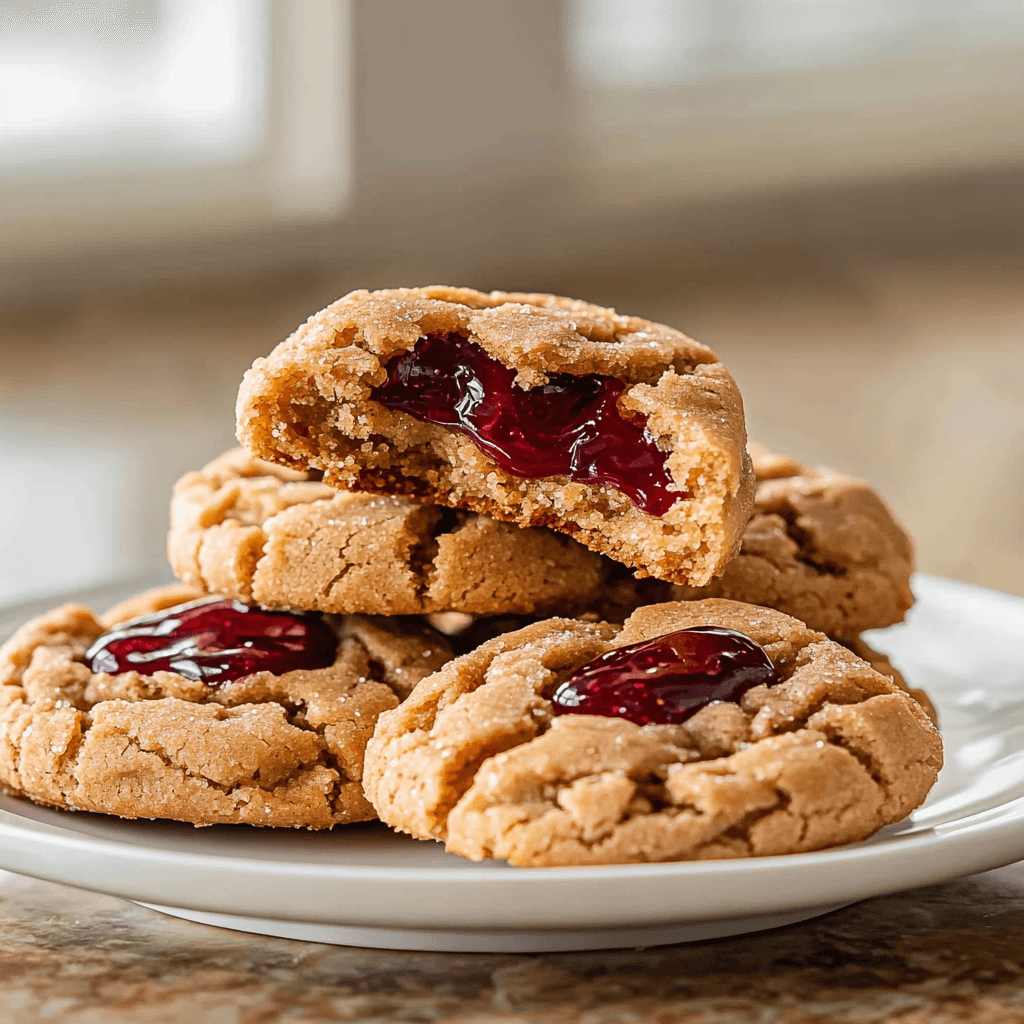
In this article, we will explore how to create these scrumptious Peanut Butter and Jelly Cookies from scratch. We will provide you with detailed instructions on the ingredients you need, as well as step-by-step preparation guidance to ensure your baking experience is enjoyable. By the end of this guide, you’ll have a batch of warm, gooey cookies ready to share or savor all by yourself. Prepare to indulge in the perfect blend of flavors that take you back to simpler times!
Main Ingredients
Peanut Butter
Peanut butter serves as the star ingredient in these cookies, offering a rich and creamy texture that’s hard to resist. For this recipe, it’s essential to use creamy peanut butter rather than crunchy varieties, as it helps achieve a smooth cookie dough. You’ll need 1 cup of peanut butter for this recipe. Look for natural options without added sugars or hydrogenated oils for the healthiest choice.
Granulated Sugar
Granulated sugar is crucial for achieving that perfect cookie sweetness. You’ll need 1 cup of granulated sugar to balance out the nutty flavor of the peanut butter. This ingredient also contributes to the overall texture of the cookie by helping it rise while baking.
Brown Sugar
Brown sugar adds moisture and depth of flavor to your cookies. You’ll require 1/2 cup of packed brown sugar—light or dark works well—to enhance both sweetness and chewiness in each bite. The molasses content gives these cookies their signature caramel-like undertones.
Egg
An egg acts as a binding agent in your cookie dough. You’ll need one large egg for this recipe to help hold everything together while adding richness to each cookie. Make sure it’s at room temperature for better mixing.
All-Purpose Flour
All-purpose flour provides structure to your Peanut Butter and Jelly Cookies. For this recipe, you will need 1 cup of all-purpose flour. It’s best to measure accurately; too much flour can lead to dry cookies while too little may result in overly soft ones.
Baking Soda
Baking soda is essential for leavening your cookies, allowing them to rise properly during baking. You’ll need 1/2 teaspoon of baking soda mixed into the dry ingredients to help achieve that light texture.
Salt
Salt enhances all flavors present in your cookie dough. Just 1/4 teaspoon is enough to balance sweetness without making them taste salty—bringing out every delicious note from the other ingredients.
Jelly or Jam
The final touch comes from your choice of jelly or jam, which adds that classic PB&J element. You’ll need about 1/2 cup of your favorite flavor—strawberry or grape are popular choices—for filling each cookie with fruity goodness.
How to Prepare Peanut Butter and Jelly Cookies
Step One: Preheat Your Oven
Begin by preheating your oven to 350°F (175°C). Preheating ensures even cooking throughout your batch of Peanut Butter and Jelly Cookies once they go into the oven. While waiting for it to reach temperature, gather all your ingredients on a clean workspace so everything is easily accessible when needed.
Step Two: Mix Dry Ingredients
In a medium bowl, combine the all-purpose flour, baking soda, and salt together using a whisk until they’re evenly mixed. This step ensures that leavening agents are evenly distributed throughout your dough once you combine them with wet ingredients later on.
Step Three: Cream Together Sugars and Peanut Butter
In another large mixing bowl, add both granulated sugar and brown sugar along with one cup of creamy peanut butter. Use an electric mixer on medium speed until fully combined; this process usually takes about two minutes until you achieve a smooth consistency.
Step Four: Incorporate Egg
Next, add one large egg into the mixture while continuing to mix at low speed until fully incorporated; scrape down any sides if necessary so everything blends well together without clumps remaining from either sugar or peanut butter.
Step Five: Combine Wet and Dry Ingredients
Slowly add in your previously mixed dry ingredients into the wet mixture using a spatula or wooden spoon until just combined; be cautious not to overmix as this can develop gluten causing tough cookies instead of soft ones!
Step Six: Form Cookie Dough Balls
Using a tablespoon measuring spoon (or cookie scoop), portion out equal amounts of dough onto parchment-lined baking sheets—leaving ample space between each ball since they will spread slightly during baking (about two inches apart).
Step Seven: Create Indentations for Filling
Using either your thumb or index finger gently press down into each dough ball’s center creating small indentations ready for filling later with jelly/jam once baked; aim for about half an inch deep without breaking through entirely.
Step Eight: Bake Until Golden Brown
Place trays into preheated oven allowing them time (approximately ten minutes) until edges begin turning golden brown but centers remain soft; check frequently during last few minutes ensuring not overbaked resulting in hard textures.
Step Nine: Add Jelly/Jam Filling
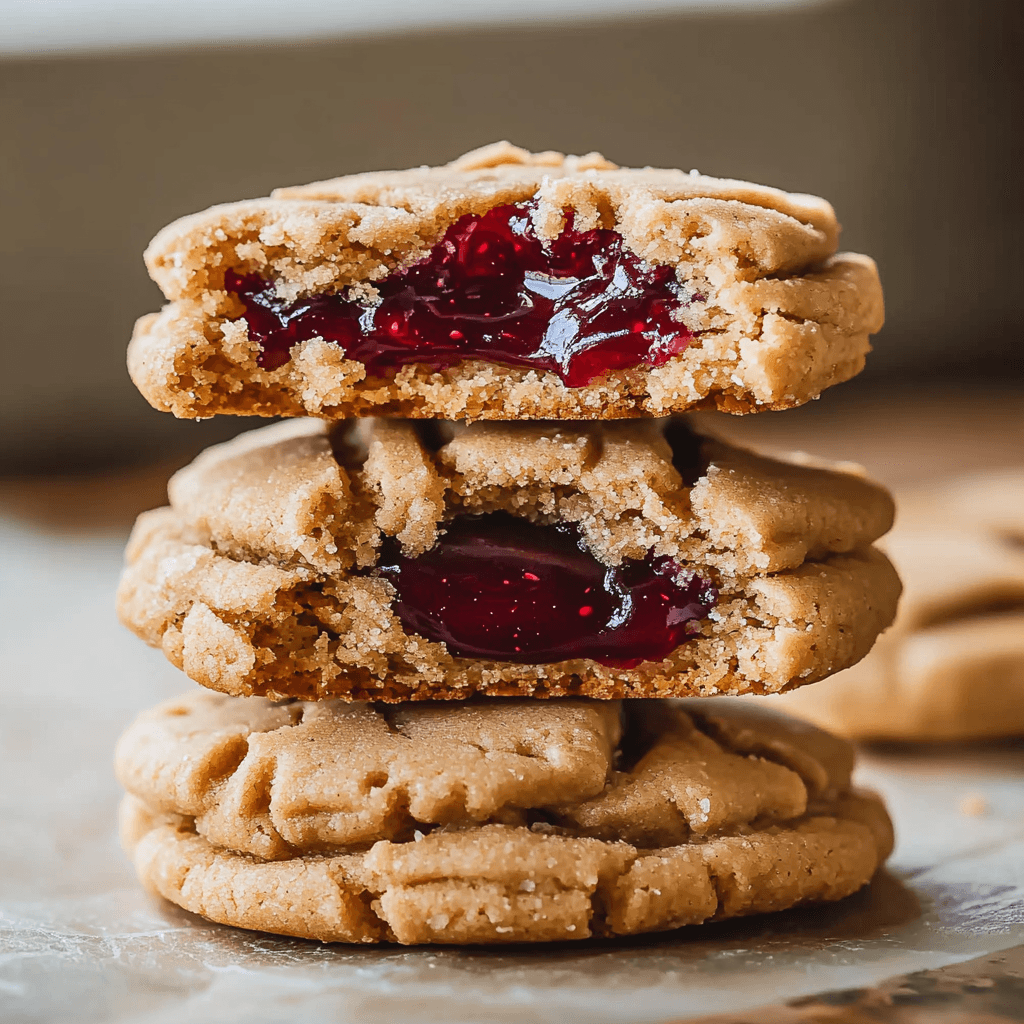
Once removed from oven immediately use teaspoonfuls placing desired flavors like strawberry or grape jelly inside those indentations made earlier while still hot so they easily melt into warm cookie centers!
Step Ten: Cool & Enjoy!
Allow these delicious treats cool on wire racks fully before indulging—this patience pays off since flavors meld beautifully together after resting! Enjoy them alone or share among family & friends—they’re sure everyone will adore!

Serving and Storing Tips
Serving Suggestions
To serve Peanut Butter and Jelly Cookies perfectly warm right out from oven pair them alongside glass milk—this classic combination brings back nostalgia while enhancing sweetness! Alternatively consider serving on platters decorated festive themes introducing additional toppings like chopped nuts or shredded coconut appealing visually but also adding textures bringing unique bites throughout!
Storing Leftover Cookies
If there happen any leftovers after enjoying freshly baked batch don’t worry! Store cooled Peanut Butter & Jelly Cookies in an airtight container kept at room temperature up two days maintaining their softness longer! For extended freshness seal tightly within freezer bags letting air escape storing frozen up three months preserving original flavors intact whenever cravings arise!
By following these simple tips along enjoying delightful treats made easily from home everyone can savor moments shared around delicious snacks bringing joy effortlessly!
With this comprehensive guide on how-to make scrumptious Peanut Butter And Jelly Cookies anyone can create delightful desserts loved by many! Happy Baking!
Mistakes to avoid
When making Peanut Butter and Jelly Cookies, many bakers make common mistakes that can ruin the final product. One of the most significant errors is using the wrong type of peanut butter. Natural peanut butter can separate, leading to a dry dough. Stick with creamy or crunchy commercial varieties for consistent results.
Another mistake is not measuring ingredients accurately. Baking is a science, and even slight variations can impact your cookies’ texture and flavor. Always use measuring cups and spoons for precision. Additionally, be mindful of your oven temperature; an oven that is too hot can cause cookies to spread excessively while under-baking them leads to a doughy center.
Overmixing the dough is another pitfall to avoid. When you combine your ingredients, mix until just combined. Overmixing can lead to tough cookies, as it develops gluten in the flour. Similarly, chilling the dough is essential; skipping this step may result in cookies that spread out too much during baking.
Finally, don’t forget to let your cookies cool completely before storing them. If you store warm cookies in an airtight container, they will become soggy and lose their delightful texture. By steering clear of these common mistakes, you can ensure your Peanut Butter and Jelly Cookies turn out perfectly every time.
Tips and tricks
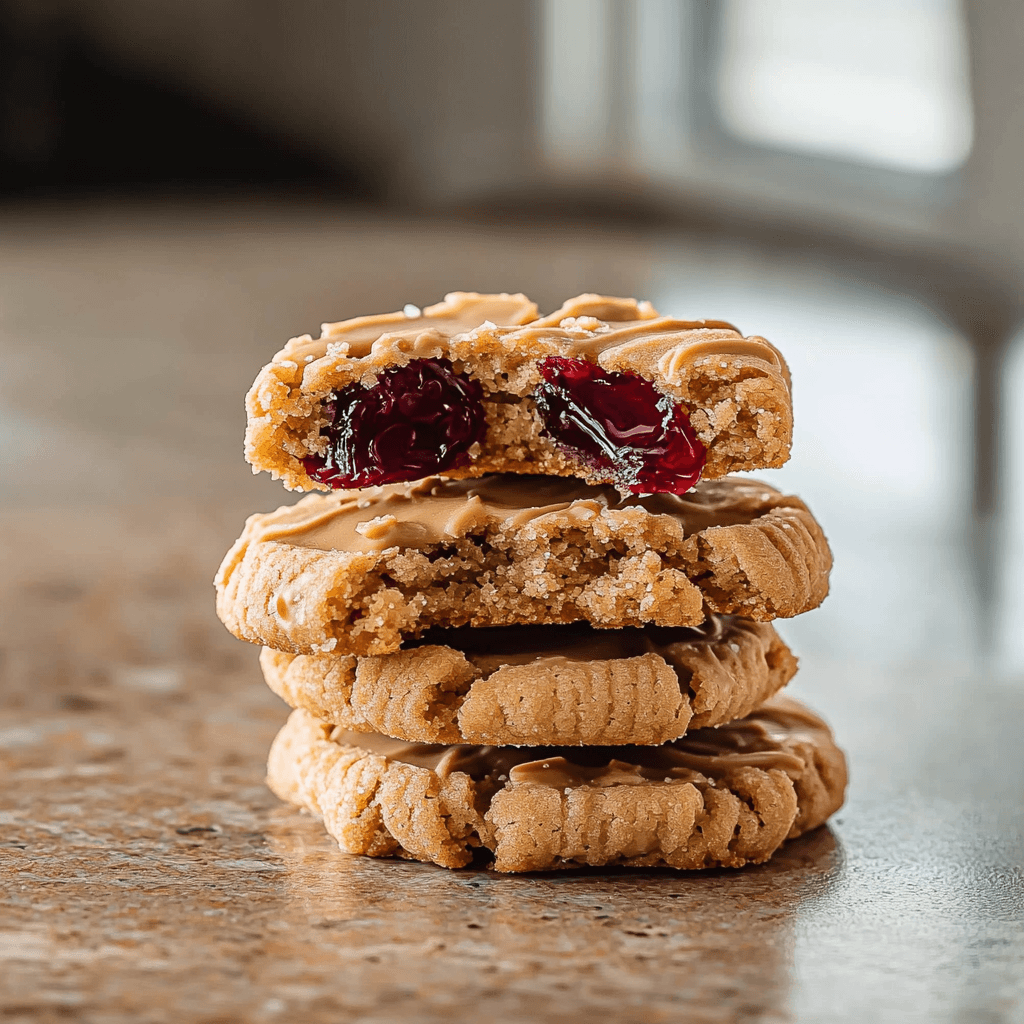
To achieve the best Peanut Butter and Jelly Cookies, consider implementing several helpful tips and tricks. First, experiment with different types of jelly or jam. While grape jelly is classic, raspberry or strawberry preserves can add unique flavors that enhance your cookie’s taste profile.
Next, try adding a pinch of salt to enhance the sweetness of the peanut butter and jelly combination. Salt balances flavors and elevates sweetness without overpowering it. For an extra layer of richness, consider incorporating chocolate chips into the dough.
Another useful tip is to use parchment paper on your baking sheets for easier cleanup and even cooking. Parchment prevents sticking and ensures that heat circulates evenly around each cookie.
If you’re looking to enhance texture, chill your dough for at least 30 minutes before baking. This allows the fats in the peanut butter to solidify slightly and helps prevent excessive spreading during baking.
Lastly, don’t hesitate to get creative with shapes! Instead of traditional rounds, press cookie dough into fun molds or cut them into festive shapes that suit any occasion. With these tips and tricks in mind, your Peanut Butter and Jelly Cookies will impress everyone who tries them.
Suggestions for Peanut Butter and Jelly Cookies
For perfect Peanut Butter and Jelly Cookies, consider some additional suggestions that could elevate your baking experience. One key suggestion is to ensure all ingredients are at room temperature before mixing them together. Room-temperature eggs blend more easily into the batter, resulting in a smoother cookie dough.
Furthermore, think about using a combination of different nut butters if peanut allergies are a concern or if you’re looking for variety in flavor. Almond or cashew butter can provide delightful alternatives while maintaining similar textures.
Another suggestion involves adjusting baking times according to your oven’s performance. All ovens are not created equal; some may run hotter or cooler than indicated. Keep an eye on your cookies as they bake—remove them from the oven when they are lightly golden around the edges but still soft in the center for chewy cookies.
For added visual appeal, drizzle melted chocolate over cooled cookies for a gourmet touch or sprinkle crushed nuts on top before baking for extra crunchiness.
Lastly, don’t hesitate to double or triple the batch! These cookies freeze remarkably well after baking; simply allow them to cool completely before placing them in an airtight container with layers separated by parchment paper. With these suggestions implemented during your baking process, you’ll create delicious Peanut Butter and Jelly Cookies that everyone will love!
FAQs
What are Peanut Butter and Jelly Cookies?
Peanut Butter and Jelly Cookies are delectable treats that combine two beloved flavors: peanut butter and jelly (or jam). The base of these cookies often includes creamy or crunchy peanut butter mixed with flour, sugar, eggs, and other typical cookie ingredients like baking powder or soda. After shaping the dough into balls on a baking sheet, a small amount of jelly is typically placed in the center before baking. This results in soft cookies with a sweet surprise inside! They are perfect for lunchboxes or as an afternoon snack.
Can I use natural peanut butter for these cookies?
Using natural peanut butter in Peanut Butter and Jelly Cookies is possible but not always recommended due to its tendency to separate over time. Natural peanut butter has no added stabilizers like commercial brands do; this means it may lead to dry or crumbly cookie texture if not mixed well enough before measuring out ingredients. If you prefer using natural peanut butter for its health benefits or flavor profile, stir it thoroughly before measuring so it combines properly throughout your recipe!
How do I store leftover cookies?
To store leftover Peanut Butter and Jelly Cookies effectively, follow these guidelines: Allow cookies to cool completely after baking then place them in an airtight container lined with parchment paper between layers if necessary—this prevents sticking! Store at room temperature for up to one week or freeze them for longer storage (up to three months). Just remember that freezing may affect texture slightly; thaw them at room temperature when ready to enjoy again!
Can I substitute almond butter instead of peanut butter?
Absolutely! Almond butter serves as an excellent substitute when making Peanut Butter and Jelly Cookies—offering both flavor variation as well as being suitable for those allergic to peanuts! Simply replace equal amounts of almond butter per recipe instructions; however note that this could alter texture slightly so adjust consistency by adding more flour if needed until desired dough thickness achieved!
What types of jelly work best?
While grape jelly remains classic among fans who enjoy traditional flavors paired with their favorite nutty goodness—feel free experiment with various jellies such as raspberry preserves or strawberry jam! Each type adds its unique twist on taste while enhancing overall appeal visually too! For adventurous bakers try mixing multiple flavors together—creating delightful combinations sure please everyone’s palate!
Are there gluten-free options available?
Yes! If you’re looking for gluten-free options when preparing Peanut Butter & Jelly Cookies simply replace all-purpose flour with certified gluten-free alternatives like almond flour or coconut flour—both will yield tasty results without compromising flavor! Ensure all other ingredients used (such as oats) also labeled gluten-free if necessary—following these guidelines guarantees delicious treats everyone can enjoy!
Conclusion
In conclusion, creating delightful Peanut Butter and Jelly Cookies requires attention to detail while avoiding common mistakes along the way. By choosing quality ingredients like creamy peanut butter instead of natural varieties ensures optimal consistency throughout your baked goods! Remember also how vital accurate measurements play into successful recipes—as even slight variations might lead less-than-ideal outcomes!
Implementing useful tips such as experimenting with different jellies allows you personalize each batch while incorporating fun shapes adds creativity into presentation too! Lastly don’t forget proper storage methods preserving freshness enables enjoyment long after initial bake day has passed!
With these insights firmly grasped—anyone eager indulge themselves should find joy preparing scrumptious batches now knowing what pitfalls steer clear from plus helpful ways elevate overall experience—making every bite unforgettable!

