Introduction and Quick Summary
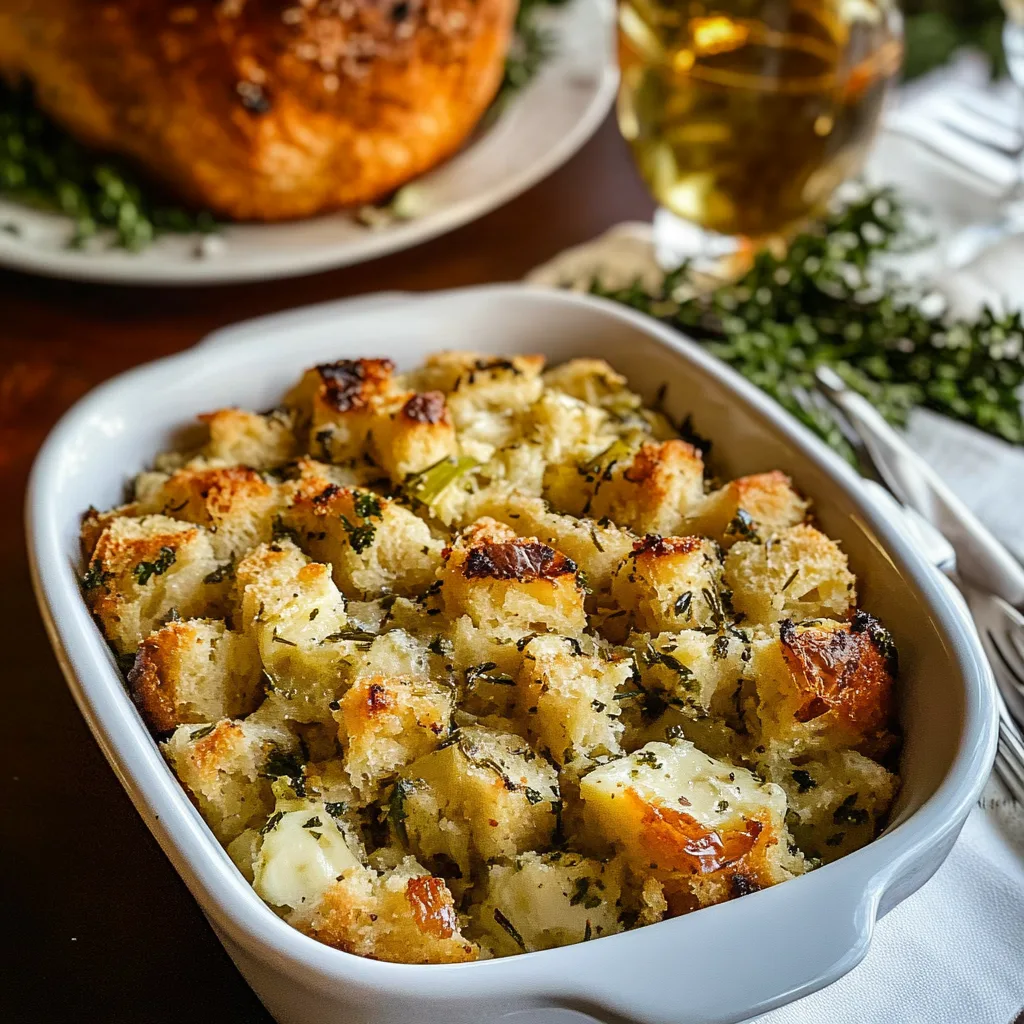
Classic Butter Herb Stuffing is a timeless dish that graces the tables of families during holiday feasts. This comforting recipe combines fresh herbs and buttery bread cubes to create a savory side dish that complements any main course. Whether you’re celebrating Thanksgiving, Christmas, or just enjoying a cozy family dinner, this stuffing is sure to delight your taste buds.
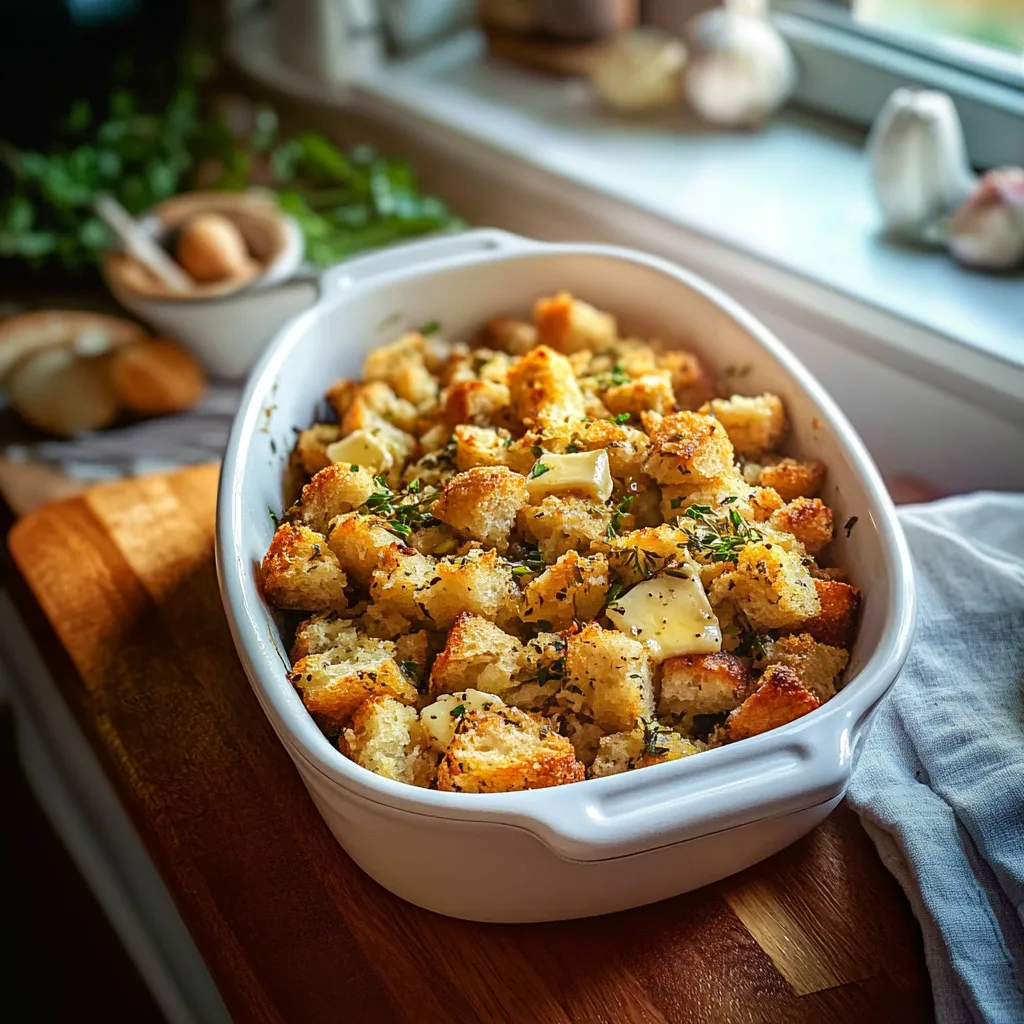
In this guide, we’ll walk you through the essential ingredients needed for the perfect Classic Butter Herb Stuffing and provide step-by-step instructions to ensure your dish turns out beautifully every time. With aromatic sage, thyme, and parsley paired with rich butter-soaked bread, each bite captures the essence of home-cooked warmth.
Not only is this stuffing bursting with flavor, but it’s also incredibly versatile. You can serve it alongside roasted turkey or chicken or even as part of a vegetarian spread. Plus, with our serving and storing tips, you can easily prepare this dish in advance so you can enjoy stress-free holidays with your loved ones. Read on to learn how to create this classic favorite that will keep your guests coming back for seconds!
Main Ingredients
Bread Cubes
For this Classic Butter Herb Stuffing recipe, you’ll need about 12 cups of bread cubes. Use day-old bread for the best texture; sourdough or French bread works wonderfully. The staleness allows the cubes to absorb flavors without becoming mushy. Cut the bread into 1-inch cubes and let them sit out overnight or dry them in a low oven before use.
Unsalted Butter
You will need 1 cup (2 sticks) of unsalted butter for sautéing vegetables and adding richness to your stuffing. Using unsalted butter allows you to control the salt levels in your dish. Melt the butter until bubbly and fragrant before combining it with onions and celery for added depth of flavor.
Onion
One medium onion adds essential aromatics to our stuffing. Dice the onion finely so it caramelizes evenly when sautéed with butter. This step not only enhances its sweetness but also contributes to the overall flavor profile of the stuffing.
Celery
Using 2-3 stalks of celery adds crunch and freshness to the dish. Chop the celery into small pieces so they soften nicely while cooking with onions. Celery also imparts a subtle earthiness that balances the richness from the butter.
Fresh Herbs
A combination of fresh herbs—1 tablespoon each of chopped sage, thyme, and parsley—brings vibrant flavors to your stuffing. Fresh herbs provide a more potent aroma compared to dried options. Make sure to chop them finely so they distribute evenly throughout your mixture.
Chicken or Vegetable Broth
You’ll need about 2 cups of chicken or vegetable broth to moisten your bread cubes effectively without making them too soggy. The broth infuses additional flavor into the mixture; use homemade broth if possible for an even richer taste.
Salt & Pepper
Finally, season your Classic Butter Herb Stuffing with salt and freshly ground black pepper according to taste. Start with about 1 teaspoon of salt and half a teaspoon of pepper; adjust as necessary after tasting.
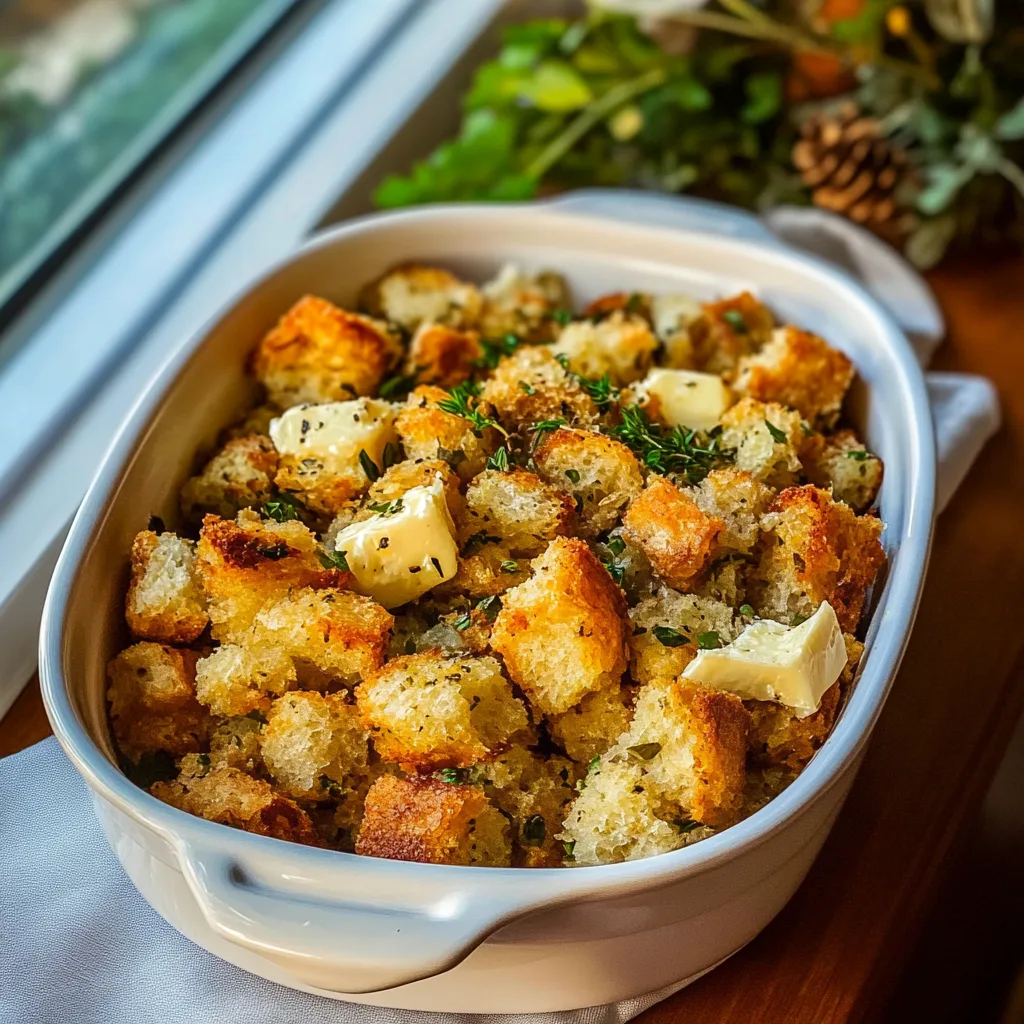
How to Prepare Classic Butter Herb Stuffing
Step 1: Prepare Your Bread Cubes
Begin by preheating your oven to 350°F (175°C). While it warms up, cut your day-old bread into one-inch cubes if you haven’t done so already. Spread them out on a baking sheet in an even layer and toast them in the oven for about 10–15 minutes until they are lightly golden brown but not too hard. This step helps create a sturdy base for absorbing all those delectable flavors later on.
Once toasted, remove them from the oven and let them cool down slightly while you prepare other ingredients. If you’re using fresh bread rather than stale slices, consider drying it out first by leaving it uncovered overnight or putting it in a low-temperature oven for about half an hour.
Step 2: Sauté Vegetables in Butter
In a large skillet over medium heat, melt one cup (or two sticks) of unsalted butter until bubbly but not browned—around three minutes should do it! Add finely diced onion along with chopped celery into the skillet once melted; stir regularly so everything cooks evenly without burning.
Sauté these vegetables gently until they’re softened—approximately five minutes should suffice! The onions will become translucent while still retaining their shape; this is perfect since we want both crunch from celery and sweetness from onions when combined later on with our toasted bread cubes.
Once done sautéing, remove from heat but do not forget about those lovely aromas wafting through your kitchen! Set aside near where you’ll combine everything shortly.
Step 3: Mix Bread Cubes With Aromatics
In a large mixing bowl (preferably one that can accommodate all ingredients), add those wonderful toasted bread cubes along with sautéed vegetable mix prepared earlier along with chopped fresh herbs like sage thyme parsley salt pepper then gradually pour in two cups of broth while stirring continuously until all ingredients are evenly coated!
You want enough moisture here without drowning everything completely—this ensures every bite has just enough flavor without risking sogginess! Once well combined taste-test seasoning adjusting salt/pepper accordingly if necessary before transferring mixture onto greased baking dish or casserole pan ensuring uniformity across surfaces!
Step 4: Bake Your Stuffing
Preheat your oven again now set at around 375°F (190°C). Cover stuffed baking dish tightly using aluminum foil preventing direct heat exposure while allowing steam retention inside creating moist goodness during bake time! Bake covered for about twenty-five minutes then remove foil allowing top layer crisp up deliciously golden brown another twenty minutes max!
Keep an eye on it towards end ensuring nothing burns; once done check internal temperature reaches around 165°F (74°C) confirming safety standards met before serving warm alongside mains like turkey chicken roast veggies whatever delights you have planned!
Serving and Storing Tips
Serving Suggestions
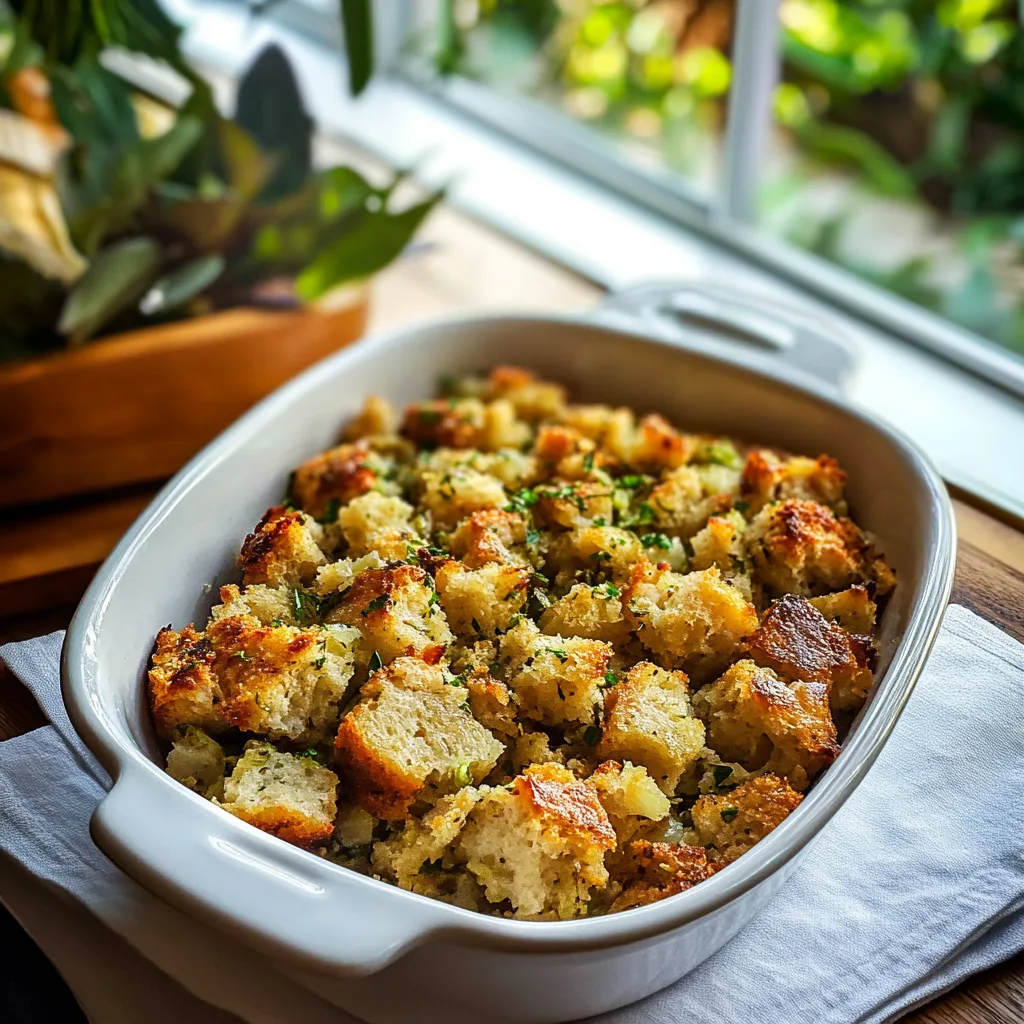
When serving Classic Butter Herb Stuffing at family gatherings or holiday feasts consider pairing it alongside roasted meats such as turkey or ham which complement its rich flavors perfectly! A fresh cranberry sauce adds acidity balancing out buttery richness beautifully while steamed green beans brighten up plate presentation visually appealing way!
Portion servings according personal preferences typically one cup per person suffices especially if accompanied by other side dishes providing variety across meal offerings! Encourage guests help themselves placing spoons nearby allowing everyone share love dishing generous amounts onto plates enjoying every last crumb together creating memories around table shared laughter stories told cherished moments preserved forever within hearts souls alike!
Storing Leftovers
If by chance there are any leftovers post-meal don’t fret—they can be stored conveniently either refrigerated up three days maximum freezing longer periods extending shelf life several months! Ensure cool down completely before transferring airtight container preferably glass maintaining quality texture integrity original state upon reheating later dates! When ready warm oven preheated around three hundred fifty degrees Fahrenheit simply cover foil reheat fifteen-twenty minutes ensuring heated through thoroughly no dryness occurs during process keeping moist deliciousness intact!
Alternatively consider transforming leftover stuffing into breakfast frittatas casseroles incorporating eggs cheese veggies reimagining next culinary adventure exploring new flavors textures excitingly diverse experiences waiting ahead tasty indulgences await discovery delightfully satisfying journeys undertaken kitchen realms vast boundless possibilities unveil themselves right fingertips full creative potential unleashed culinary prowess soaring ever higher reaching new heights gastronomic excellence achieved effortlessly each bite savored relished journey shared loved ones treasured moments forever remembered etched memories lived fully embraced wholeheartedly cherished forevermore!
Mistakes to avoid
When making Classic Butter Herb Stuffing, it’s common to stumble into a few pitfalls that can affect the final dish. One major mistake is not using stale bread. Fresh bread can lead to a soggy stuffing that lacks texture and flavor. Instead, opt for day-old bread or toast your fresh bread cubes in the oven until they’re golden brown. This step enhances crunchiness and prevents excessive moisture absorption.
Another mistake is overlooking the seasoning. Many people often think that the butter and herbs will provide sufficient flavor, but this is usually inadequate. Be sure to season your stuffing mixture well with salt and pepper. Taste as you go; this allows you to adjust the flavors according to your palate. Additionally, consider including aromatics like sautéed onions and celery for depth.
Overcrowding the baking dish is another common error. If you pack the stuffing too tightly, it won’t cook evenly. Instead, use a larger dish or an additional one so that the stuffing has room to breathe while baking. This ensures each bite is flavorful and has that perfect crispy edge.
Failing to account for moisture levels can also ruin your Classic Butter Herb Stuffing. Too much liquid results in a mushy texture, while too little can leave it dry. Start with a modest amount of broth and gradually add more until you achieve a moist yet firm consistency.
Lastly, don’t forget about letting it rest after baking. Allowing the stuffing to sit for about 15 minutes helps stabilize its structure, making it easier to serve without falling apart.
Tips and tricks
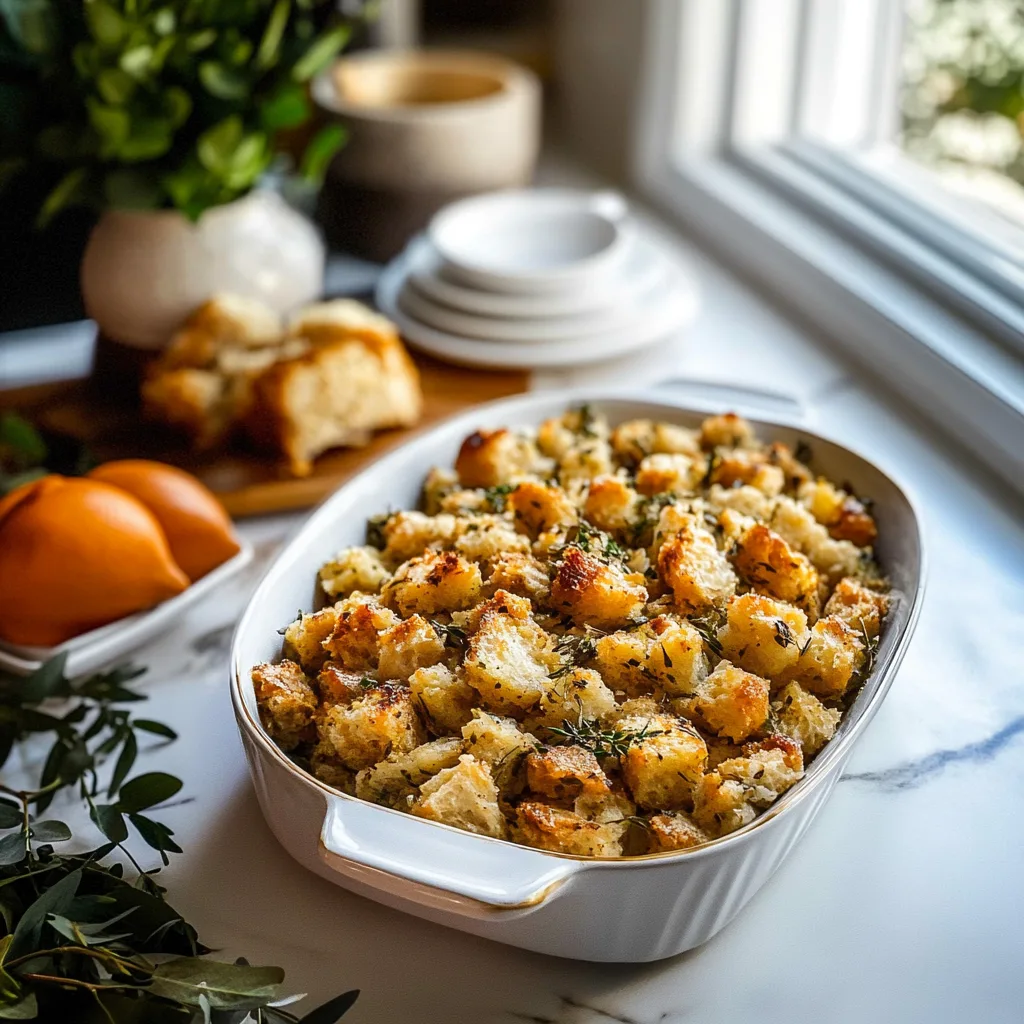
To elevate your Classic Butter Herb Stuffing, consider these tips and tricks that can make a significant difference in taste and texture. First, invest time in selecting high-quality ingredients. The type of bread used plays a crucial role; artisanal breads such as sourdough or ciabatta offer unique flavors compared to standard white bread. Their robust textures help absorb butter and broth better.
Next, think about incorporating diverse herbs and spices into your recipe. Fresh herbs like thyme, sage, and parsley not only enhance flavor but also add wonderful aromas to your stuffing. If using dried herbs, remember they are more concentrated than fresh ones—use them sparingly.
Another handy tip involves sautéing your vegetables before adding them to the mix. This step caramelizes their natural sugars and offers a rich depth of flavor that raw vegetables can’t provide. Sauté onions, celery, and garlic in butter until they’re soft before combining them with your bread cubes.
Don’t shy away from adding proteins such as cooked sausage or bacon for an extra layer of richness in your Classic Butter Herb Stuffing. These elements bring savory notes that complement the herbs beautifully.
Finally, if you’re preparing ahead of time, consider storing unbaked stuffing in the refrigerator overnight. This allows flavors to meld together beautifully—just remember to let it come back to room temperature before baking for even cooking.
Suggestions for Classic Butter Herb Stuffing
For an unforgettable Classic Butter Herb Stuffing experience, try these suggestions that will enhance both flavor and presentation. Begin by experimenting with different types of broth—chicken or vegetable broth can impart varying degrees of richness depending on your preference or dietary needs.
Adding fruits like dried cranberries or apples can create a delightful contrast against savory elements in your stuffing while providing bursts of sweetness with every bite. If you’re feeling adventurous, even nuts like pecans or walnuts lend a delightful crunch when mixed into the stuffing.
Also consider how you bake your stuffing; instead of traditional methods in one large dish, try individual servings baked in ramekins or muffin tins for a fun twist on presentation! Not only does this create visually appealing portions but also ensures perfectly crispy edges all around each serving.
If you’re preparing this dish for special occasions like Thanksgiving or Christmas, garnishing with fresh herbs before serving adds visual appeal along with aromatic freshness that excites guests’ palates.
Lastly, don’t forget about allergens when making Classic Butter Herb Stuffing—there are gluten-free breads available now that allow everyone at your table to enjoy this classic dish without worry!
FAQs
What kind of bread is best for Classic Butter Herb Stuffing?
Choosing the right type of bread is essential for crafting perfect Classic Butter Herb Stuffing. Stale bread works best because it retains its shape better when mixed with liquids compared to fresh bread which can become soggy quickly during preparation. Ideally aim for dense artisan breads like sourdough or French baguette; they provide excellent texture and flavor profiles that complement traditional seasonings beautifully! If you have leftover sandwich bread at home don’t hesitate—that works too! Just make sure it’s adequately dried out beforehand either by leaving it out overnight or lightly toasting before mixing into filling ingredients—the end result will be delightful!
Can I prepare Classic Butter Herb Stuffing ahead of time?
Absolutely! Preparing Classic Butter Herb Stuffing ahead saves time on busy days like Thanksgiving! You can assemble everything together without baking then store it covered in the refrigerator overnight allowing flavors ample opportunity to meld together deliciously overnight! When ready simply take out from fridge allowing it come up slightly towards room temperature before placing into preheated oven (around 350°F) until heated through making sure top gets nice golden brown finish!
How long does Classic Butter Herb Stuffing last?
After cooking up batches of deliciousness keep any leftovers stored adequately wrapped within airtight containers inside fridge where they should stay good roughly 3-5 days depending on freshness levels prior storage efforts! For longer-term storage consider freezing portions; just ensure they’re cooled fully first then sealed tightly – frozen stuffing maintains quality up till three months maximum although may still be safe indefinitely after this period taste might suffer over time!
Can I use fresh herbs over dried ones?
Using fresh herbs instead of dried ones generally brings brighter flavors along with vibrant aromas which enhance overall experience remarkably! However if you do choose utilize dried variants keep in mind they pack much stronger punch than their fresh counterparts therefore less quantity should suffice—approximately one-third amount recommended when substituting equals weight yield achieved through using fresh varieties!
Is gluten-free bread suitable for Classic Butter Herb Stuffing?
Yes indeed! Gluten-free breads have come a long way offering excellent alternatives nowadays allowing everyone including those sensitive towards gluten content enjoy delectable dishes such as classic butter herb stuffing without compromising taste preferences! Just make sure whatever loaf selected retains similar density & structure ensuring successful absorption during cooking process whilst still achieving desired crunchiness upon completion!
Can I include meat in my stuffing?
Certainly! Adding cooked meats such as sausage or diced turkey elevates classic butter herb stuffing significantly adding savory depth along added protein benefits appreciated by many diners alike! Just be cautious regarding fat content since richer meats could require adjusting liquid ratios accordingly ensuring balance maintained throughout mixture prior baking endeavors!
Conclusion
In summary, creating an exceptional Classic Butter Herb Stuffing requires attention to detail through avoiding common mistakes while applying helpful tips effectively during preparations phase leading up towards final assembly stages before cooking commences! By selecting quality ingredients such as stale artisanal breads alongside fresh herbs paired harmoniously together alongside thoughtful additions like fruits/nuts/proteins one can elevate traditional recipes transforming them into delightful experiences pleasing everyone gathered around dining tables during festive occasions alike! Following guidelines outlined here while keeping track various FAQs ensures success each time crafted version served whether enjoyed solo alongside holiday favorites alike bringing joyfulness & satisfaction shared among loved ones gathered close together around meals made special through thoughtful preparations invested throughout process leading up towards memorable dining experiences created together lasting forevermore cherished memories formed forevermore shared fondly reminisced upon over years ahead down line—Bon Appétit!

