Introduction and Quick Summary
If you have a sweet tooth or simply love the combination of peanut butter and chocolate, look no further than these delightful Butterfinger Balls. These treats are a perfect blend of creamy peanut butter and crunchy crushed cookies, coated in silky chocolate. They are incredibly simple to make and require no baking, making them an ideal option for busy days or surprise gatherings. In this article, we will guide you through the process of creating these irresistible candy bites from scratch, ensuring that each step is clear and easy to follow.
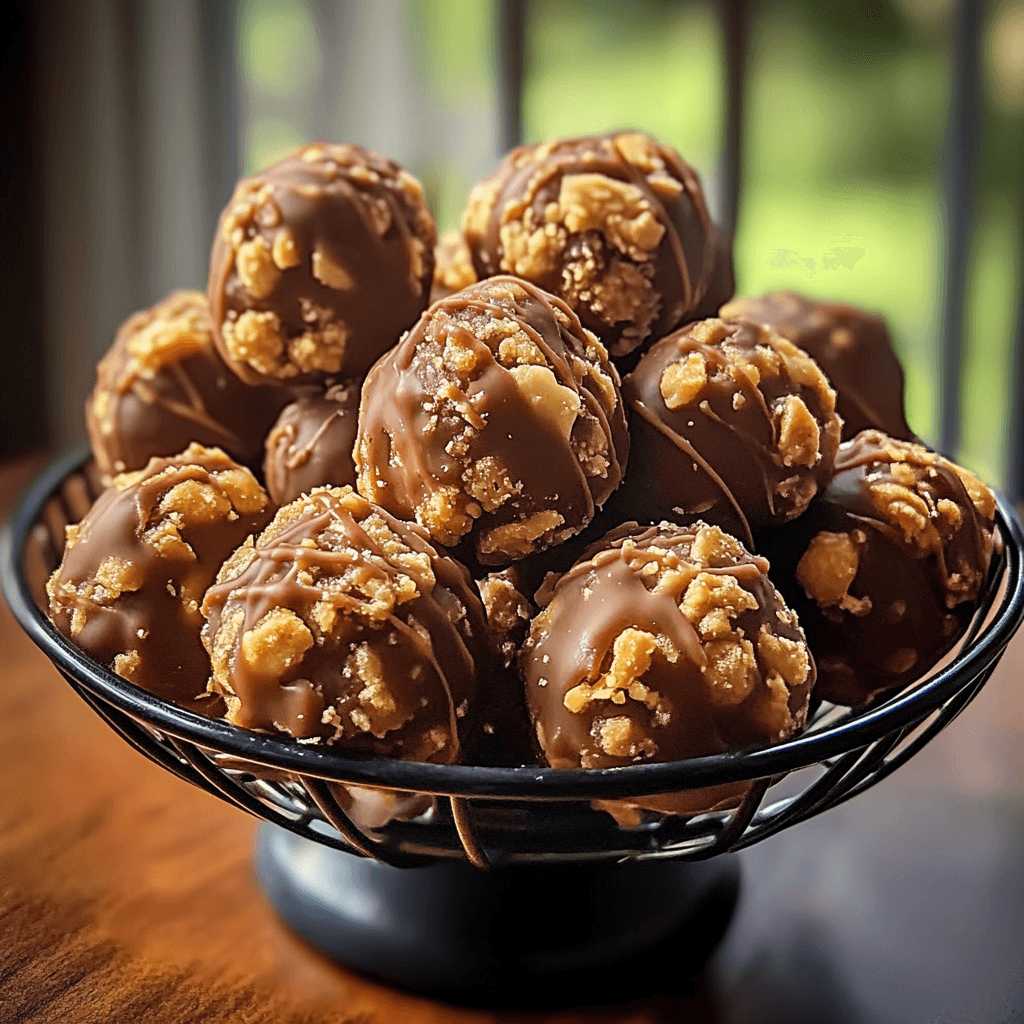
Butterfinger Balls are not only delicious but also versatile. You can serve them as a dessert after dinner, present them at parties, or enjoy them as a midday snack. The creamy texture combined with the crunchy exterior offers a satisfying bite that will leave everyone wanting more. Plus, they make great gifts when packaged nicely. By following our detailed instructions and tips, you will be able to impress your family and friends with your culinary skills while enjoying these homemade sweets yourself.
In the following sections, we’ll cover the main ingredients you’ll need for this recipe and provide step-by-step instructions on how to prepare Butterfinger Balls. Get ready to indulge in a treat that’s sure to become a household favorite!
Main Ingredients
Peanut Butter
Peanut butter is the star ingredient in our Butterfinger Balls recipe. Use creamy or crunchy peanut butter based on your preference; both work beautifully in this treat. A standard 1 cup measurement provides just the right amount of flavor and consistency needed to bind the other ingredients together perfectly. Choose a high-quality brand without added sugar or preservatives for the best taste.
Crushed Graham Crackers
Crushed graham crackers add that essential crunch to the Butterfinger Balls while also providing sweetness. You will need about 2 cups of crushed graham crackers for this recipe. This ingredient mimics the flavor profile of traditional Butterfinger candy bars and helps create that delightful texture you crave.
Powdered Sugar
Powdered sugar acts as a sweetener in this recipe and helps achieve a smooth texture for our mixture. About 1 cup is required to balance out the flavors without overpowering the peanut butter’s natural taste. Make sure to sift it first if it’s clumpy; this ensures an even distribution throughout the mixture.
Chocolate Coating
For coating your Butterfinger Balls, you’ll need approximately 12 ounces of chocolate chips—milk chocolate or semi-sweet depending on your preference. Melting down this chocolate creates that irresistible outer layer that complements the rich filling inside perfectly.
Vanilla Extract
A splash of vanilla extract enhances all the flavors in your Butterfinger Balls. Just 1 teaspoon is enough to round out the sweetness while adding depth to your treats’ overall taste profile.
How to Prepare Butterfinger Balls
Step 1: Prepare Your Workstation
Start by gathering all your ingredients and tools before you begin preparing your Butterfinger Balls. Clear off a clean workspace where you can mix everything easily without interruptions. It’s important to have access to mixing bowls, measuring cups, spoons for stirring, parchment paper for cooling your balls later on, and a microwave-safe bowl or double boiler for melting chocolate.
Once everything is organized, preheat your refrigerator so it’s ready when you need it later on—this helps firm up the balls after they’re shaped.
Step 2: Mix Peanut Butter Mixture
In a large mixing bowl, combine 1 cup of peanut butter with 2 cups of crushed graham crackers and 1 cup of powdered sugar along with 1 teaspoon of vanilla extract. Start by mixing with a spoon until all ingredients are well incorporated; it may take some effort since peanut butter can be thick.
Once mixed thoroughly, use your hands (it’s easier!) to knead everything together until it forms a cohesive dough-like consistency that holds together well without crumbling apart.
You should be able to roll small portions into balls easily—aim for about 1 inch in diameter each for uniformity when serving later!
Step 3: Chill Your Peanut Butter Mixture
After forming all your balls from the mixture (you should yield around two dozen), place them on parchment paper-lined trays or plates spaced apart so they don’t touch each other while chilling.
Cover them loosely with plastic wrap and transfer them into your pre-chilled refrigerator for at least one hour—this step is crucial as it allows those flavors meld beautifully while firming up enough for coating later on.
Step 4: Melt Chocolate Coating
While waiting for your chilled balls, melt approximately 12 ounces of chocolate chips using either a microwave-safe bowl or double boiler method over low heat on stovetop (stir frequently). If microwaving works better for you: Heat in short bursts (15-30 seconds) until melted smoothly without burning!
Once melted completely smooth out any lumps by stirring continuously until silky—set aside briefly once done but keep warm during dipping stage just below boiling point so it doesn’t harden quickly!
Step 5: Coat Each Ball
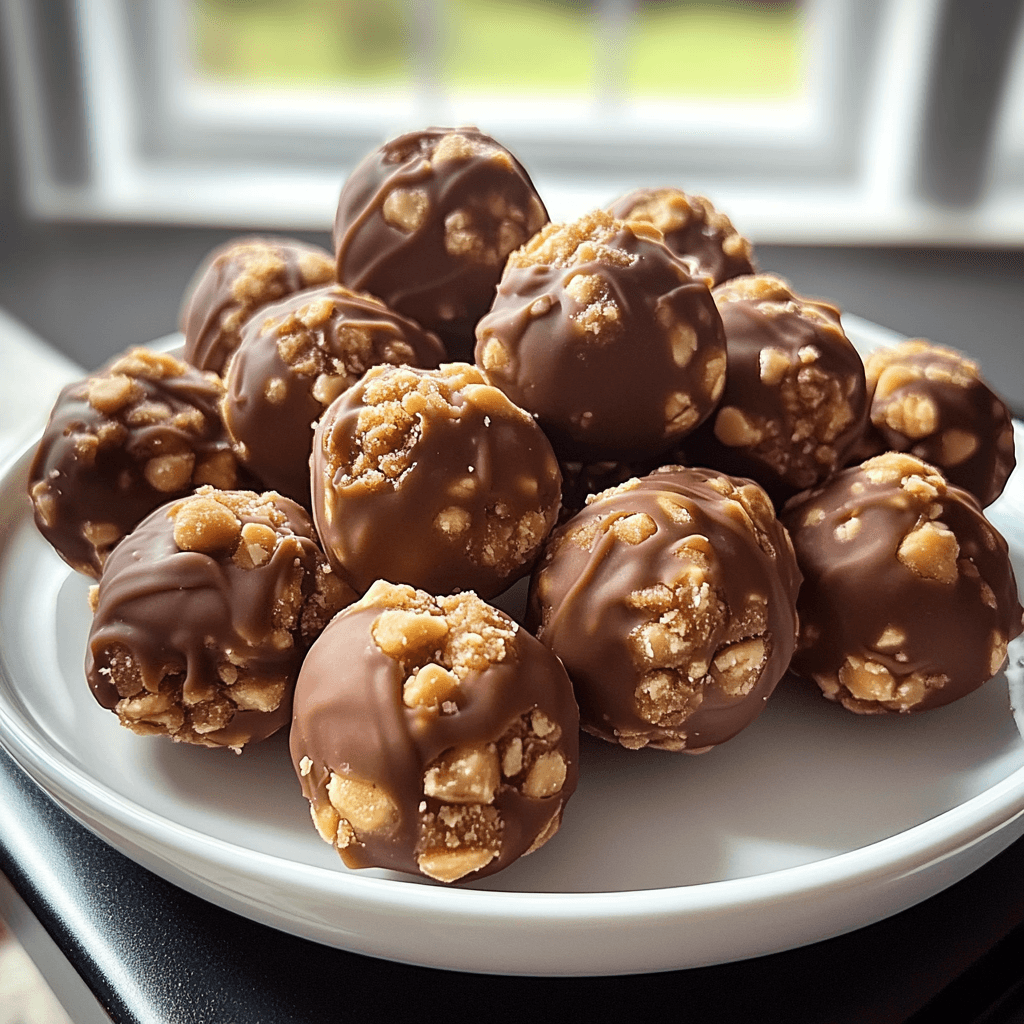
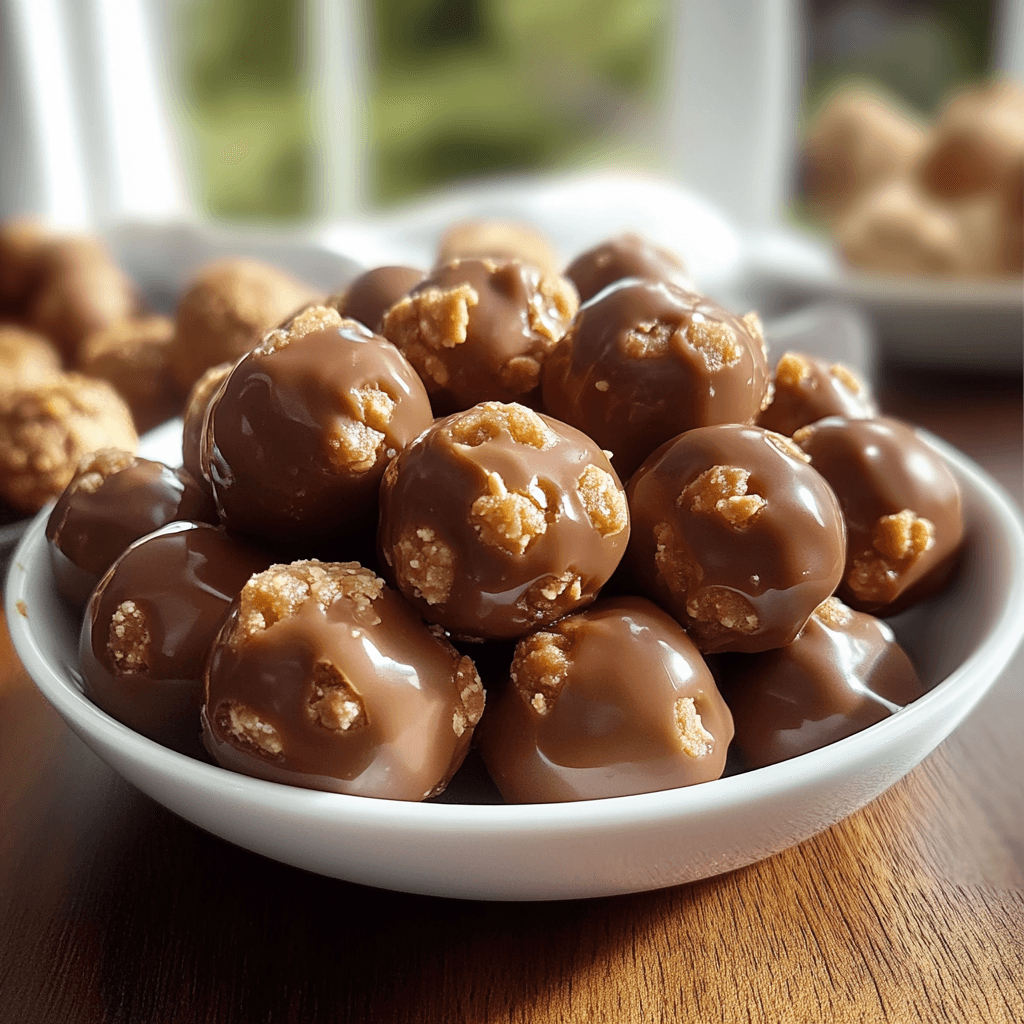
Remove chilled balls from refrigerator carefully; one by one dip each ball into melted chocolate using forks (or toothpicks) allowing excess coating drips back into bowl before placing onto fresh parchment paper lined tray again carefully avoiding touching other coated ones yet!
If desired sprinkle some crushed nuts over top before fully cooled—this adds extra flavor while looking appealing too! Repeat process until every single ball has been coated generously with melted chocolate goodness then allow cooling completely at room temperature before storing away!
Serving and Storing Tips
Serving Suggestions
These delectable Butterfinger Balls can be served in various ways! Whether you’re hosting a gathering or simply enjoying them at home with family during movie night—they’re versatile enough for any occasion! For presentations purposes consider arranging them elegantly on platters garnished with fresh fruits such as strawberries or banana slices which complement their sweetness beautifully.
You may also package individual servings into small cellophane bags tied off with colorful ribbons if giving away as gifts—great ideas include holiday parties where everyone loves receiving homemade goodies! Remember: presentation matters just as much as taste when sharing treats like these!
Storage Guidelines
To store leftover Butterfinger Balls properly after indulging ensure they cool completely first then transfer into an airtight container layered between sheets of parchment paper if stacking multiple layers high prevents sticking together! Keep stored inside refrigerator where they’ll stay fresh up until two weeks—but trust us—they likely won’t last that long once everyone tastes how delicious they are!
If desired freeze uncoated ones instead prior dipping into melted chocolate ahead-of-time allowing flexibility whenever cravings strike later…simply thaw overnight in fridge before coating freshly again whenever convenient—it’s easy peasy! Enjoy making memories while enjoying every bite without guilt knowing exactly what goes inside these tasty morsels too!
Mistakes to avoid
When making Butterfinger Balls, there are several common mistakes that can impact the final product. One major mistake is not allowing the cream cheese to soften adequately before mixing. Softening cream cheese makes it easier to blend with other ingredients, resulting in a smoother texture. If you use cold cream cheese, you might end up with lumps in your mixture, which can affect the overall taste and mouthfeel of your Butterfinger Balls.
Another mistake is using low-quality chocolate for coating. The chocolate coating plays a crucial role in the flavor profile of Butterfinger Balls. Opting for a high-quality chocolate will enhance the richness and provide a satisfying crunch when bitten into. Cheap chocolate tends to have a waxy texture and can dull the flavors of your delicious filling, leading to a disappointing treat.
Additionally, many people forget to chill their Butterfinger Balls before dipping them in chocolate. Chilling helps them maintain their shape during the coating process. If they are too soft or warm, they may fall apart or lose their form when dipped into melted chocolate. Ensure that you place them in the refrigerator for at least 30 minutes prior to dipping.
Lastly, be cautious about how much Butterfinger candy you crumble into your mixture. While it’s tempting to add more for an extra crunch, too much can overwhelm the other flavors and compromise the balance of your Butterfinger Balls. Stick to the recommended amount for best results.
Tips and tricks
Creating perfect Butterfinger Balls requires careful attention to detail. One essential tip is to measure all ingredients accurately. Precision can make a significant difference in texture and flavor. Use measuring cups and spoons instead of estimating amounts; this will ensure that each ingredient contributes correctly to the final outcome.
Another helpful trick is to use parchment paper on your baking sheet when placing the dipped Butterfinger Balls on it. This prevents sticking and makes cleanup much easier later on. Parchment paper also allows for even cooling of the chocolate coating without risking any mess or damage.
It’s also beneficial to work with small batches when mixing and rolling your Butterfinger Balls. This allows you more control over consistency and shape as you prepare each piece. Rolling smaller amounts lets you focus better on achieving uniform sizes that cook evenly and look appealing.
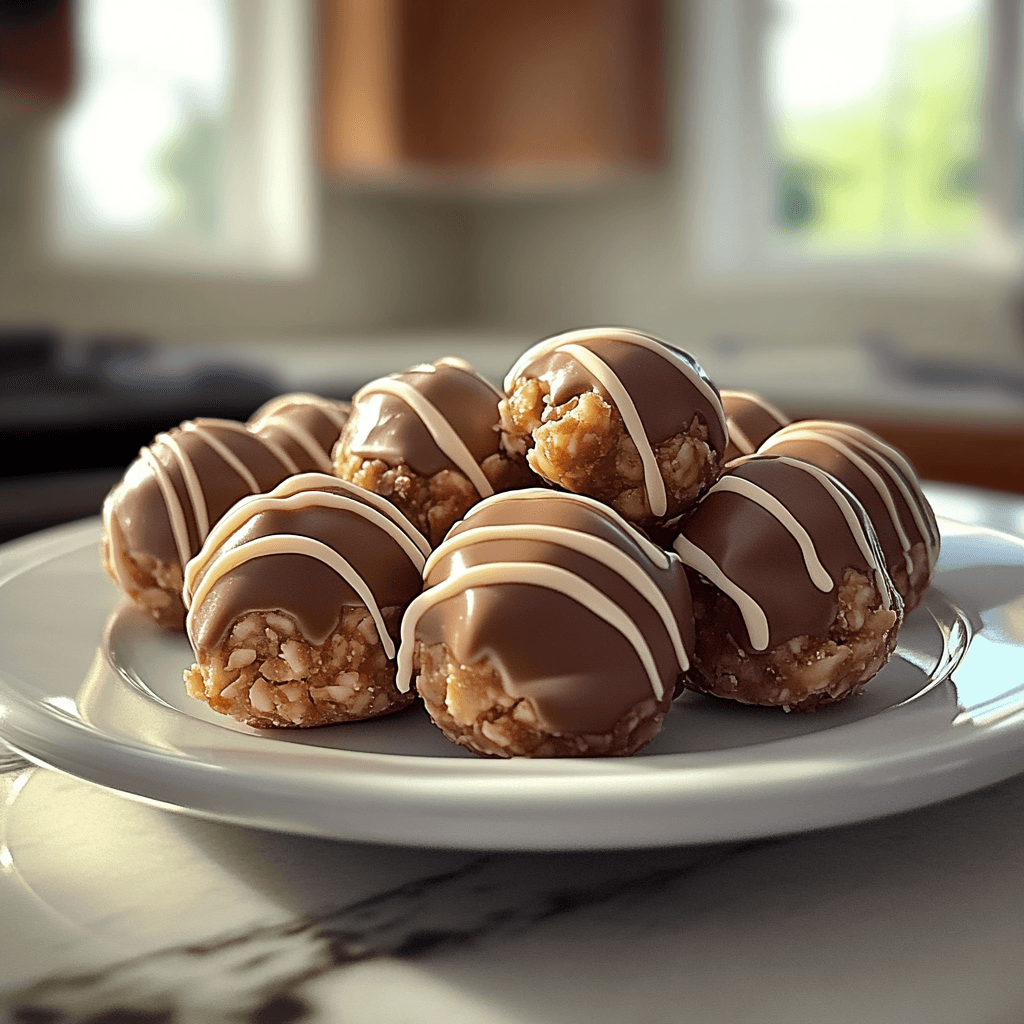
Consider experimenting with different types of toppings after coating your Butterfinger Balls in chocolate. You can drizzle white chocolate over them for added decoration or sprinkle crushed nuts or additional crumbled candy on top before the coating sets. These variations can elevate your treats from simple snacks to gourmet delights.
Finally, try storing your finished Butterfinger Balls in an airtight container at room temperature if you’re planning on consuming them within a week. For longer storage, refrigerate them; this will help maintain freshness while keeping that delightful crunch intact.
Suggestions for Butterfinger Balls
To elevate your Butterfinger Balls from good to extraordinary, consider incorporating some unique flavors into the mix. For instance, adding a touch of vanilla extract can enhance the overall taste profile without overpowering it. Vanilla complements both chocolate and peanut butter beautifully, offering a well-rounded flavor experience.
Another suggestion is trying different coatings besides traditional milk chocolate. Dark chocolate provides a richer contrast that many find appealing, while white chocolate offers sweetness that balances well with salty elements like peanut butter or crushed candy bars.
If you’re feeling adventurous, consider adding spices such as cinnamon or nutmeg into your mixture for an unexpected twist on classic flavors. Just a pinch goes a long way; these spices add warmth and depth without being overly spicy or distracting from the main ingredients.
You might also want to experiment with different fillings within your Butterfinger Balls by adding shredded coconut or mini marshmallows along with the crumbled candy bars and cream cheese mixture. These additions introduce new textures that make each bite exciting while still keeping true to what makes Butterfinger Balls special.
Lastly, don’t underestimate presentation! Arrange your finished treats on decorative platters or individual cupcake liners when serving at parties or gatherings; this small change enhances visual appeal significantly and makes sharing easier among guests.
FAQs
What are Butterfinger Balls made of?
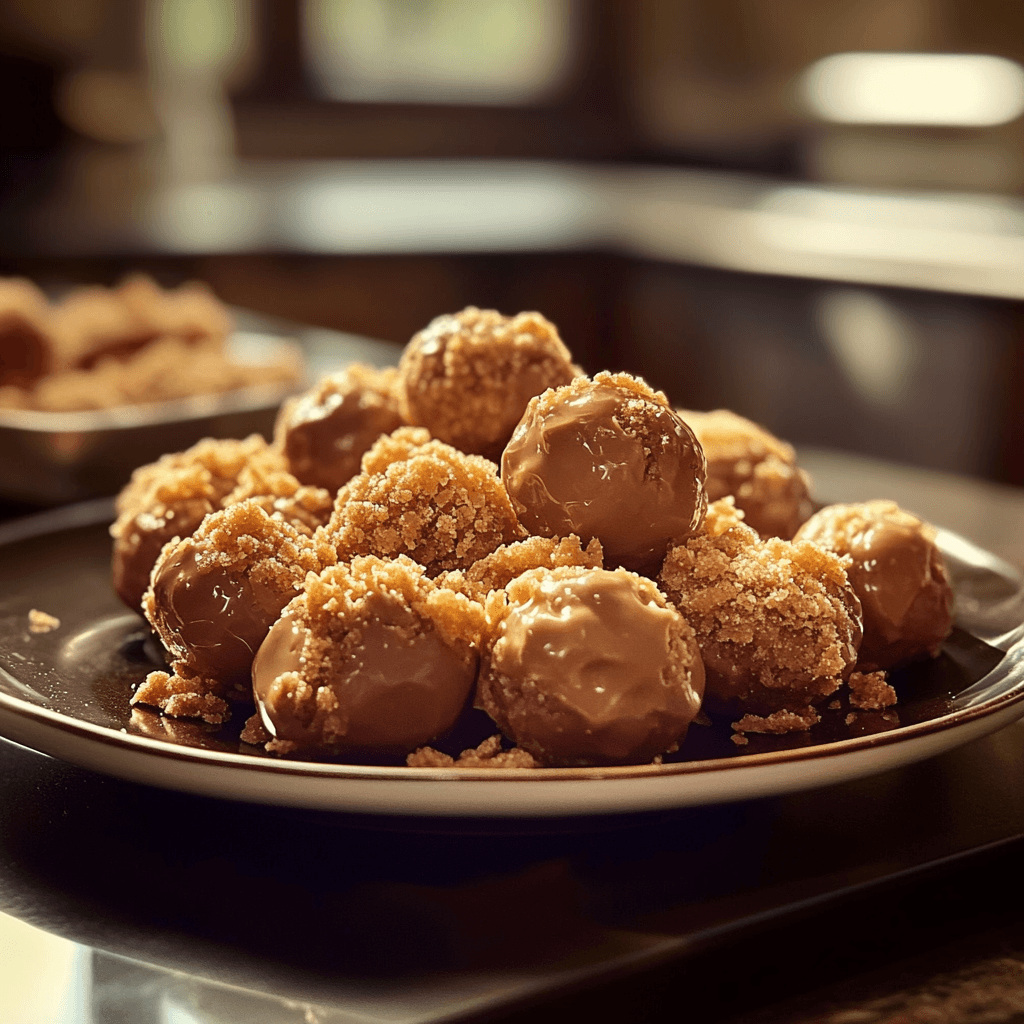
Butterfinger Balls are typically made from three primary ingredients: crushed Butterfinger candy bars, cream cheese, and chocolate for coating. The combination creates a rich filling that’s sweet yet slightly salty from the candy’s peanut butter base. To prepare them properly, you need soften cream cheese so it blends smoothly with crushed candy bars before shaping them into balls ready for dipping in melted chocolate.
How should I store my Butterfinger Balls?
To maintain freshness, store your finished Butterfinger Balls in an airtight container either at room temperature for about one week or refrigerate them if you’ll be keeping them longer than that period—up to two weeks max when refrigerated! Just ensure they’re layered carefully so they don’t stick together during storage time!
Can I use different kinds of chocolate?
Absolutely! While traditional recipes often call for milk chocolate coatings due to their sweetness complementing salty elements like peanut butter perfectly—you could opt instead for dark chocolate which adds richness; alternatively white chocolates offer sweetness! Feel free to experiment until you find what suits everyone’s palate best at home!
How do I make my Butterfinger Balls more visually appealing?
Presentation matters just as much as taste! Consider drizzling melted white or dark chocolate over dipped balls once set—they look elegant this way! Alternatively sprinkle finely chopped nuts/candy pieces atop freshly coated ones before cooling completely—this creates visual interest while enhancing flavors too!
Can I freeze my Butterfinger Balls?
Yes! Freezing works well if done correctly: Place uncoated balls onto parchment-lined baking sheets first then freeze until firm (about 1-2 hours). Once frozen solid transfer into freezer-safe bags/containers separating layers with wax paper—these should last up 3 months frozen!
Are there any alternatives for cream cheese?
Certainly! If you have dietary restrictions regarding dairy products consider substituting with vegan cream cheese options available today—many offer similar textures/taste profiles allowing easy adaptation without compromising quality results overall!
Conclusion
In summary, creating delightful Butterfinger Balls requires careful attention to detail while avoiding common pitfalls like using cold cream cheese or low-quality chocolates which may diminish flavor quality significantly! Remember key tips such as accurate ingredient measurements along with working batches carefully so everything stays consistent throughout preparation stages making it easier enjoy delicious treats afterward!
Experimentation encourages exploring various coatings/spices enhancing flavors aesthetically pleasing presentations too—elevating those homemade treats beyond expectations impressively every time served friends family alike! Don’t hesitate discovering fun alternatives whether substitutes other ingredients trying out customization ideas ensuring everyone enjoys indulging deliciously satisfying snacks special occasions year-round!

