Introduction and Quick Summary
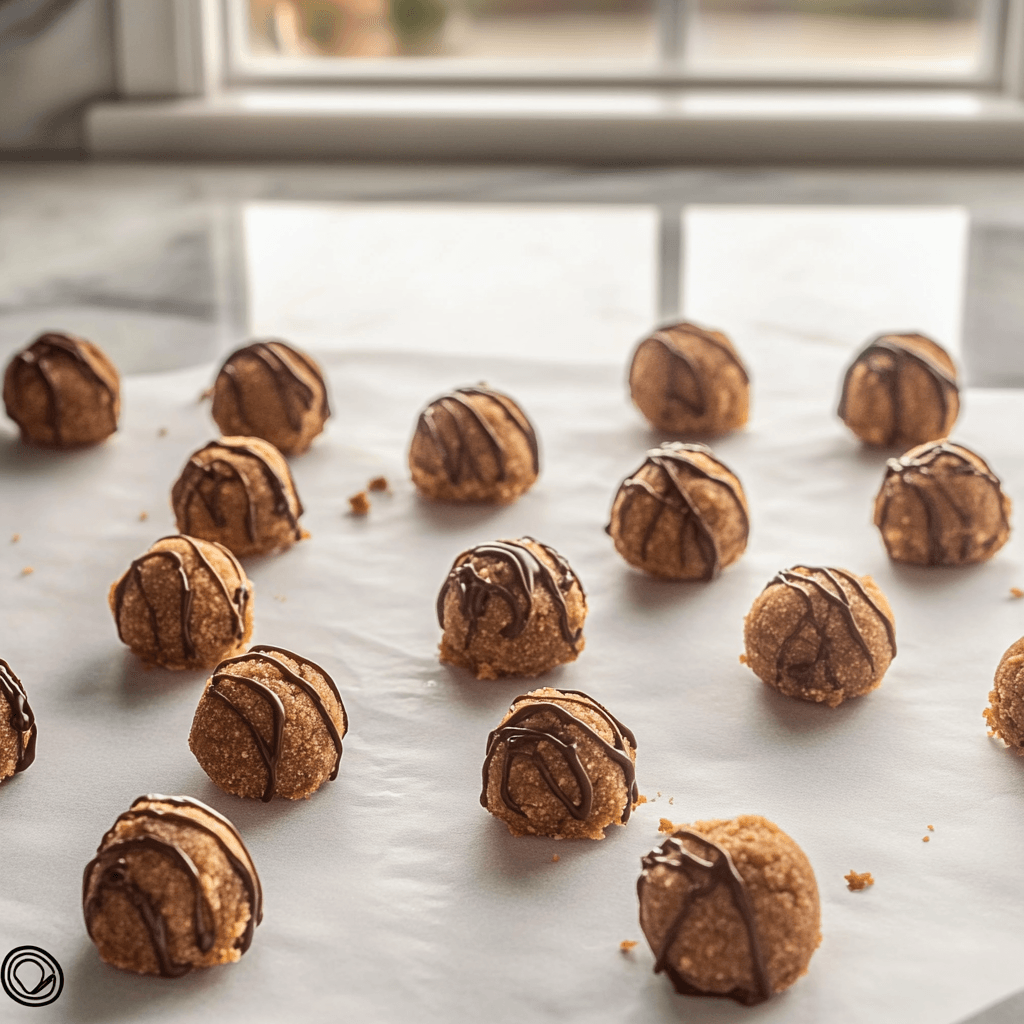
Cookie Dough Truffles are the ultimate indulgence for anyone with a sweet tooth. Combining the nostalgic flavor of raw cookie dough with a luscious chocolate coating creates a treat that is both familiar and entirely decadent. These delightful bites are not just easy to make; they also require no baking, making them an ideal choice for those who want to whip up something special in a short amount of time. Whether you’re preparing for a party, looking to impress guests or simply treating yourself, this recipe will be a hit.
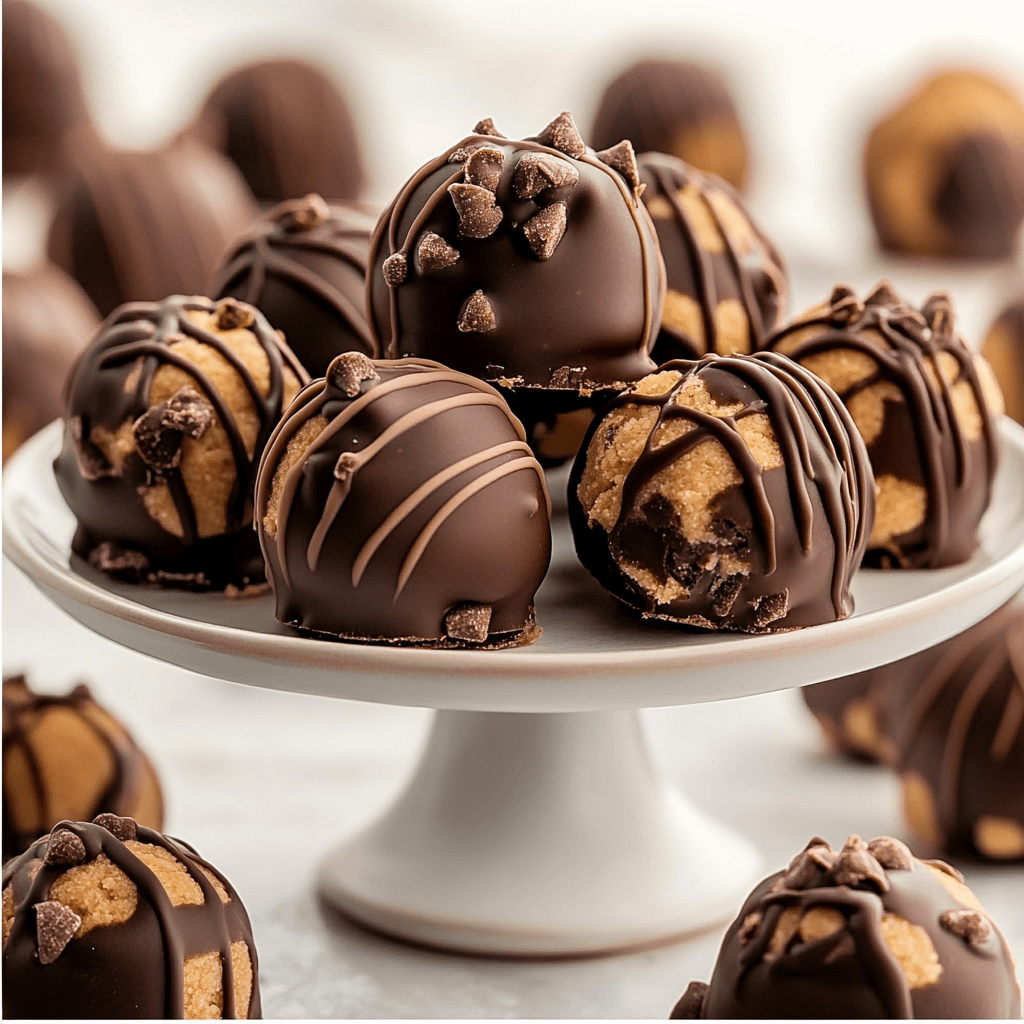
The best part about these cookie dough truffles is their versatility. You can customize them with your favorite mix-ins like nuts or sprinkles or even experiment with different types of chocolate for the coating. This flexibility means you can create variations that suit your taste perfectly. In this article, we will guide you through the ingredients needed and provide detailed steps to ensure your cookie dough truffles turn out perfectly every time.
So roll up your sleeves and get ready to dive into the world of rich flavors and creamy textures. With simple ingredients and straightforward instructions, you’ll soon have a batch of these mouthwatering treats ready to enjoy!
Main Ingredients
All-Purpose Flour
All-purpose flour serves as the base for your cookie dough truffles. For this recipe, you’ll need 1 cup of all-purpose flour. It’s essential to heat-treat the flour before using it in this no-bake treat. This process eliminates any harmful bacteria present in raw flour while giving your truffles the classic cookie dough texture we all love.
Unsalted Butter
You’ll need ½ cup (1 stick) of unsalted butter at room temperature. Softened butter ensures that your mixture blends smoothly with other ingredients. It adds richness and keeps the texture creamy while enhancing overall flavor.
Brown Sugar
For sweetness and depth of flavor, use ¾ cup packed brown sugar. The molasses in brown sugar provides moisture and contributes to that signature chewy texture reminiscent of traditional cookies.
Granulated Sugar
In addition to brown sugar, add ¼ cup granulated sugar for extra sweetness. This combination of sugars helps balance flavors while creating a beautifully cohesive dough.
Vanilla Extract
One teaspoon of pure vanilla extract enhances the overall taste profile of your truffles. Vanilla brings warmth and complexity to the flavor without overpowering the other ingredients.
Mini Chocolate Chips
For that classic cookie dough experience, include ½ cup mini chocolate chips. These tiny morsels melt slightly into the warm dough but retain their shape, adding delightful bursts of chocolate in every bite.
Semi-Sweet Chocolate Coating
To finish off these truffles, you’ll need 8 ounces of semi-sweet chocolate chips or chopped chocolate for coating. Melting this chocolate creates a smooth outer layer that contrasts beautifully with the creamy interior.
How to Prepare Cookie Dough Truffles
Step 1: Heat-Treating Flour
Before mixing your ingredients, start by heat-treating the all-purpose flour to eliminate any potential bacteria present in raw flour. Preheat your oven to 350°F (175°C). Spread the measured flour evenly on a baking sheet lined with parchment paper. Bake for about five minutes or until it reaches a light golden color—this step is crucial to ensure safety while enjoying raw cookie dough! Once done, remove it from the oven and allow it to cool completely before using it in your recipe.
Step 2: Creaming Butter and Sugars
In a large mixing bowl, combine the softened unsalted butter with both types of sugar—brown sugar and granulated sugar—using an electric mixer on medium speed. Cream together until light and fluffy; this should take about three minutes. Scrape down the sides of the bowl periodically to ensure everything mixes evenly. The creaming process incorporates air into the mixture which results in a lighter texture when forming your truffle balls later on.
Step 3: Adding Vanilla and Flour Mixture
Once your butter-sugar mixture is fluffy enough, add one teaspoon of vanilla extract, followed by the cooled, heat-treated flour. Gradually mix on low speed until everything is well combined. At this point, you should see clumps forming as you incorporate the ingredients. Don’t worry if it looks crumbly—it’s supposed to! Finally, fold in those delicious mini chocolate chips gently with a spatula until they are evenly distributed throughout the mixture.
Step 4: Forming Truffle Balls
Now comes one of the most fun parts! Using clean hands or a small cookie scoop (about one tablespoon), scoop out portions from your mixture and roll them into uniform balls, approximately one inch in diameter. Place each ball on a parchment-lined baking sheet to prevent them from sticking together while you prepare the melting chocolate. Refrigerate the balls for at least twenty minutes until firm enough for easier dipping later on.
Step 5: Melting Chocolate for Coating
While waiting for the chilled balls, melt eight ounces of semi-sweet chocolate using either a microwave-safe bowl or a double boiler over low heat. Be sure to avoid trapping too much steam as it melts slowly, stirring often until completely smooth. If using a microwave, melt in intervals no longer than thirty seconds, stirring between each to prevent burning, which could ruin the chocolate’s glossy finish once it cools.
Step 6: Dipping Each Ball into Chocolate
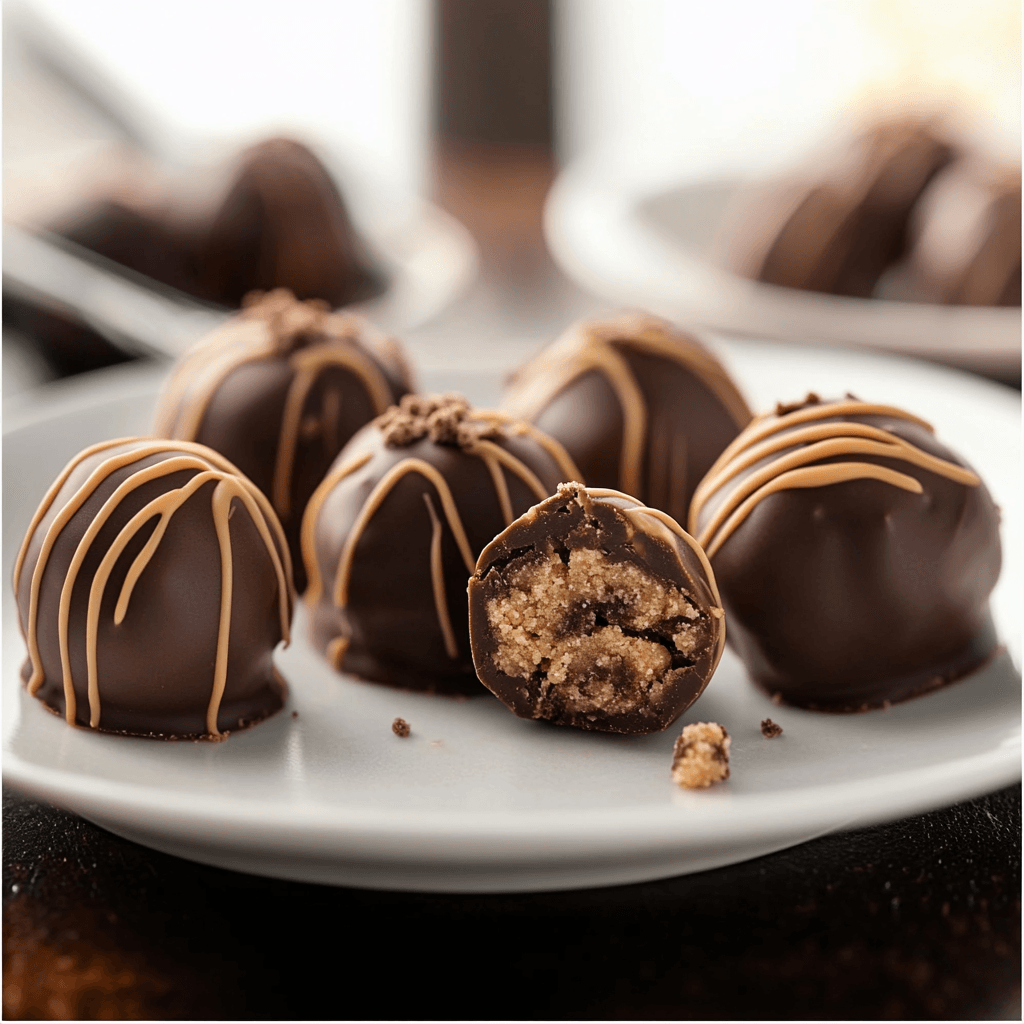
Once melted down nicely remove from heat allowing slight cooling if necessary before beginning dipping process! Take each chilled ball from earlier and place it directly into melted chocolate, fully submerging it. Lift it out gently, tapping off the excess using forks or spoons, then place it back onto parchment-lined sheets. If desired, sprinkle additional mini chips over the top immediately after coating. Repeat until all truffles have been dipped, then return them to the fridge briefly to allow the coatings to set firmly around each tasty sphere before serving!
Serving and Storing Tips
Serving Suggestions
These delightful cookie dough truffles can be served straight from the fridge as an irresistible dessert option at parties or gatherings alike! Consider arranging them on pretty platters, garnished with fresh fruit slices like strawberries, and drizzling them with the remaining melted chocolate. This adds elegance and further elevates their presentation, enticing guests’ appetites. Feel free to pair these beauties with whipped cream or scoops of ice cream, creating unforgettable combos that every guest will rave about!
Storing Your Cookie Dough Truffles
Store leftover cookie dough truffles in an airtight container in the refrigerator for up to one week, ensuring they stay fresh and free from moisture. For longer storage, freeze them to preserve flavor and texture. Thaw properly before serving to enjoy anytime cravings arise!
Tips For Best Results
For optimal success in preparing these indulgent treats, always measure accurately and use quality ingredients—freshness greatly impacts taste. The effort put into each detail results in perfectly balanced desserts, enjoyed thoroughly by everyone gathered together, sharing laughter and creating lasting memories.
This comprehensive guide ensures that anyone can create delicious Cookie Dough Truffles while adhering closely to SEO best practices!
Mistakes to avoid
When making cookie dough truffles, it’s easy to fall into common pitfalls that can affect the final product. One of the most prevalent mistakes is using raw flour without treating it first. Raw flour can contain harmful bacteria, so it’s crucial to heat-treat the flour before mixing it into your dough. To do this, spread the flour on a baking sheet and bake it at 350°F (about 175°C) for five minutes.
Another mistake is not incorporating enough moisture. Cookie dough truffles need to be moist but not overly sticky. If your mixture is too dry, try adding a tablespoon of milk or melted butter. Be cautious not to add too much liquid, as this can make it difficult to form the truffles.
Overmixing is another common issue. While you want to combine your ingredients well, overmixing can lead to a tough texture. Mix just until combined; this ensures your cookie dough remains soft and flavorful. Furthermore, using low-quality chocolate for coating may ruin your truffles. Invest in good-quality chocolate for melting and coating; it enhances flavor and appearance.
Lastly, neglecting the chilling phase is a big no-no. After forming the truffles, chill them in the fridge for at least 30 minutes before coating them in chocolate. This helps them hold their shape during dipping and provides a better texture overall.
Tips and tricks
To create perfect cookie dough truffles, follow these essential tips and tricks that will elevate your dessert game significantly. Start with room temperature ingredients. This makes mixing easier and ensures better incorporation of flavors. Cold butter can result in lumps that are hard to blend into your dough.
Consider using mini chocolate chips instead of regular-sized ones for better distribution throughout the truffle mixture. Mini chips blend seamlessly into the dough and provide little bursts of chocolatey goodness with every bite.
Experiment with flavorings beyond vanilla extract; adding almond extract or even a touch of sea salt can enhance the overall taste profile significantly. Also, consider rolling your truffles in crushed nuts or sprinkles for added texture and visual appeal.
Be patient when melting chocolate for coating; use a double boiler or microwave in short bursts to avoid seizing the chocolate. Seized chocolate can ruin your coating process entirely. Additionally, if you have any leftover cookie dough mixture, consider baking some cookies instead of discarding it! It gives you two delicious treats from one batch.
Finally, remember presentation matters! Use beautiful packaging if giving these as gifts or arrange them nicely on a platter when serving at gatherings for that extra wow factor.
Suggestions for Cookie Dough Truffles
When preparing cookie dough truffles, there are several suggestions that can enhance both flavor and presentation while ensuring they’re safe to eat. First, consider using different types of flour alternatives such as almond or coconut flour if you’re looking for gluten-free options. These flours add unique flavors and textures while keeping your truffles safe from raw flour concerns.
Adding mix-ins like peanut butter or Nutella can create exciting flavor combinations that will surprise and delight those who taste them. Swirling in caramel or ganache also adds an indulgent layer between the cookie dough center and chocolate coating.
For those who enjoy a bit of crunch, try incorporating chopped pretzels or graham crackers into your mixture as they provide a delightful contrast to the sweetness of the dough. Also, think about adding flavored extracts like mint or orange zest to infuse unique tastes into each bite.
Make sure to store your finished cookie dough truffles properly by placing them in an airtight container in the refrigerator where they’ll stay fresh for up to a week. You might also want to freeze some if you plan ahead; they keep well in the freezer for up to three months!
Lastly, always consider dietary restrictions when serving these treats at gatherings by labeling them clearly if they contain allergens like nuts or gluten-containing ingredients.
FAQs
What are Cookie Dough Truffles?
Cookie dough truffles are delightful bite-sized treats made from edible cookie dough rolled into balls and often coated in chocolate. Unlike traditional cookies that require baking, these indulgent bites allow you to enjoy raw cookie dough safely by using heat-treated flour and other safe ingredients.
How long do Cookie Dough Truffles last?
Properly stored cookie dough truffles can last up to one week in an airtight container in the refrigerator. If you want them to last longer, consider freezing them; frozen truffles will retain their quality for up to three months when stored correctly.
Can I make Cookie Dough Truffles gluten-free?
Yes! To make gluten-free cookie dough truffles, simply substitute all-purpose flour with gluten-free alternatives such as almond meal or gluten-free all-purpose flour blends specifically designed for baking.
What can I use instead of chocolate for coating?
If you’re looking for alternatives to traditional chocolate coatings, consider using white chocolate or yogurt-based coatings which offer unique flavors while also being visually appealing when colored with food-safe dyes!
How do I heat treat my flour?
To heat treat flour effectively before making your cookie dough mixture, spread it evenly on a baking sheet and bake it at 350°F (about 175°C) for five minutes. This process kills harmful bacteria while maintaining its properties necessary for delicious desserts!
Can I add nuts or other mix-ins?
Absolutely! Feel free to customize your cookie dough truffle recipe by adding mini chocolate chips, chopped nuts, sprinkles, or even dried fruits like cranberries or raisins—this enhances both texture and flavor!
Conclusion
In summary, making cookie dough truffles involves several key considerations that ensure delicious results every time you whip up this treat. Avoid common mistakes like using raw flour without treatment and neglecting proper chilling times; doing so will greatly improve texture and safety.
Implement essential tips such as starting with room temperature ingredients and utilizing high-quality chocolates when coating your creations allows you full control over flavor profiles while enhancing visual appeal through creative presentations.
Furthermore, exploring various mix-ins provides endless possibilities tailored specifically towards individual preferences—the joy lies within customization! Finally storing these delectable bites appropriately ensures enjoyment extends beyond just one day after preparation.
By following these guidelines carefully while embracing creativity throughout each step guarantees success every time you decide on indulging in homemade cookie dough truffles!

