Introduction and Quick Summary
Homemade granola bars are not only delicious but also a versatile snack option that you can enjoy at any time of the day. Whether you need an energy boost before a workout or a quick treat during your afternoon slump, these bars have got you covered. With simple ingredients that are often already in your pantry, making your own granola bars is both economical and satisfying. This recipe allows you to customize flavors and textures according to your preferences. Plus, they contain no preservatives or artificial sweeteners, making them a healthier alternative to store-bought options.
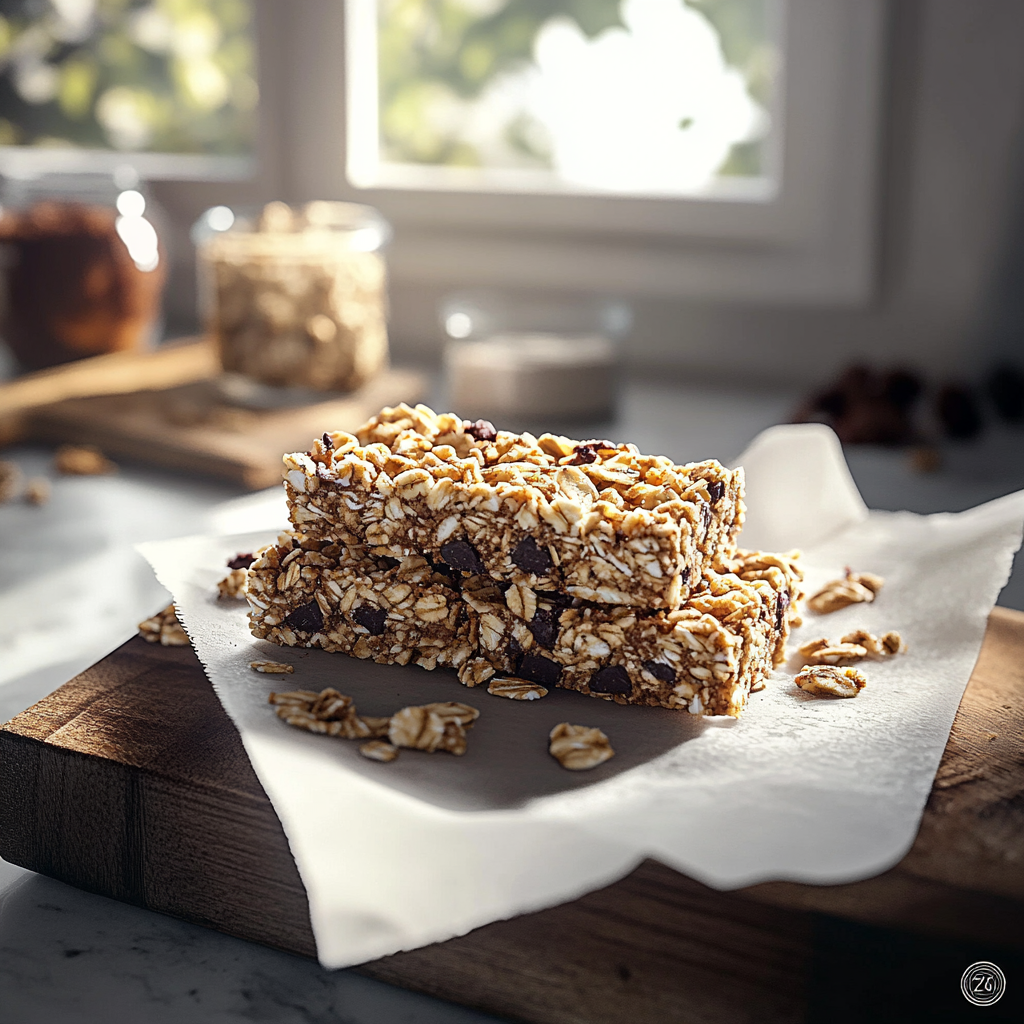
In this article, we will walk you through the process of creating delightful homemade granola bars that are packed with nutrients. You will learn about the essential ingredients needed to achieve the perfect balance of taste and texture. Following that, we will provide step-by-step instructions to guide you through the preparation process seamlessly. Finally, we’ll share tips on how to serve and store your homemade creations so they stay fresh for longer. So grab your apron and let’s get started on making these tasty treats!
Main Ingredients
Oats
Oats serve as the foundation for your homemade granola bars. They provide essential fiber and complex carbohydrates that help keep you full longer. For this recipe, it’s best to use rolled oats rather than instant oats because they hold up better when mixed with wet ingredients. You will need 2 cups of rolled oats for this recipe.
Nuts
Nuts add crunch and protein to your granola bars. You can choose any variety you like, such as almonds, walnuts, or peanuts. For this recipe, use 1 cup of chopped nuts to give your bars a satisfying texture and healthy fats that promote heart health.
Honey
Honey is a natural sweetener that binds all the ingredients together while adding flavor. It also acts as a preservative due to its low moisture content. You’ll need ½ cup of honey for this recipe, but feel free to adjust based on your sweetness preference.
Nut Butter
Nut butter enhances the creaminess of your granola bars while providing additional protein and healthy fats. Almond butter or peanut butter works best in this recipe; either option will do well! Use ½ cup of nut butter to achieve that rich consistency.
Dried Fruit
Dried fruit adds natural sweetness and chewy texture to your homemade granola bars. You can use raisins, cranberries, or apricots—whatever suits your taste! Aim for 1 cup of dried fruits which will complement the other ingredients beautifully.
Seeds
Seeds like chia or flaxseeds boost nutritional value by providing omega-3 fatty acids and fiber without overwhelming flavors. Including seeds can add an extra crunch too! Use ¼ cup of seeds in this recipe for added health benefits.
How to Prepare Homemade Granola Bars
Step 1: Preheat Your Oven
Preheating the oven is crucial for evenly baking your homemade granola bars. Start by setting your oven temperature to 350°F (175°C). While it preheats, gather all your ingredients in one place so you can easily access them during preparation. This step will ensure everything is organized and streamline the process as you move forward.
Step 2: Mix Dry Ingredients
In a large mixing bowl, combine the rolled oats, chopped nuts, seeds, and dried fruit until they are evenly distributed. This step ensures every bite of your homemade granola bar contains a mix of flavors and textures. Stir gently but thoroughly using a spatula or wooden spoon—this helps break apart clumps in the mixture while incorporating air into it for better baking results.
Step 3: Combine Wet Ingredients
In a separate bowl or saucepan over low heat (or microwave), mix together the honey and nut butter until well combined and smooth. If using a microwave, heat in short bursts (about 15-20 seconds) until warm enough to blend easily without boiling over—stir between intervals if necessary. Once mixed thoroughly into a liquid state without clumps remaining, pour it over the dry ingredient mixture from Step 2.
Step 4: Stir Until Coated
Now comes an important part: combining both mixtures! Using a spatula again (or clean hands), stir everything together until all dry ingredients are coated evenly with the wet mixture—this ensures each piece binds together well during baking while retaining flavor balance throughout every bite! If desired but not necessary at this stage depending on preferences/needs: add any additional spices (like cinnamon) here before mixing completely.
Step 5: Transfer Mixture into Baking Dish
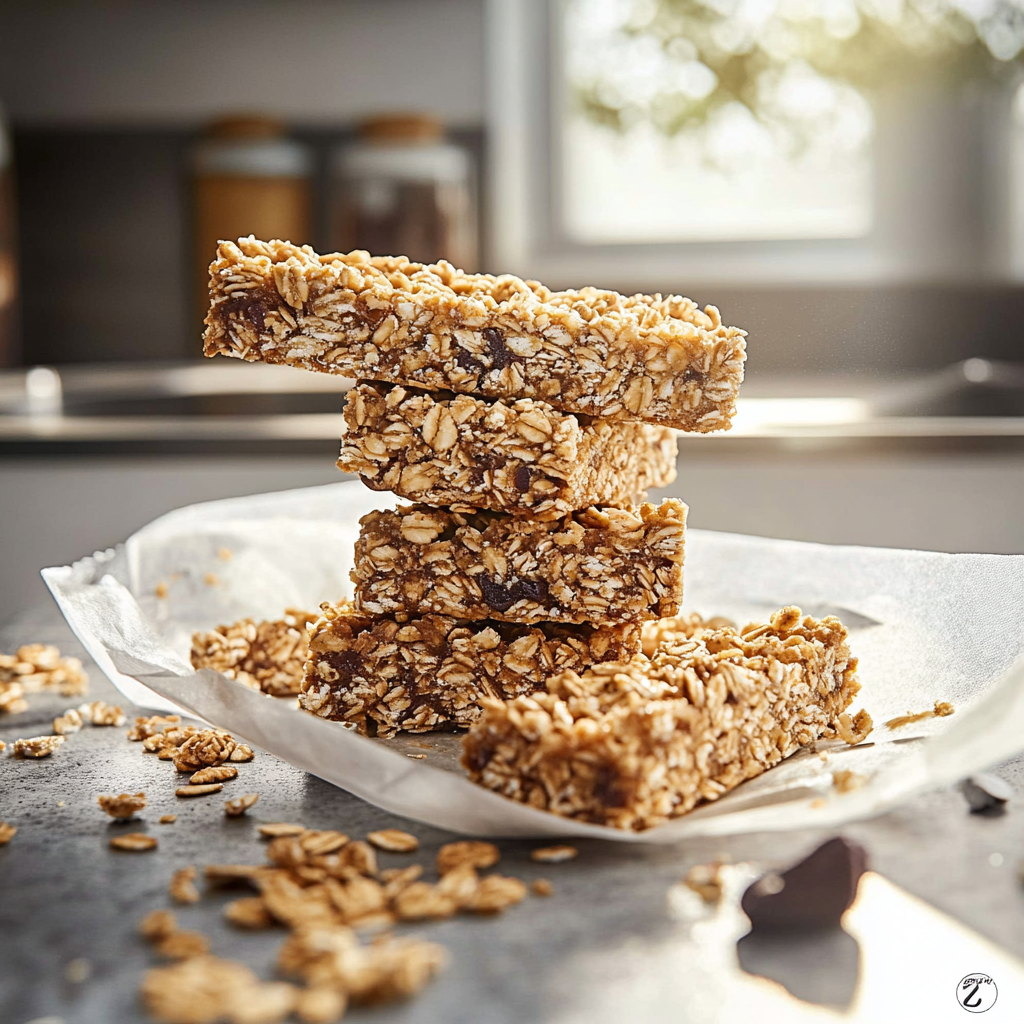
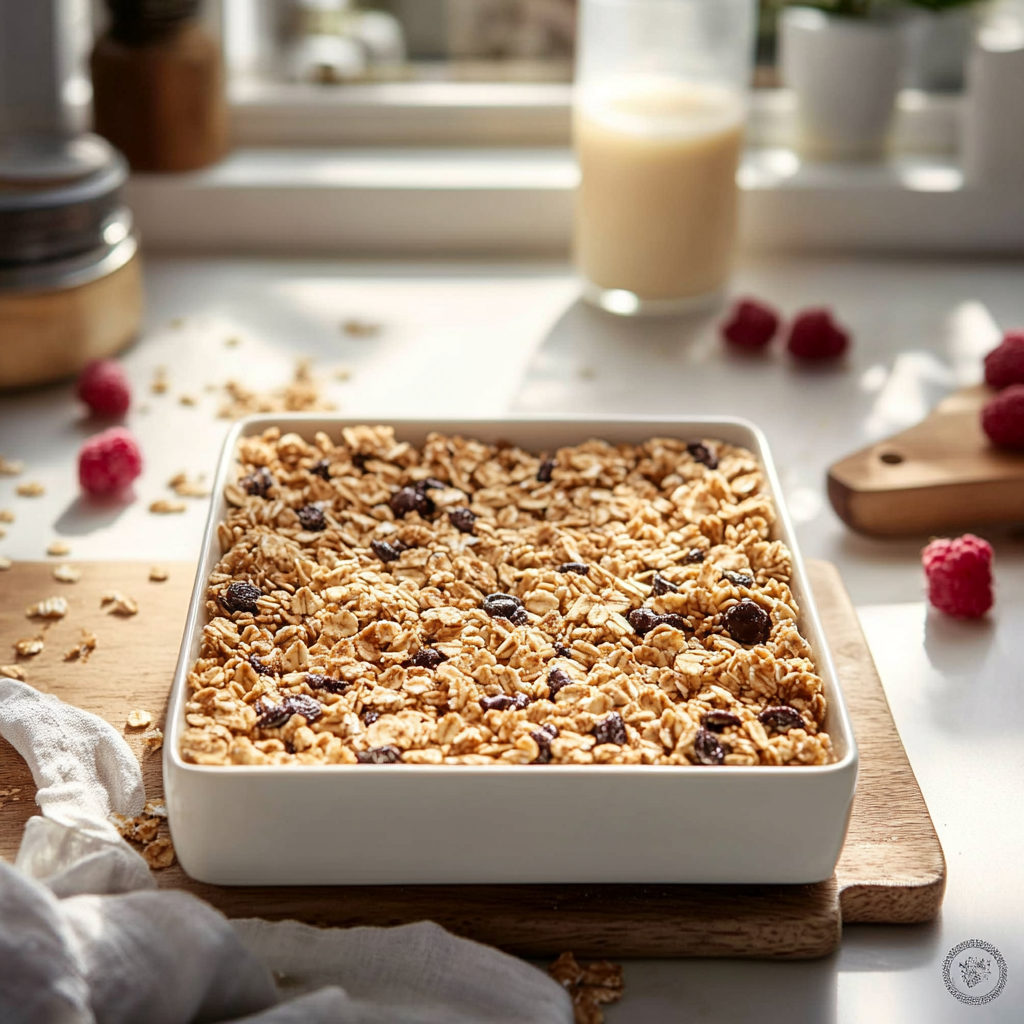
Once fully combined into one sticky mass resembling cookie dough consistency—transfer it into an appropriately sized greased baking dish lined with parchment paper (for easier removal later). Press down firmly using fingers or another flat surface such as another piece of parchment paper—this creates even thickness throughout ensuring uniform baking results along edges too!
Step 6: Bake Your Bars
Place your baking dish in the preheated oven from Step 1—let it bake for about 20-25 minutes until golden brown around edges (check halfway through just in case!). When done baking allow cooling completely inside pan itself before removing by lifting parchment paper out carefully onto cutting board where they can cool further if desired prior slicing into shapes/sizes preferred later!
Serving and Storing Tips
Serving Suggestions
These homemade granola bars are perfect as-is but can be paired with various accompaniments too! Consider serving them alongside yogurt topped with fresh fruit slices—a delicious breakfast option—or enjoying them crumbled atop oatmeal bowls for added texture! They also make excellent travel snacks whether hiking outdoors or simply commuting daily; pack some individual servings wrapped up tightly which keeps freshness intact longer without fear spoiling quickly!
Storage Guidelines
To keep these tasty treats fresh after preparation: once cooled completely cut into desired portions then store within an airtight container at room temperature if consumed within one week maximum timeframe (though chances are they’ll disappear fast). Alternatively refrigerating extends life another week ensuring enjoyment lasts even longer while still tasting great anytime cravings strike unexpectedly throughout busy days ahead! For ultimate longevity freezing individual servings wrapped securely prevents freezer burn effects letting them last several months till ready again whenever needed next time around—just thaw overnight safely before indulging once more!
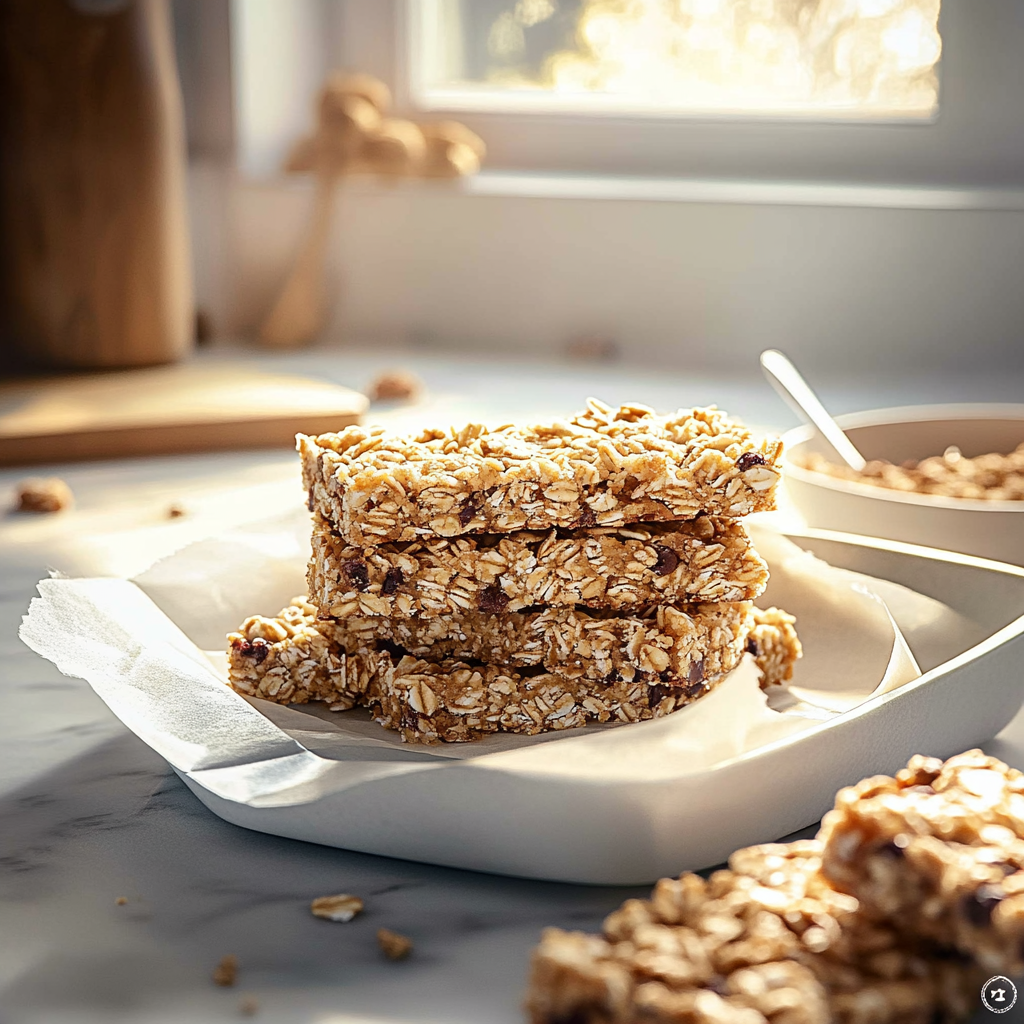
By following this comprehensive guide on creating delicious homemade granola bars from scratch you’ll find satisfaction beyond measure knowing exactly what goes inside each bite allowing full control over flavors enjoyed truly tailored preferences according tastes desired most importantly always nutritious choices made easily accessible whenever those hunger pangs arise unexpectedly throughout busy lives ahead!
Tips and tricks
When making Homemade Granola Bars, there are several tips and tricks that can elevate your final product. These simple strategies will ensure your granola bars turn out delicious and satisfying.
One of the most important aspects of creating perfect Homemade Granola Bars is selecting the right ingredients. Use high-quality oats as a base. Old-fashioned rolled oats provide the best texture, while quick oats can lead to a mushy product. Consider adding seeds such as chia or flax for added nutrition. You can also incorporate various nuts or dried fruits to customize flavor profiles based on your preferences.
Another essential tip is to ensure you properly measure your sticky ingredients, such as honey or maple syrup. These ingredients act as binders and are crucial in holding the bars together. If you find that your mixture is too dry, add a touch more liquid sweetener until it reaches the desired consistency. Conversely, if it’s too wet, consider incorporating more dry ingredients to balance it out.
Baking time is also vital for achieving the perfect texture in your Homemade Granola Bars. Underbaking could result in crumbly bars, while overbaking may lead to hard pieces that are difficult to chew. Aim for a golden-brown color, which typically indicates they’re done. Allowing them to cool completely before cutting into them helps maintain their shape.
Finally, store your granola bars correctly to maintain freshness. Use airtight containers or wrap them individually in parchment paper for easy grab-and-go snacks. Keeping them in a cool place prevents them from becoming stale.
Suggestions for Homemade Granola Bars
Creating Homemade Granola Bars can be enjoyable and rewarding, but mistakes can occur along the way. Being aware of common pitfalls will help you achieve the best results.
One common mistake is not using enough binding agents. The purpose of these ingredients is not only to add sweetness but also to hold everything together effectively. A lack of binding could result in crumbly bars that fall apart during handling or eating. Always ensure you have an adequate ratio of sticky sweeteners like honey or nut butter to dry ingredients.
Another error is not allowing sufficient cooling time after baking. Many people are eager to dive into their homemade creations right away, but cutting into warm bars can lead to a mess. Patience is key here; let them cool completely in the pan before slicing them into individual portions.
It’s also easy to overlook flavor balance when making granola bars at home. Some may go overboard with sweeteners or add-ins like chocolate chips without considering overall taste harmony. Aim for a balanced flavor profile by varying sweet and salty components, ensuring each bite is enjoyable.
Using too many different textures can make the bar uncomfortable to eat as well; aim for a blend of crunchy elements with softer components for an ideal mouthfeel. Additionally, avoid using excessively large chunks of nuts or dried fruit which may disrupt the structure.
Lastly, don’t forget about storage practices! Homemade Granola Bars should be stored properly to maintain their freshness and prevent them from going stale quickly. Make sure to use airtight containers and keep them in a cool place away from direct sunlight.
FAQs
What are the best oats for Homemade Granola Bars?
When preparing Homemade Granola Bars, choosing the right type of oats is crucial for achieving optimal texture and flavor. Old-fashioned rolled oats are generally considered the best choice because they provide a chewy texture that complements other ingredients well. These oats retain their shape during baking and contribute positively to the overall structure of your granola bars.
Quick oats are an option too, but they may lead to a softer texture that some might find less appealing in a granola bar setting. Steel-cut oats should be avoided entirely since they require longer cooking times and won’t hold their form well within baked goods like granola bars.
For those looking for gluten-free options, certified gluten-free oats are available and work just as well in recipes designed for Homemade Granola Bars without compromising taste or texture.
Can I substitute honey with another sweetener?
Certainly! While honey is often used in Homemade Granola Bars due to its binding properties and natural sweetness, there are several alternatives you can consider if you’re looking for substitutes. Maple syrup serves as an excellent vegan alternative that provides similar moisture content and sweetness levels while enhancing flavor depth.
Agave nectar is another great option; however, it tends to be sweeter than honey so it’s wise to reduce the quantity slightly when substituting it in recipes. For those who prefer sugar-based alternatives, brown rice syrup functions similarly but has a thicker consistency that might affect overall texture.
It’s essential to note that each sweetener may impart its unique flavor profile on the final product; therefore adjusting other components accordingly will help maintain balance within your Homemade Granola Bars recipe.
How long should I bake my Homemade Granola Bars?
The baking time for Homemade Granola Bars varies based on factors like ingredient composition and desired texture but generally falls within 20-30 minutes at 350°F (175°C). It’s important not only to rely solely on timing; visual cues play an essential role too!
Look for golden-brown edges which indicate that they’re nearing completion—this color suggests caramelization has occurred without burning any components within your mix! Remember though: underbaking may yield crumbly bars while overbaking results in overly hard pieces—a fine line indeed!
If you’re unsure whether they’re done baking after 20 minutes have passed, do check by gently pressing down on one corner with a spatula; if it holds together yet feels firm rather than mushy then it’s likely ready!
Can I freeze my Homemade Granola Bars?
Freezing Homemade Granola Bars is an excellent way to preserve freshness while ensuring convenient access whenever you need them! To freeze effectively: first allow your baked bars ample cooling time before slicing into individual portions—this prevents moisture buildup during storage which could compromise taste quality over time.
Wrap individual portions in plastic wrap or parchment paper and place in an airtight container or freezer bag. Label with the date before freezing. Proper freezing practices allow these tasty snacks up six months shelf life—just pull out what you need when hunger strikes!
When ready-to-eat simply thaw overnight in the fridge or leave at room temperature until soft again—enjoying homemade goodness on-the-go has never been easier!
What should I do if my granola bars crumble?
If you’ve encountered crumbling issues with your Homemade Granola Bars don’t fret! This problem often stems from insufficient binding agents within your mixture—sticky sweeteners like honey or nut butter play vital roles here by holding everything together effectively!
To remedy this situation try adding more binding agent next time around; experiment gradually until you achieve just-right consistency where all elements stick cohesively rather than falling apart upon handling! Alternatively incorporating additional dry ingredients such as oats can help absorb extra moisture preventing future crumbliness!
Another useful tip involves letting baked goods cool completely before cutting into them—warm bars tend not hold shapes firmly leading towards unfortunate disintegration post-slicing!
Are there any healthy variations I can try?
Absolutely! When preparing Homemade Granola Bars there’s no shortage of healthy variations available depending on personal preferences or dietary needs! One popular method includes incorporating protein powder into mixtures boosting nutritional value without sacrificing taste!
You might also choose whole grains like quinoa instead of traditional oats; this swap adds interesting flavors alongside numerous health benefits! Experimenting with various nut butters—such as almond butter instead peanut butter—can further enhance nutrient density while providing new taste sensations every bite makes exciting discoveries possible!
Additionally consider swapping refined sugars with naturally occurring ones found in fruits such as mashed bananas or unsweetened applesauce—they lend natural sweetness plus added fiber content contributing positively towards overall health!
Conclusion
In summary, making delicious Homemade Granola Bars requires attention to detail regarding ingredient selection and preparation techniques while being mindful of common mistakes along the way ensures favorable outcomes every time! Remember key tips include choosing high-quality oats along with utilizing sufficient binding agents while allowing adequate cooling time post-baking before slicing into portions becomes crucial for maintaining integrity throughout consumption experience!
By exploring various substitutions during preparation process creativity flourishes enabling unique flavors emerge tailored towards personal preferences creating endless possibilities within simple framework provided here today! Storing these delightful snacks correctly ensures long-lasting freshness guaranteeing satisfaction whenever cravings arise—all set now embark on journey crafting perfect batch nutritious homemade delights!

