Introduction and Quick Summary
If you are looking for a delicious and convenient way to bake bread at home, then the No-Knead Honey Oat Bread is the perfect solution for you. This recipe offers a delightful combination of sweetness from honey and the wholesome goodness of oats that you and your family will love. With minimal effort required and no kneading involved, this bread is ideal for novice bakers and busy individuals alike. The simplicity of this method allows anyone to enjoy freshly baked bread without the need for extensive baking skills or equipment.
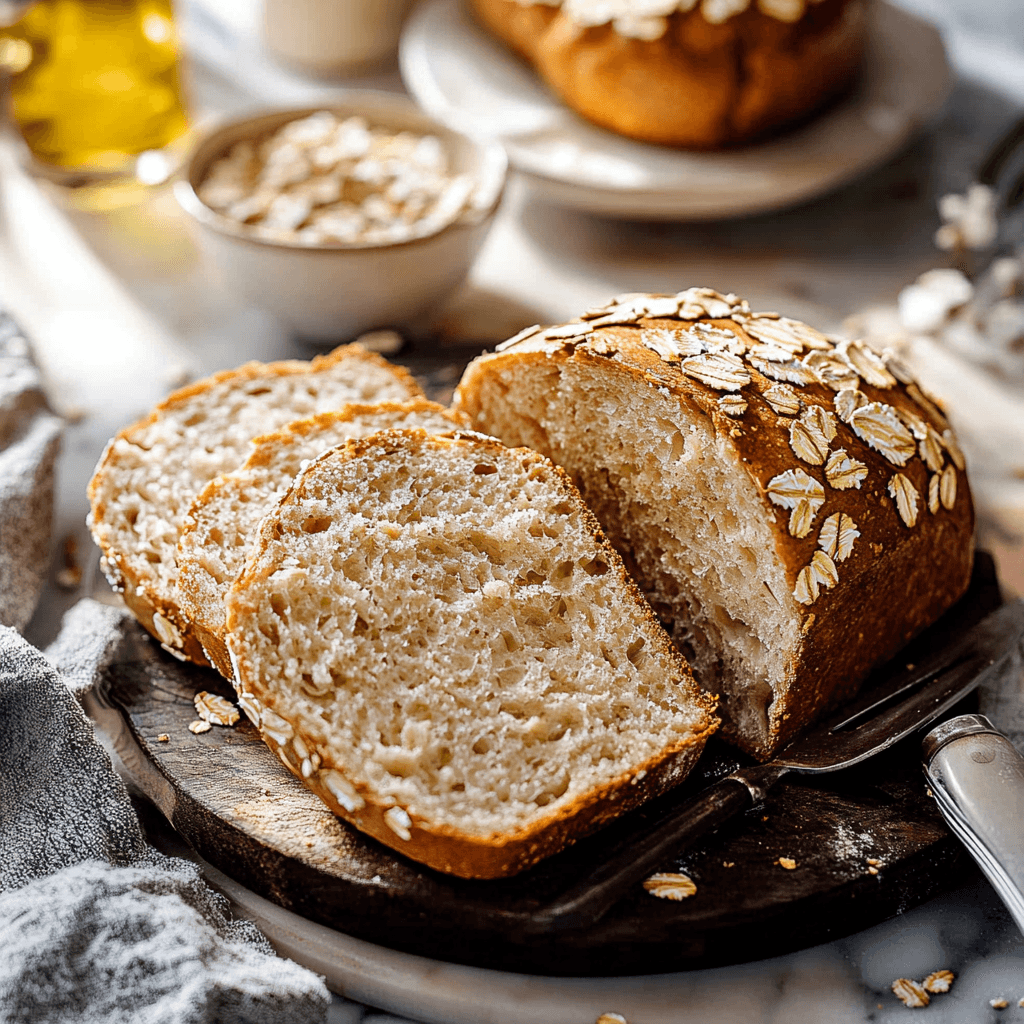
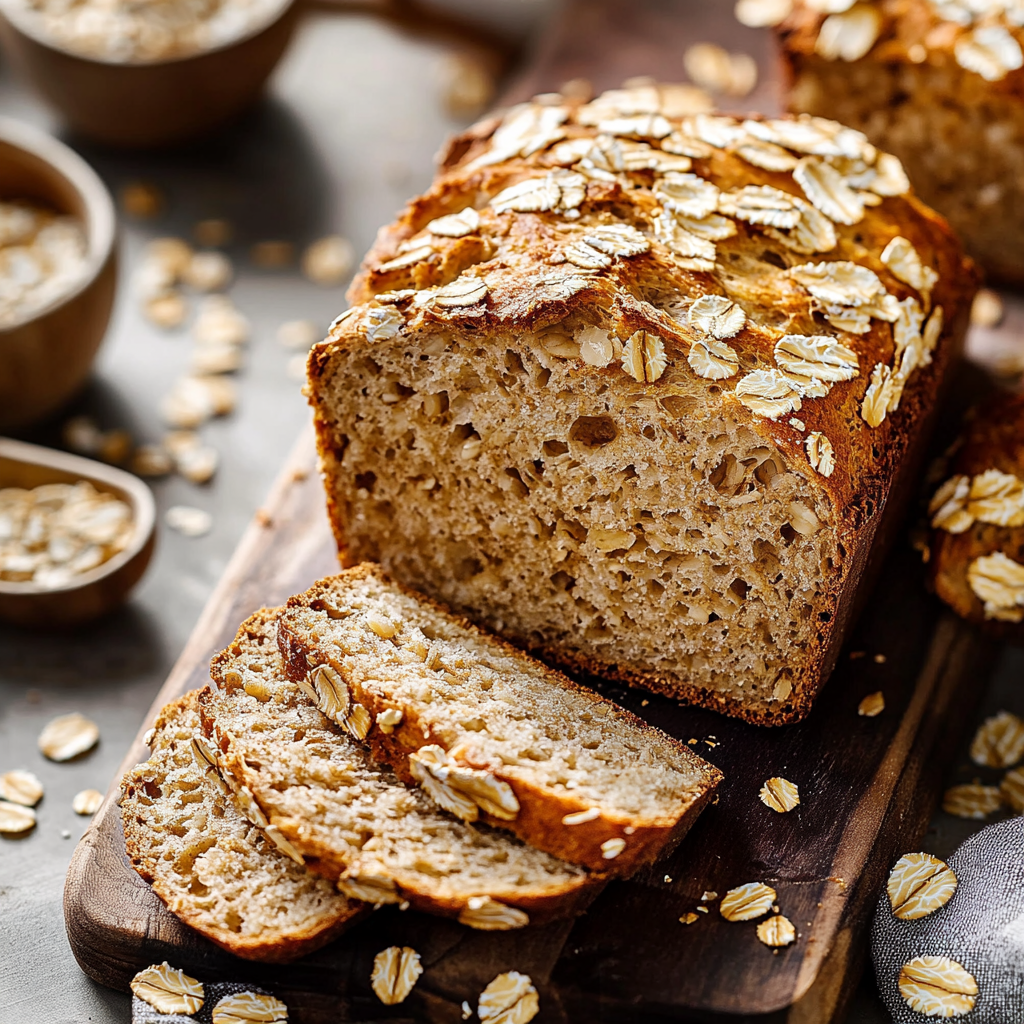
This no-knead approach means you can mix your ingredients in one bowl, let the dough rise, and bake it without any fuss. The result is a soft, airy loaf with a slightly crunchy crust that is perfect for sandwiches or toasted with a bit of butter. In this article, we will guide you through the main ingredients you’ll need to create your own loaf of No-Knead Honey Oat Bread, provide detailed instructions on how to prepare it step-by-step, and offer tips on serving and storing your delicious creation. Get ready to impress your friends and family with this easy yet delightful homemade bread!
Main Ingredients
Flour
The foundation of any good bread is flour. For this No-Knead Honey Oat Bread, you will need 3 cups of all-purpose flour. This versatile flour provides the right balance of structure while keeping the texture light and airy. All-purpose flour contains enough protein to develop gluten during fermentation even if there is no kneading involved. You can also experiment by substituting part of the all-purpose flour with whole wheat flour for added nutrition.
Rolled Oats
Incorporating rolled oats into your recipe not only enhances nutritional value but also adds a lovely texture to your loaf. Use 1 cup of rolled oats in this recipe. They absorb moisture during the rising process, making the finished bread moist yet structurally sound. Rolled oats are also rich in fiber and essential vitamins, making your honey oat bread both satisfying and healthy.
Honey
Honey serves as a natural sweetener in this recipe while also contributing to the moistness of the bread. You will need ¼ cup of honey for this loaf. Its unique flavor pairs beautifully with oats and gives depth to the overall taste profile. Additionally, honey acts as a natural preservative which helps keep your No-Knead Honey Oat Bread fresh longer after baking.
Yeast
To help your dough rise effectively without kneading, active dry yeast is crucial. You will require 2 teaspoons of yeast for this recipe. The yeast ferments sugars present in the dough which produces carbon dioxide gas; this gas forms bubbles that give rise to your beautiful loaf! Ensuring that your yeast is fresh will yield better results in terms of rise.
Salt
Salt plays an essential role in enhancing flavor while also controlling yeast activity during fermentation. You’ll need 1 teaspoon of salt in this No-Knead Honey Oat Bread recipe. It ensures an even distribution across all ingredients and can prevent over-fermentation by regulating yeast growth.
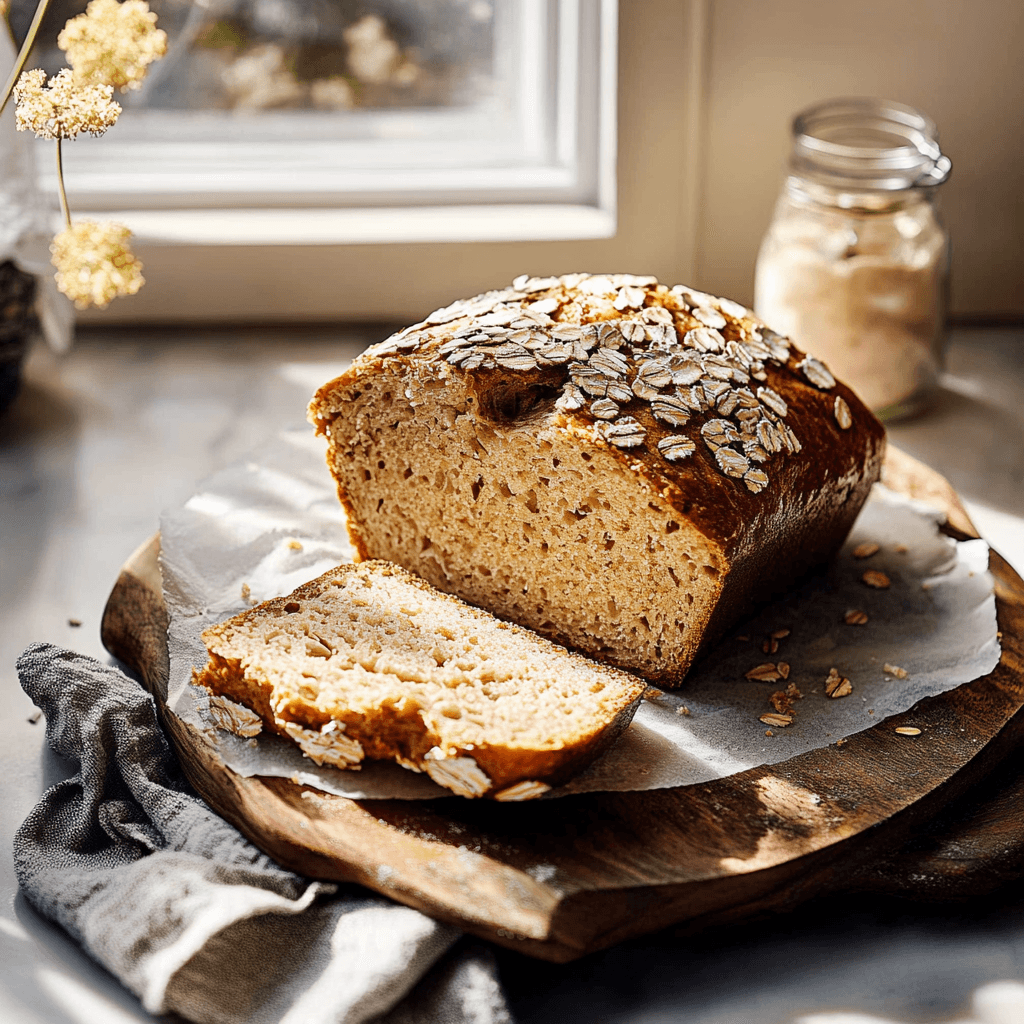
How to Prepare No-Knead Honey Oat Bread
Step 1: Combine Dry Ingredients
Begin by gathering all your dry ingredients together in a large mixing bowl. Measure out 3 cups of all-purpose flour, 1 cup of rolled oats, 2 teaspoons of active dry yeast, and 1 teaspoon of salt accurately using measuring cups or a kitchen scale for precision. Make sure to whisk these dry ingredients thoroughly until they are evenly combined; this ensures that there are no clumps and that each slice has consistent flavor throughout.
Step 2: Add Wet Ingredients
Once you have combined all dry ingredients well, it’s time to introduce wet ingredients into the mixture for hydration purposes! Pour 1¼ cups of warm water (about 100°F) into the bowl where you’ve mixed your dry elements along with ¼ cup of honey; use lukewarm water as extreme temperatures can kill yeast activity if too hot or slow activation if too cold! Mix everything together using a wooden spoon or spatula until all dry particles are moistened – don’t worry about lumps; they’ll disappear as it rises!
Step 3: Let It Rise
After combining both wet and dry elements into a shaggy dough consistency—cover it tightly with plastic wrap or a clean kitchen towel—then place it somewhere warm (around room temperature) away from drafts so it can rise undisturbed! Allowing approximately 12-18 hours makes sure fermentation happens correctly allowing flavors from both honey & yeast develop deeply whilst expanding those air pockets!
Step 4: Shape The Dough
Once risen adequately—witnessing its volume increase significantly—prepare your work surface lightly dusted with some flour before gently transferring dough onto it! Using floured hands (to avoid sticking), fold edges inward toward center creating tension on surface which helps shape nicely forming round ball-like structure; keep gentle here since overworking might defeat purpose behind ‘no-knead’ idea! Leave it rest covered again while preheating oven at around 450°F!
Step 5: Bake Your Loaf
After preheating oven properly (and placing an empty Dutch oven inside), uncover shaped dough allowing it rest briefly before carefully transferring onto parchment paper; place parchment directly inside preheated vessel within oven’s interior once reaching desired heat level ensuring safety during handling! Cover Dutch oven lid promptly sealing moisture creating steamy environment helping crust form perfectly golden brown while baking lasts between roughly 30-40 minutes depending upon individual preferences regarding crust texture & color achieved!
Serving and Storing Tips
Serving Suggestions
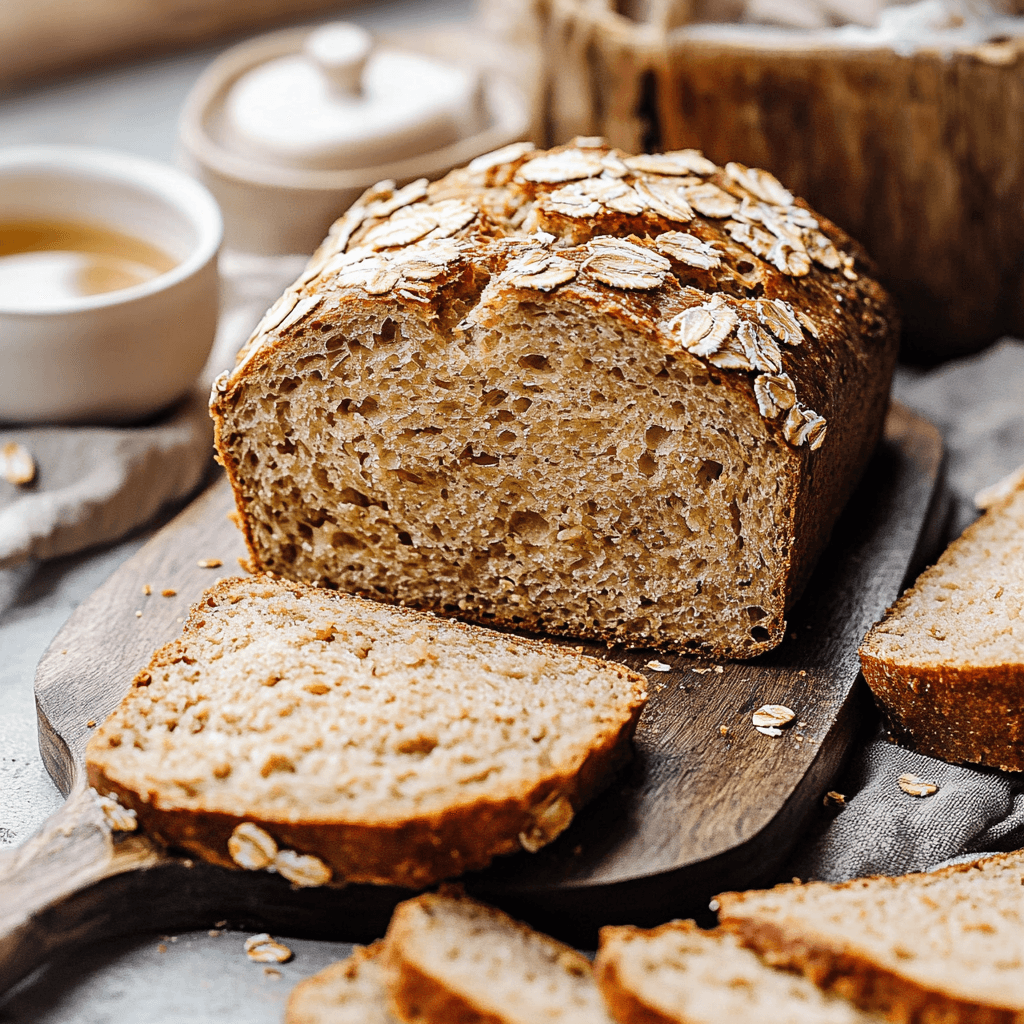
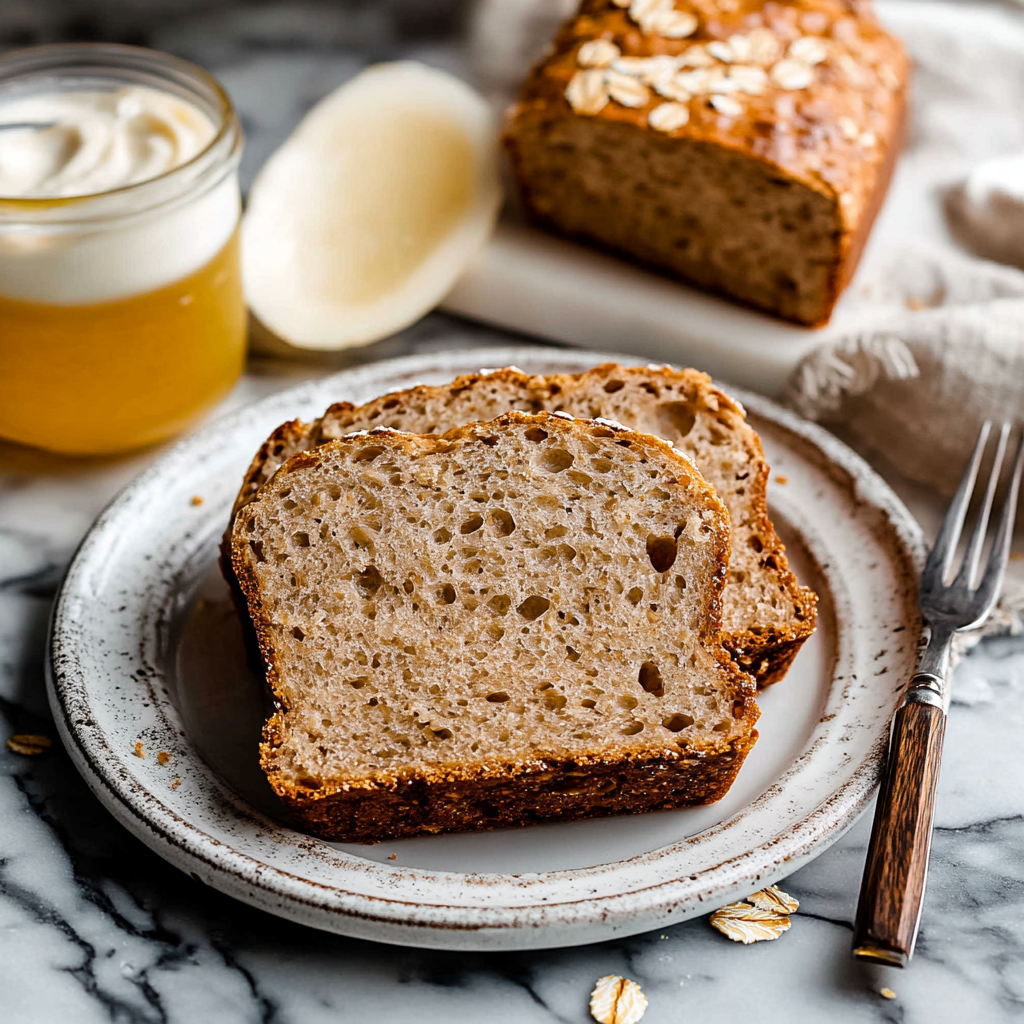
Once baked perfectly golden brown—remove from Dutch oven allowing cooling period on wire rack post-baking—slice into pieces using serrated knife when still slightly warm providing optimal softness achieved during cooling phase! This No-Knead Honey Oat Bread tastes amazing served simply slathered with butter alongside favorite jams/spreads offering balanced flavors complementing sweet notes present within each slice! Consider pairing slices alongside hearty soups/salads giving wholesome meal options showcasing versatility found within easy-to-make breads!
Storage Guidelines
To ensure freshness lasts longer than just one day post-baking—store leftover slices wrapped tightly either inside resealable bags or airtight containers kept at room temperature avoiding excessive moisture exposure preventing mold growth due high humidity levels often seen indoors too quickly! Alternatively—consider freezing portions individually wrapped securely enabling future enjoyment without compromising quality found originally; thaw overnight prior serving again ensuring delightful experience whenever cravings strike next time around!
Enjoy crafting up batches regularly feeling proud knowing homemade creations such as these nourish families whilst bringing them together sharing moments made special through food shared together always cherished beyond just taste alone!
Mistakes to avoid
When making No-Knead Honey Oat Bread, there are several common mistakes that can lead to disappointing results. One of the primary errors is not measuring ingredients accurately. Baking is a science, and even slight variations can affect the final product. Use a kitchen scale for precise measurements, especially with flour and liquids.
Another mistake is neglecting to let the dough rest adequately. This recipe relies on time rather than effort, allowing gluten to develop naturally. Skipping this step can result in dense bread instead of the light and airy texture you desire. Always allow your dough to rise for at least 12 hours, preferably overnight.
Using inappropriate flour can also hinder your bread-making experience. Stick with high-quality all-purpose flour or bread flour for the best results. Avoid using whole wheat flour exclusively, as it may absorb too much moisture and yield a dry loaf. Always consider mixing different flours for added flavor and nutrition.
Temperature is another critical factor; if your kitchen is too cold, the dough may take longer to rise. Ensure that you place your dough in a warm spot, such as near an oven or in a sunny area of your kitchen. Additionally, avoid opening the oven door frequently while baking; this can cause temperature fluctuations that ruin your loaf.
Lastly, don’t forget about proper storage once your No-Knead Honey Oat Bread is baked. Leaving it exposed can lead to stale bread quickly. Instead, store it in an airtight container or wrapped in a cloth to maintain its freshness longer.
Tips and tricks
Creating perfect No-Knead Honey Oat Bread requires some essential tips and tricks that can enhance your baking experience. First and foremost, use warm water when mixing your ingredients. Warm water helps activate yeast more efficiently, leading to better rise and texture in your bread.
Consider adding mix-ins like nuts or seeds for added flavor and nutritional benefits. Chia seeds or sunflower seeds complement oats beautifully and provide extra crunch. However, be cautious not to overload the dough; too many add-ins can impact its structure.
Another useful tip is to use parchment paper when transferring your dough into the hot pot for baking. Parchment paper makes it easier to lift the loaf without sticking and ensures an even bake all around by preventing direct contact with the pot’s surface.
If you’re looking for a crustier exterior on your bread, consider using a Dutch oven with a lid during baking. The lid traps steam released by the dough, creating a perfect environment for crust formation without drying out the interior of the loaf.
Don’t hesitate to experiment with honey amounts based on personal preference—more honey will yield a sweeter bread while maintaining moisture content effectively. Remember that honey also contributes to browning; adjust baking times accordingly if you increase its quantity.
Lastly, practice patience! Good things come to those who wait; allowing adequate resting time will reward you with delightful results that make this recipe worth every minute.
Suggestions for No-Knead Honey Oat Bread
To elevate your No-Knead Honey Oat Bread experience further, consider these suggestions that focus on enhancing flavor and texture while ensuring successful outcomes. Start by using fresh ingredients; check expiration dates on yeast and flour before starting your baking journey. Fresh ingredients yield better rises and flavors in baked goods.
One suggestion involves experimenting with different types of oats; steel-cut oats or rolled oats work well but offer varying textures in the final product. Rolled oats tend to soften more during baking, while steel-cut oats maintain their bite—choose based on personal preference!
Incorporating herbs or spices into your dough can create unique flavor profiles as well. For instance, adding cinnamon or dried rosemary gives a new twist to traditional honey oat bread without overwhelming its essence.
Pay attention to hydration levels when making this no-knead recipe; adding too much water may make handling difficult while too little leads to dry outcomes. Adjust fluid levels gradually until achieving desired consistency—a thick yet sticky mixture should suffice.
Consider trying overnight fermentation techniques in cooler months where room temperatures drop significantly—allowing doughs ample time at lower temperatures introduces complex flavors through natural fermentation processes that enhance overall taste.
Finally, embrace creativity! Use this basic recipe as a foundation for new variations—substituting different sweeteners like maple syrup or agave nectar instead of honey brings exciting new tastes while maintaining core no-knead principles intact!
FAQs
How long should I let my No-Knead Honey Oat Bread rise?
Letting your No-Knead Honey Oat Bread rise is crucial for developing its structure and flavor. Ideally, you should allow it to rest at room temperature for about 12-18 hours after mixing all ingredients together. This extended rising period cultivates gluten strands naturally without needing kneading action from you! A longer rise also contributes depth in taste due to fermentation processes occurring within the dough itself over time.
Can I substitute whole wheat flour in this recipe?
While whole wheat flour can be incorporated into No-Knead Honey Oat Bread recipes, it’s essential not to replace all-purpose flour entirely with it right away since whole wheat absorbs more moisture than white flours do! A good rule of thumb would involve substituting only one-fourth (25%) of total flour weight initially until familiarizing yourself with how it affects hydration levels—gradually increasing proportions as desired based on loaves’ performance during testing stages thereafter!
What type of yeast should I use for No-Knead Honey Oat Bread?
For making No-Knead Honey Oat Bread effectively, instant yeast (also known as rapid-rise or quick-rise yeast) works best due mainly because there’s no need for proofing before incorporation into dry mixtures compared with active dry yeast types requiring activation beforehand via warm liquid treatments beforehand! Instant yeast helps create consistent results across various recipes ensuring optimal rises each time!
Can I add other grains or seeds into my bread?
Absolutely! Adding grains like quinoa or farro along with seeds such as pumpkin seeds will provide additional texture alongside nutritional value enhancements within each slice produced from this delectable loaf creation! Just remember not overdo it though—balance between these additions versus original oat content should remain harmonious throughout preparation stages leading up towards final bakes achieved successfully!
Is it necessary to use a Dutch oven?
While using a Dutch oven isn’t strictly necessary when making No-Knead Honey Oat Bread—it does help improve crust formation significantly compared against open-air baking methods available elsewhere! Dutch ovens retain steam effectively during cooking processes creating ideal environments conducive towards browning exteriors yielding crispy crusts everyone craves whilst keeping interiors soft & fluffy simultaneously throughout entire bake cycle completed successfully!
How should I store my freshly baked bread?
To keep your freshly baked No-Knead Honey Oat Bread tasting delicious longer than usual—let it cool completely before wrapping tightly either using plastic wrap followed by aluminum foil layers afterward placed into airtight containers once fully cooled down! Storing loaves correctly preserves moisture levels preventing staleness & keeps flavors intact allowing enjoyment days later without compromising quality experienced initially upon first bites taken shortly after coming out freshly baked!
Conclusion
In conclusion, mastering No-Knead Honey Oat Bread involves avoiding common mistakes while implementing helpful tips throughout preparation stages—from measuring ingredients accurately through utilizing appropriate rising times & environmental conditions ultimately leading towards delightful outcomes achieved consistently over time! By focusing on quality ingredients combined harmoniously together then experimenting creatively allows bakers at any skill level access delicious rewards yielded within simple methods employed here today directly inspired from nature’s bounty found present among wholesome grains utilized alongside sweet touches provided naturally through honey added generously throughout their creations made safely inside home kitchens everywhere across culinary landscapes explored freely each day anew!
Remember patience remains key: allow ample resting periods before diving straight into ovens equipped accordingly via tools like Dutch ovens ready awaiting golden-brown transformations happening soon enough once everything comes together perfectly resulting glorious loaves enjoyed fondly alongside family friends alike gathered round sharing moments created forever cherished thereafter shared around tables filled laughter love passed between generations continuing timeless traditions carried forward proudly amongst those who cherish homemade goodness brought forth lovingly crafted hands-on nurtured experiences derived joyfully sourced journeys embarked upon every baker brave enough dare venture forth amidst wonderful world aromas wafting through air beckoning us closer always pursuing perfection one slice bite at time joyously savored relished wholeheartedly!

