Introduction and Quick Summary
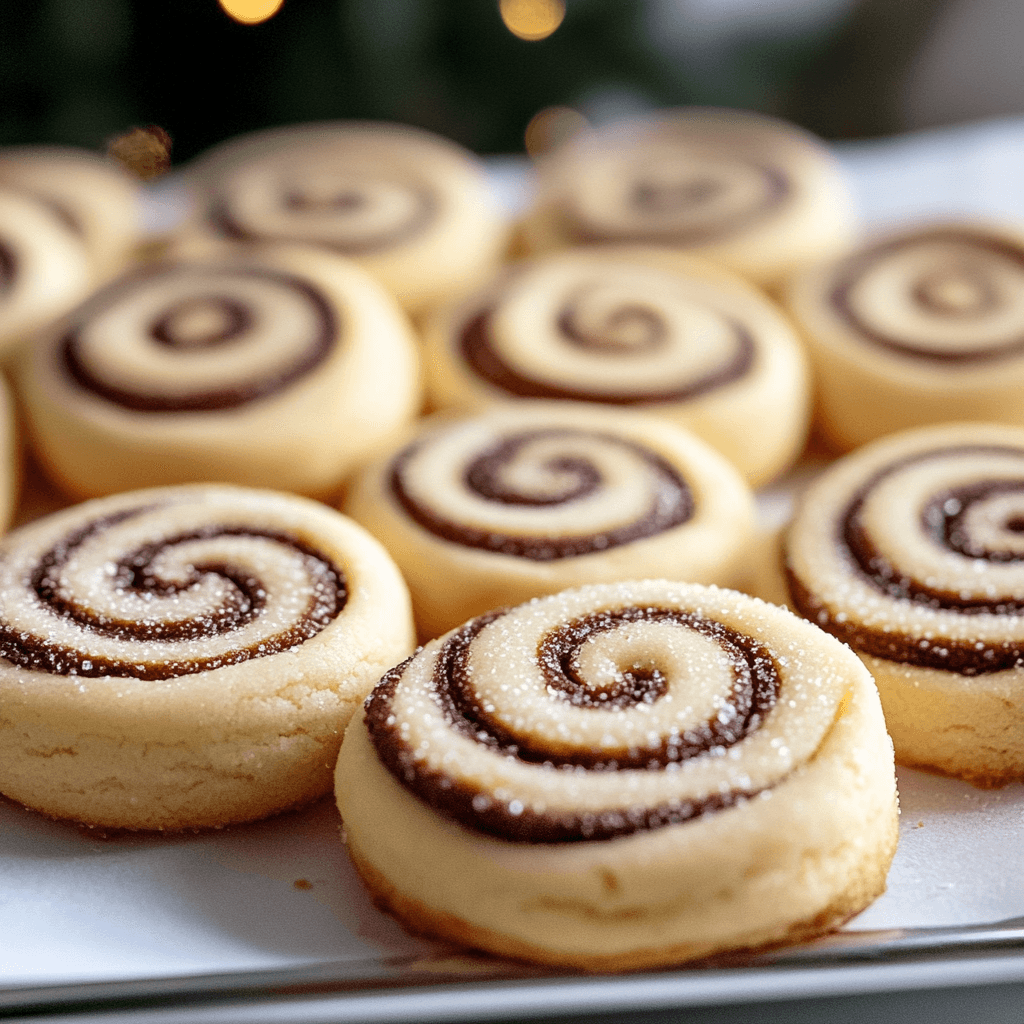
The holiday season is a time for warmth, joy, and delicious treats that bring people together. One of the most delightful additions to any festive gathering is a batch of freshly baked Christmas Butter Swirl Cookies. These cookies not only look stunning with their vibrant swirls but also offer a melt-in-your-mouth buttery taste that will delight your friends and family. In this recipe, we will guide you through creating these beautiful cookies that are perfect for sharing or enjoying as a personal treat.
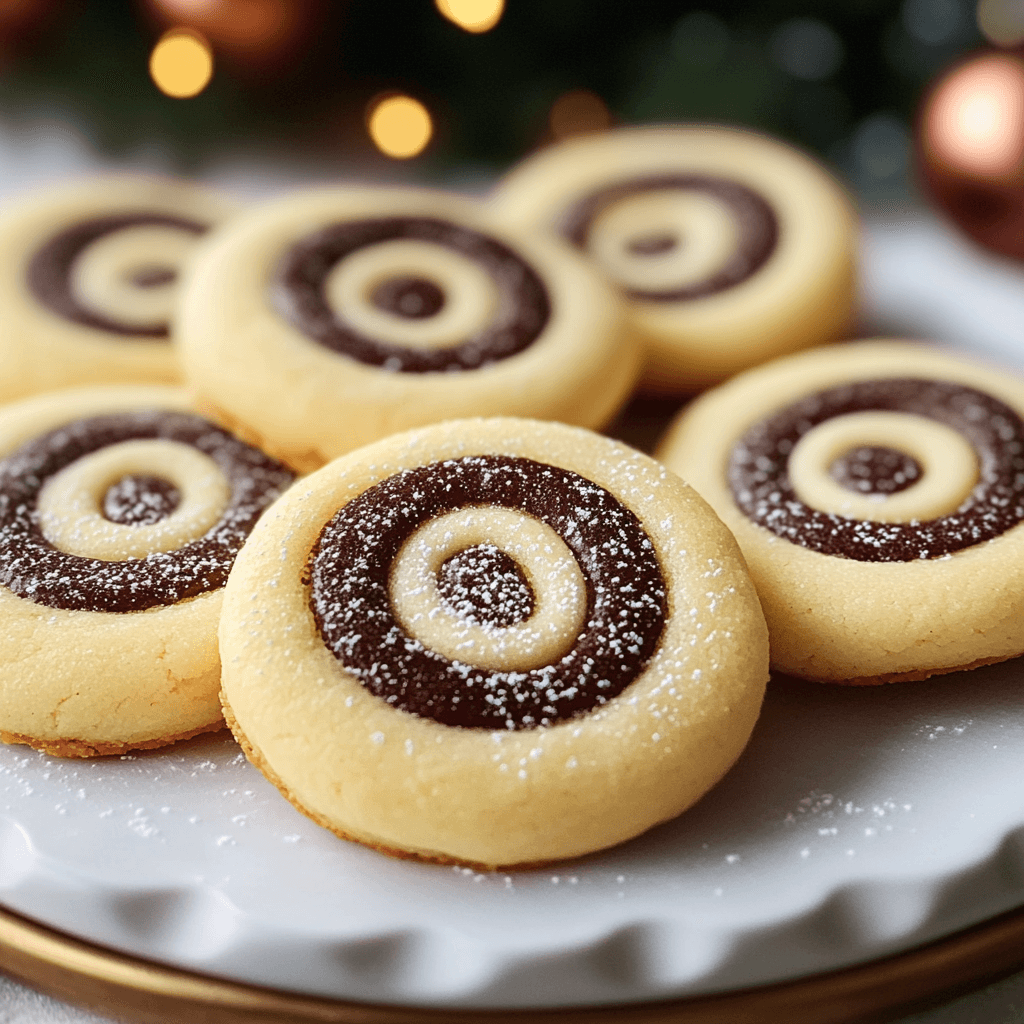
Imagine the aroma of freshly baked cookies filling your home as you prepare these scrumptious delights. The combination of rich butter and sugar creates a tender texture that pairs beautifully with colorful swirls of dough. Whether you’re planning to bake for a holiday party or simply want to indulge in something sweet while decorating the tree, these Christmas Butter Swirl Cookies are sure to impress.
This article provides all the essential information you need to make these wonderful cookies from scratch. From detailed ingredient descriptions to step-by-step instructions on how to prepare them, we’ve got you covered. Get ready to create memories in the kitchen while making these festive treats that will be enjoyed throughout the holiday season!
Main Ingredients
Unsalted Butter
Unsalted butter is the primary ingredient in our Christmas Butter Swirl Cookies. You will need 1 cup (2 sticks) of softened unsalted butter for this recipe. The absence of salt allows you to control the sweetness and flavor profile of your cookies better. Softening the butter at room temperature helps achieve a creamy consistency when mixed with sugar, resulting in tender cookies that melt in your mouth.
Granulated Sugar
For the perfect sweetness balance, you will need 1 cup of granulated sugar. This ingredient is crucial as it not only sweetens the dough but also aids in achieving that delightful golden color during baking. The sugar combines with butter to create air pockets, which contributes to a light and fluffy texture in your cookies.
All-Purpose Flour
You will require 3 cups of all-purpose flour to give structure to your cookie dough. The flour acts as a binding agent, allowing all other ingredients to come together cohesively while ensuring your cookies maintain their shape during baking. Using high-quality flour ensures consistent results.
Baking Powder
Incorporating 1 teaspoon of baking powder helps achieve that perfect rise in your cookies without making them too dense. The baking powder produces carbon dioxide when mixed with wet ingredients, creating bubbles that make your cookies light and airy.
Egg Yolks
For richness and color, add 2 large egg yolks into the mix. The yolks contribute moisture and fat content, further enhancing the buttery flavor of your cookies while providing a lovely golden hue once baked.
Vanilla Extract
One teaspoon of pure vanilla extract elevates the flavor profile significantly by adding aromatic sweetness to your cookie dough. It complements the butteriness beautifully and rounds off other flavors for an irresistible taste experience.
Food Coloring (optional)
If you’d like those eye-catching swirls in your Christmas Butter Swirl Cookies, consider using gel food coloring in red and green shades. A few drops mixed into portions of dough can create stunning visual effects that bring festive cheer to your treats.
How to Prepare Christmas Butter Swirl Cookies
Step 1: Creaming the Butter and Sugar
Begin by preheating your oven to 350°F (175°C). While waiting for it to warm up, take 1 cup of softened unsalted butter and place it into a large mixing bowl along with 1 cup of granulated sugar. Using an electric mixer or a wooden spoon, cream them together until light and fluffy—about 3-5 minutes should suffice. This process incorporates air into the mixture, which is key for achieving soft cookies with a tender crumb.
Make sure there are no lumps remaining; everything should be well combined into a smooth paste. Scrape down the sides of the bowl as needed using a spatula so that all ingredients blend uniformly. Once creamed properly, add two large egg yolks one at a time while continuing to beat until fully incorporated into the mixture before adding more.
Next up is one teaspoon of pure vanilla extract—this adds fantastic flavor! Mix until everything harmonizes beautifully; at this stage, you’ll notice how fragrant your cookie batter has become!
Step 2: Combining Dry Ingredients
In another bowl, sift together 3 cups of all-purpose flour and 1 teaspoon of baking powder; this ensures there are no clumps present when added later on! Slowly incorporate dry ingredients into wet ingredients by adding about one-third at first—mix gently on low speed or stir carefully until just combined before repeating two more times until fully blended without over-mixing.
Overworking can lead to tough cookies rather than soft ones! Once you see no visible dry flour remaining but still have some flecks from earlier mixing efforts—stop right there! Now’s time for some fun—the addition of food coloring if desired!
Step 3: Creating Colorful Dough Portions
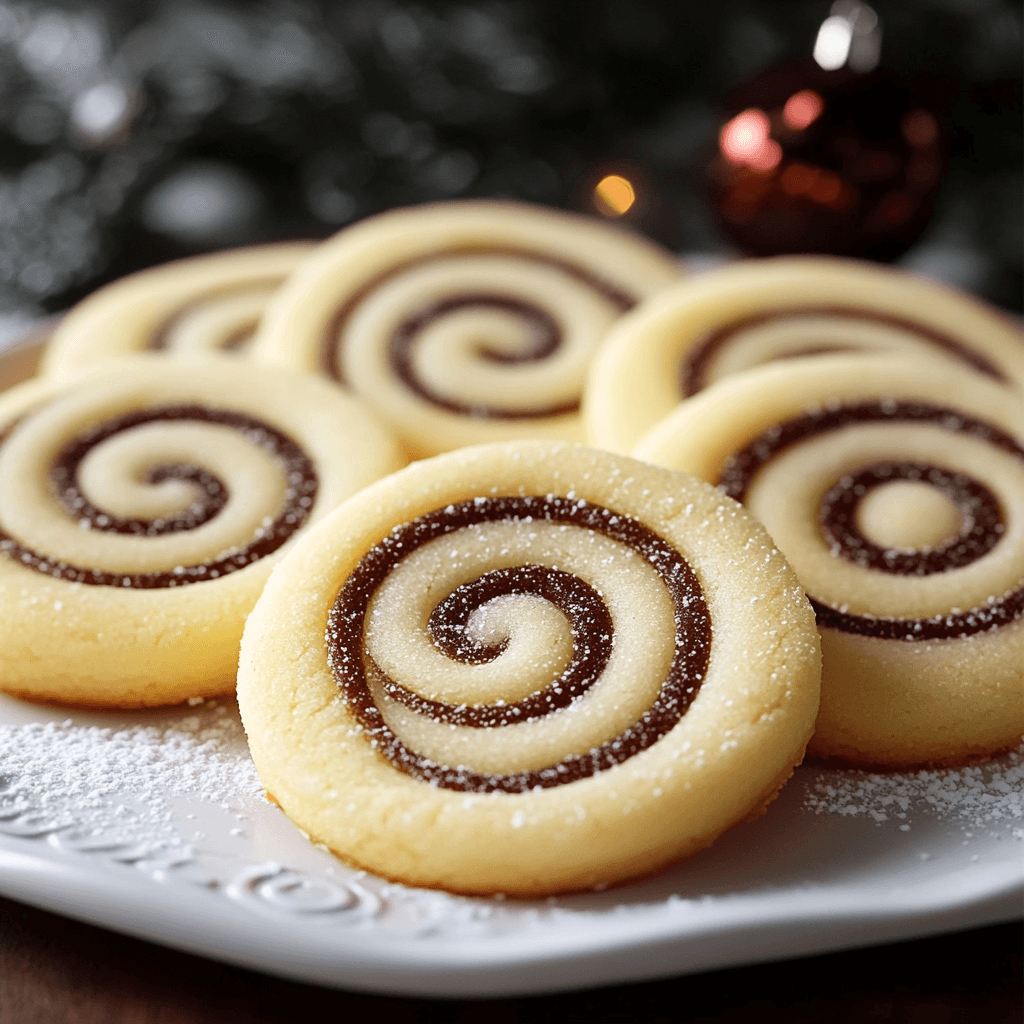
Divide your cookie dough evenly into three bowls after mixing colors—as many vibrant hues as you’d like! For instance: leave one portion plain (white), color another red using gel food coloring (start small), then color another green similarly—just make sure each portion maintains its own unique hue within easy reach!
Using clean hands or gloves works best here—take small chunks from each colored section then layer them together side by side forming long ‘logs’ about an inch thick! Roll them gently till they resemble mini sausages before twisting them slightly then placing onto parchment-lined baking sheets spaced apart—a good inch apart is ideal since they’ll spread out while baking!
Step 4: Baking Your Cookies
Once you’ve arranged all logs onto prepared sheets—they’re ready for action! Pop those trays into preheated ovens allowing around ten minutes worth timer alerting once edges appear lightly golden brown while middles remain somewhat soft yet set enough after cooling off slightly post-baking.
After reaching perfect consistency—remove from oven letting sit five minutes before transferring onto wire racks where they can cool completely! Patience pays off here because warm sugary goodness means potential finger burns if devoured immediately!
Serving and Storing Tips
Serving Suggestions
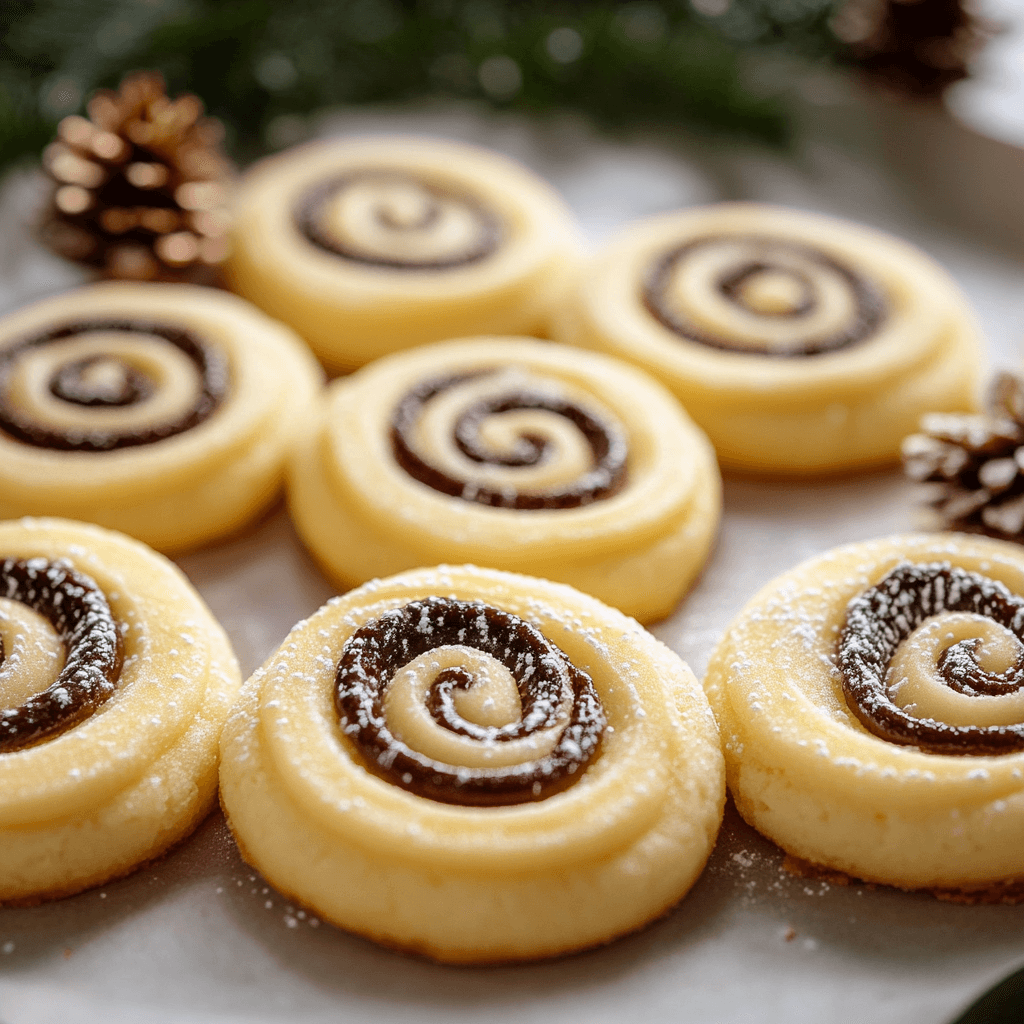
When it comes time to serve those scrumptious Christmas Butter Swirl Cookies—consider presenting them festively! Arrange cooled cookies on decorative platters topped with sprigs of holly or nestled among pinecones for an inviting touch at parties or family gatherings alike.
These delightful treats pair wonderfully alongside hot beverages such as coffee or tea—making each bite even more enjoyable during cozy winter evenings spent chatting away beside loved ones! If gifting homemade goodies remains part-and-parcel during holidays—pack individual servings neatly into clear bags tied up nicely with ribbons offering recipients personalized touches showcasing care taken during preparation!
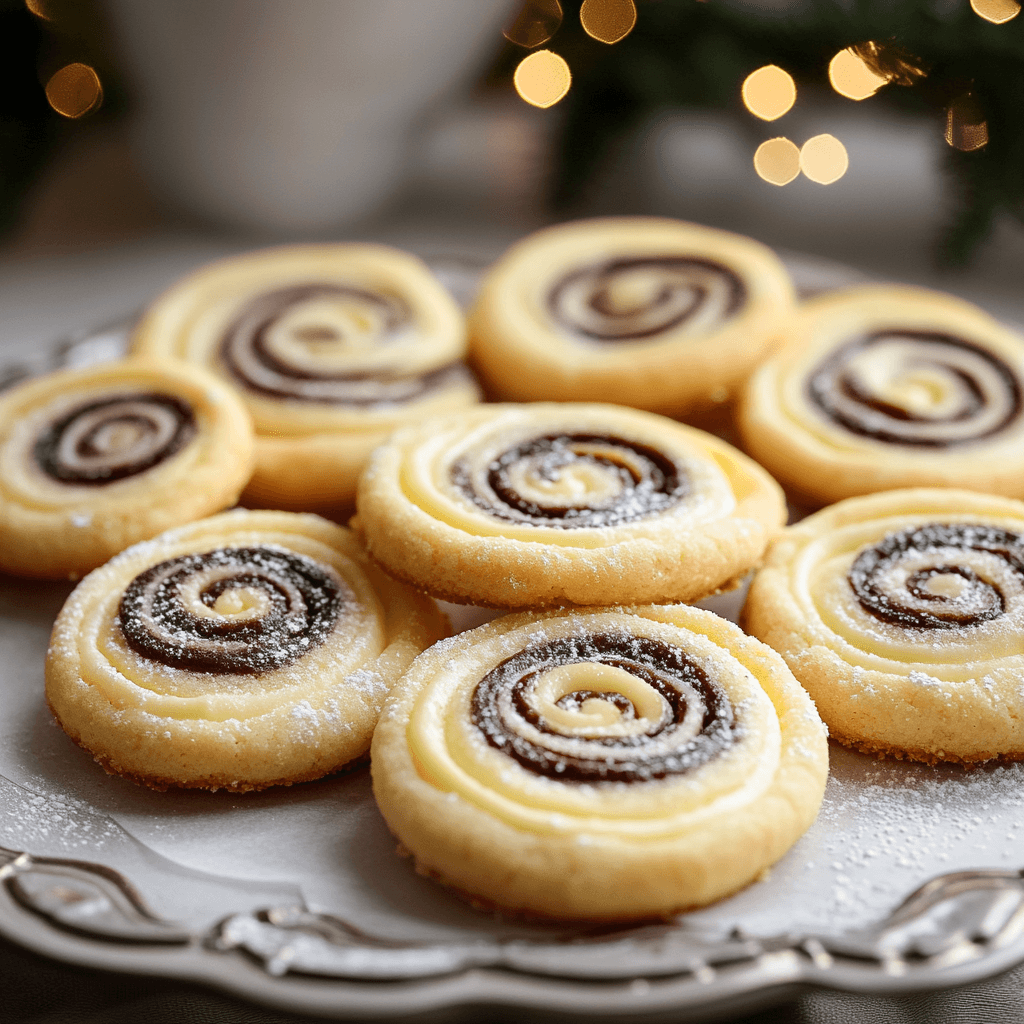
For an added festive flair—consider dusting some powdered sugar lightly over cooled surfaces prior serving; this creates winter wonderland vibes instantly brightening up any table setting too!
Storage Tips
To ensure maximum freshness following preparation—it’s best practice storing leftover cookies within airtight containers placed within cool environments such as pantries away direct sunlight exposure keeps them fresh much longer than leaving exposed open air does!
If stored correctly—they can last anywhere between one week up three weeks depending upon humidity levels present surrounding area where kept; however freezing options exist too if longer preservation needed! Wrap individual portions tightly using plastic wrap before placing inside freezer-safe bags labeled clearly indicating contents along dates made ensuring proper organization easily accessible when cravings arise unexpectedly later down line!
When ready enjoy again—the thawing process merely involves letting sit outside room temperature around thirty minutes prior indulging once more without losing any original flavors intact thereby maintaining quality enjoyed initially upon creation days earlier!
Mistakes to avoid
One common mistake when making Christmas Butter Swirl Cookies is overmixing the dough. When you combine the ingredients, it’s crucial to mix just until they are incorporated. Overmixing can lead to tough cookies instead of the desired tender texture. This happens because the gluten in the flour develops more with excessive mixing. Always aim for a light hand during this process and stop mixing once you see no dry flour.
Another mistake is not chilling the dough before baking. Chilling allows the butter to firm up, which helps maintain the shape of your cookies during baking. If you skip this step, your Christmas Butter Swirl Cookies may spread too much and lose their beautiful swirl pattern. Ideally, chill the dough for at least 30 minutes before rolling it out or shaping it into logs.
Additionally, many people overlook the importance of using fresh ingredients. Baking with stale baking powder or old butter can significantly affect the taste and texture of your cookies. Always check expiration dates on your ingredients and use fresh ones for the best results. Fresh butter provides flavor and contributes to a rich, creamy texture that is essential in Christmas Butter Swirl Cookies.
Lastly, don’t forget about proper oven temperature calibration. An oven that runs too hot or too cold can ruin your cookies. Invest in an oven thermometer to ensure accurate temperatures, as this is key for achieving perfectly baked cookies. Follow these guidelines closely to create delightful Christmas Butter Swirl Cookies that everyone will love.
Tips and tricks
To achieve perfect Christmas Butter Swirl Cookies, consider using room temperature butter. Softened butter blends more easily with sugar and creates a smoother dough consistency. This step also ensures better incorporation of air into the mixture, resulting in light and fluffy cookies once baked.
Another helpful tip is to use high-quality vanilla extract. A good vanilla extract elevates your cookie’s flavor profile significantly, giving it a warm aroma and rich taste that complements the buttery notes beautifully. Avoid artificial flavorings; they often lack depth compared to pure vanilla.
When it comes to coloring your swirls, food coloring can be used but sparingly. You want vibrant colors without overwhelming the cookie’s natural beauty or flavor. Start by adding just a few drops of food coloring into half of your dough; mix until you reach your desired shade.
Also, consider using parchment paper on your baking sheets for easy removal post-baking. Parchment prevents sticking and can help achieve even baking all around each cookie as they bake uniformly without burning on any part of the sheet.
Finally, always let your cookies cool completely on a wire rack after baking. Cooling allows them to set properly while maintaining their soft centers without becoming overly dry or crumbly. Following these tips will ensure your Christmas Butter Swirl Cookies turn out delicious every time.
Suggestions for Christmas Butter Swirl Cookies
When preparing Christmas Butter Swirl Cookies, one suggestion is to try incorporating different flavors into each swirl segment for variety. For instance, mix cocoa powder into one half of the dough to create chocolate swirls alongside classic vanilla-flavored sections—this adds an exciting twist that guests will appreciate.
Another idea is to make these cookies festive by adding toppings such as colorful sprinkles or crushed candy canes before baking them. This not only enhances their visual appeal but adds interesting textures that make eating them even more enjoyable.
You might also consider adjusting the size of your cookies according to personal preference or occasion needs—smaller bite-sized cookies work well for holiday parties while larger ones can serve as delightful gifts wrapped neatly in festive packaging.
For those who prefer healthier alternatives, substitute some ingredients with healthier options like whole wheat flour or coconut sugar instead of regular white sugar; this brings a different taste profile without sacrificing enjoyment too much!
Lastly, if you’re short on time during the holiday season but still want homemade treats ready for gatherings, prepare and freeze cookie dough ahead of time! Portion out balls of dough onto parchment-lined trays before freezing them individually; once solidified, store them in airtight containers until you’re ready to bake fresh cookies right away!
FAQs
What are the best tips for storing Christmas Butter Swirl Cookies?
Storing Christmas Butter Swirl Cookies properly ensures they remain fresh and flavorful longer! Place cooled cookies in an airtight container at room temperature for up to five days; adding parchment paper between layers prevents sticking while keeping moisture balanced within each layer! If you want them even fresher longer than five days? Consider freezing them! Wrap individual cookies tightly in plastic wrap or foil before placing them in freezer-safe bags—frozen cookies can last up three months! To enjoy frozen treats again? Simply thaw at room temperature before enjoying their delightful taste!
Can I use margarine instead of butter in Christmas Butter Swirl Cookies?
While margarine may work as a substitute when making Christmas Butter Swirl Cookies, it’s essential to note that it may alter both flavor & texture slightly! Margarine contains more water content than traditional unsalted butter which could result in a less rich taste overall than intended! If you decide on margarine? Choose stick margarine over tub varieties since they generally contain fewer additives & provide similar consistency needed in baking recipes!
How do I make my swirls more vibrant?
Making vibrant swirls requires careful attention when adding food coloring during preparation! Begin by dividing your base dough into two sections before adding concentrated gel-based food colorings directly into one portion—this type typically produces brighter colors than liquid alternatives due its thicker consistency! Mix thoroughly until evenly colored; avoid over-mixing which could dilute color intensity! Remember: when swirling together colored segments into final shapes—less really does mean more here!
Can I add nuts or other ingredients to my cookie dough?
Absolutely! Adding nuts such as chopped walnuts or pecans along with dried fruits like cranberries enhances both flavor & texture within each bite of these delightful treats! Just remember: if including additional mix-ins? Adjust quantities slightly so total weight remains consistent across recipe requirements—too much extra bulk could affect overall balance making resulting baked goods less appealing than envisioned!
What makes these cookies ideal for holiday gifting?
Christmas Butter Swirl Cookies are visually stunning thanks their vibrant colors patterns combined with rich buttery base flavors—great attributes when gifting loved ones during holidays seasons! Their durability means they travel well without losing shape ensuring recipients receive delightful treats intact plus their versatility appeals across various age groups making them perfect presents sure impress anyone receiving them whether family friends coworkers alike!
How long does it take to bake Christmas Butter Swirl Cookies?
Typically speaking most batches will take around 10-12 minutes at preheated 350°F (175°C) heat setting depending upon size thickness chosen preferences within recipe guidelines established throughout preparation process overall! Always keep an eye while watching closely during last few minutes monitor browning edges checking doneness using toothpick method inserting center pulling out clean signaling readiness enjoying freshly baked goodness straight from oven right away!
Conclusion
In summary, creating delicious Christmas Butter Swirl Cookies involves avoiding common mistakes such as overmixing dough and not chilling it sufficiently before baking. Implementing effective tips like using room temperature butter and high-quality vanilla extract makes a significant difference in flavor and texture while experimenting with fun variations keeps things exciting around festive times.
Proper storage techniques ensure that these delectable treats stay fresh longer whether enjoyed immediately after cooling down or shared generously amongst family friends special occasions alike! Lastly addressing frequently asked questions provides clarity surrounding potential concerns about ingredient substitutions seasonal adaptations enhancing overall experience preparing these mouthwatering delights further enriching joyful holiday celebrations year after year!
By following these guidelines closely while incorporating personal creative touches—you’ll be well on your way toward mastering perfecting scrumptious homemade delights everyone cherishes immensely throughout this wonderful season together gathering fond memories celebrating love laughter happiness sharing warmth goodness found inside each bite shared lovingly together through homemade creations made heart soul truly come alive brightest moments captured beautifully forever etched memories cherished always remembered fondly long after holidays end year after year timeless tradition passed down generations celebrated wholeheartedly forever cherished moments created lovingly among families friends alike.

